
The journal
How can I seal air-dried clay before painting? A practical guide
air dry clay sealing painting, step-by-step guide to prime, paint and varnish air-dry clay using acrylic gesso or clear acrylic medium.
Quick answer and why sealing air-dried clay matters
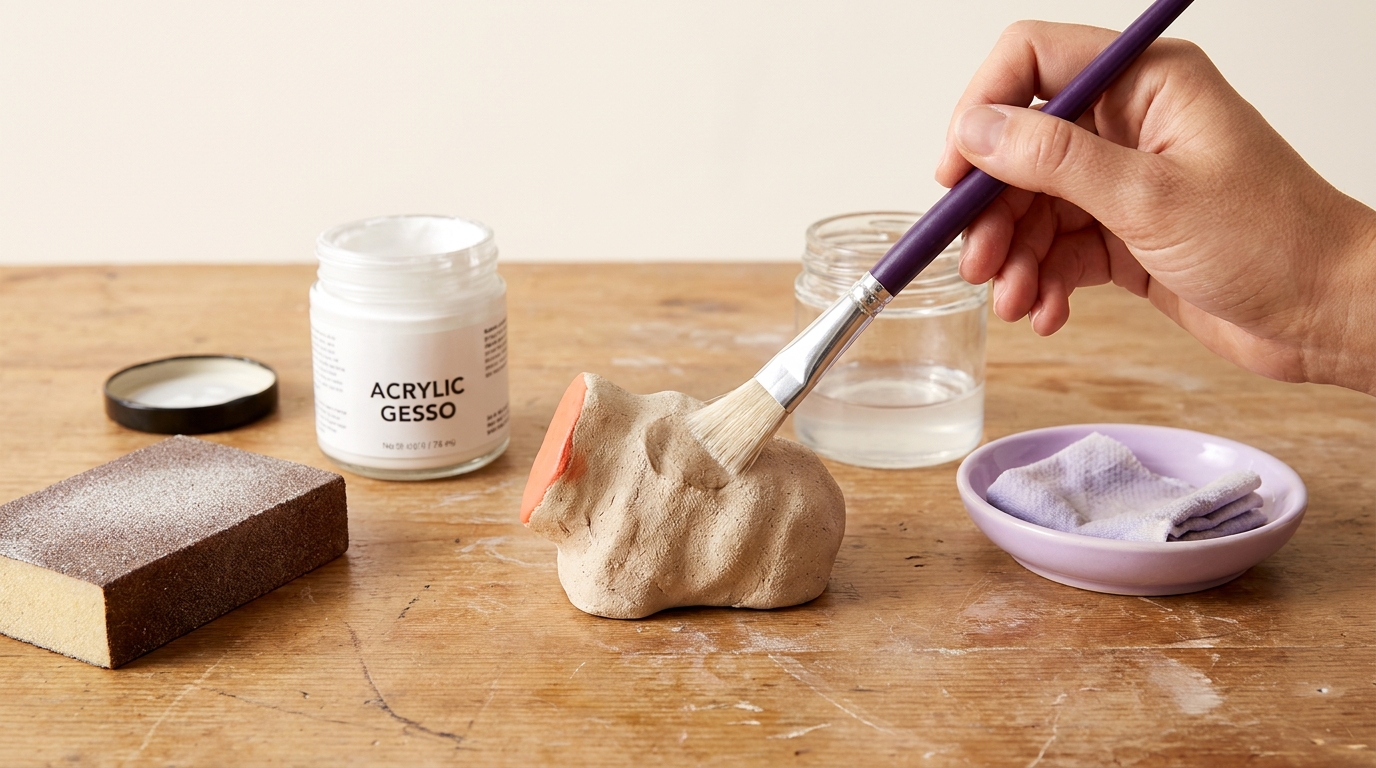
Short answer: seal air-dried clay before painting with 1 to 2 thin coats of acrylic gesso or a clear acrylic medium to reduce absorbency and get more reliable adhesion for acrylic paints, then paint and, if desired, protect with an acrylic varnish, once paint is fully cured. For the core recommendation about preferred sealers and grounds, consult the acrylic manufacturers guidance Liquitex education page.
Why this matters: ordinary air-dry clay is porous and will soak up paint unevenly if you skip a sealing or priming step, which can make colors look dull or lead to extra coats of paint. The practical aim of a sealer is to cut absorbency and provide a stable surface so acrylics spread and adhere predictably; manufacturer guidance for classroom air-dry clays also recommends drying fully before painting with acrylics and optionally finishing with varnish, which supports a workflow of sealing, painting, then varnishing Crayola support (see a primer discussion here).
What makes air-dry clay different from ceramic clay?
Air-dry clay cures by evaporation rather than firing, so the resulting object stays more hygroscopic and structurally different than kiln-fired ceramics. That porosity affects how much sealer you need and why a primer or ground is helpful before paint.
Short summary of recommended approach - air dry clay sealing painting
In short, let pieces dry completely, sand lightly, remove dust, apply thin coats of acrylic gesso or clear acrylic medium, let those coats dry and cure, test a small area, then paint with acrylics and, later, apply a protective acrylic varnish if needed. See Made in Steps guides.
Prepare the piece: drying, sanding and dust removal
First, make sure the piece is fully dry. Air-dry clay can look dry on the surface while still retaining moisture inside, so follow the manufacturer's drying guidance and allow extra time for thicker sections; classroom guidance emphasizes thorough drying before sealing or painting to avoid trapping moisture under a sealer Crayola support. See Made in Steps resources.
Follow the drying time on your clay packaging and allow additional time for thicker pieces. Do not rely on touch alone to decide whether the centre is dry. Crayola specifies 72 hours before sealing its air-dry clay; other formulations may differ.
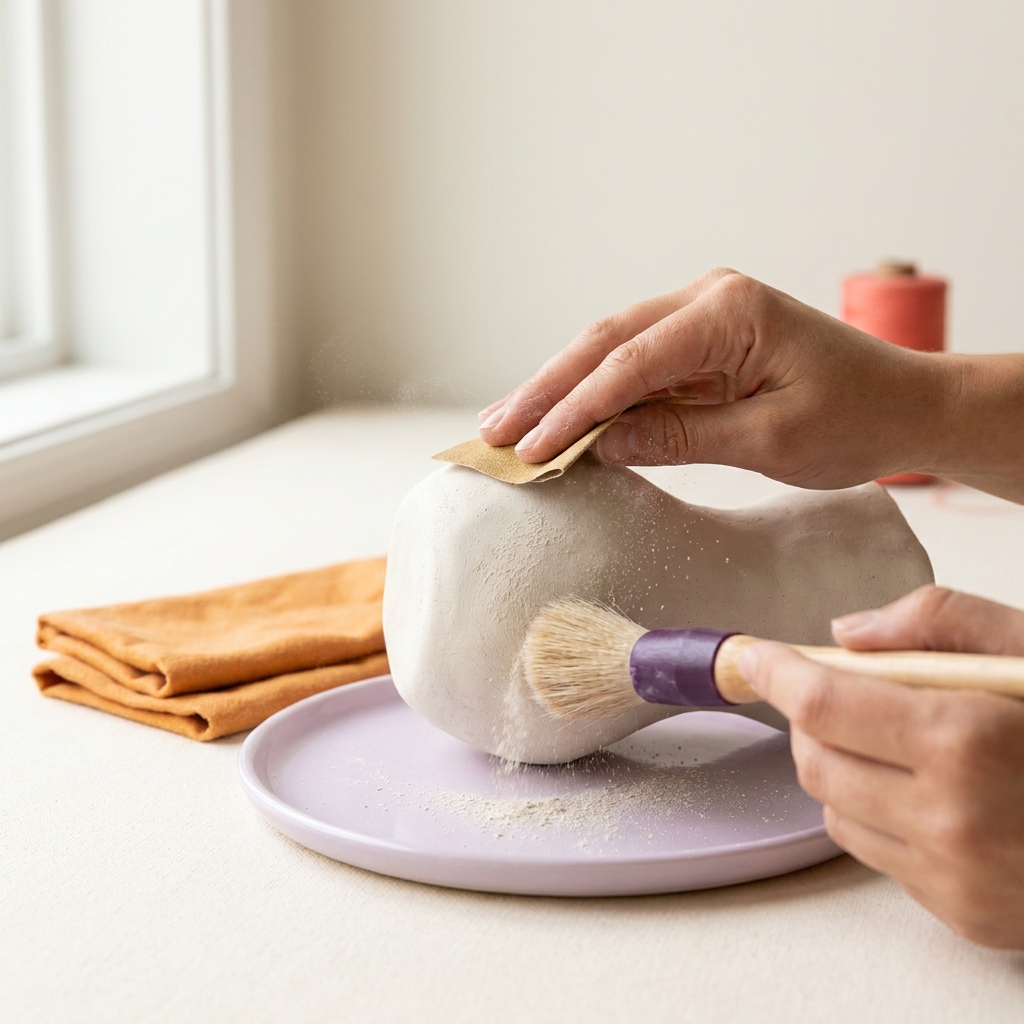
Sanding tips: once dry, use light sanding to level fingerprints, seams and tool marks. Choose fine-grit paper, such as 220 to 320 grit, and sand with light pressure to avoid thinning delicate areas. For very soft surface textures, a light touch and gradual smoothing produces the most even ground for sealer application Liquitex education page.
Dust removal: after sanding, remove dust using a soft brush, a dry microfiber cloth, or a tack cloth. Do not use water to rinse unless the clay and manufacturer instructions explicitly allow damp cleaning, because rewetting can soften or deform some air-dry clays. A clean, dust-free surface helps sealers bond and prevents tiny particles from creating a rough finish Jackson's Art Blog.
Keep clay dust contained. Avoid unnecessary sanding, do not blow dust around with a fan, and follow the clay manufacturer’s dust-control and protective-equipment instructions. Keep sanding away from children and food-preparation areas.
Choose a sealer: acrylic gesso, clear acrylic medium, or PVA - pros and cons
Preferred options: a common approach uses acrylic gesso or a clear acrylic medium as a paint ground, subject to the clay and coating manufacturers’ compatibility instructions; see manufacturer notes on priming and varnishing for a clear explanation of why acrylics are widely used Golden Artist Colors guide.
Acrylic gesso is opaque and works like a primer, helping to even out a porous surface and create a consistent white or toned ground that reduces the number of paint coats needed. A clear acrylic medium keeps the natural surface visible while still cutting absorbency; choose the product that matches your aesthetic and the final look you want.
PVA glue formulations vary. Do not assume school glue is a suitable protective coating; check its label and test it on a spare piece. A primer changes the painting surface, while a varnish is normally applied after painting.
How do I seal air-dried clay so paint adheres and the finish lasts?
Let the clay dry fully, sand and remove dust, apply 1 to 2 thin coats of acrylic gesso or clear acrylic medium as a ground, test a small area, paint with acrylics, and if needed finish with a water-based acrylic varnish once paint is fully cured.
Spray sealer trade-offs: spray varnishes and sealers are convenient for even coverage and can speed up finishing, but many sprays release volatile organic compounds, so they should be used with ventilation, outdoors, or under a fume hood when available; follow label directions and local guidance for safe use U.S. EPA guidance.
Summary comparison: choose acrylic gesso if you want an opaque, paint-ready ground; pick a clear acrylic medium if you prefer to keep surface texture visible; use PVA only when moisture resistance is not required and you accept its limitations. In classrooms, a clear acrylic medium or watered-down gesso offers predictable results with manageable safety needs.
Step-by-step sealing and painting workflow
Start here: fully dry, sand and remove dust, then apply 1 to 2 thin coats of acrylic gesso or clear acrylic medium. Thin coats dry faster and reduce the chance of drips or uneven film formation, so work thinly and build to coverage rather than applying thick layers Liquitex education page. See a step-by-step how-to guide here.
Mixing and thinning: for gesso or medium, you can thin a little with water to improve flow for the first coat on very absorbent pieces, but avoid over-thinning. For clear acrylic mediums, the label will tell you if dilution is recommended. As a conservative rule, start with a lightly thinned first coat and follow with a more normal concentration for subsequent coats.
Coat counts and drying: one thin coat may be enough on lightly textured, thin pieces, but two thin coats are the conservative approach for reliable paint adhesion. Allow each coat to dry fully before applying the next. Dry times depend on product formulation, ambient humidity and temperature; check the manufacturer's drying guidance and allow extra curing time when in doubt. Testing a small area after the sealer cures helps confirm adhesion and appearance before committing to the whole piece Liquitex education page.
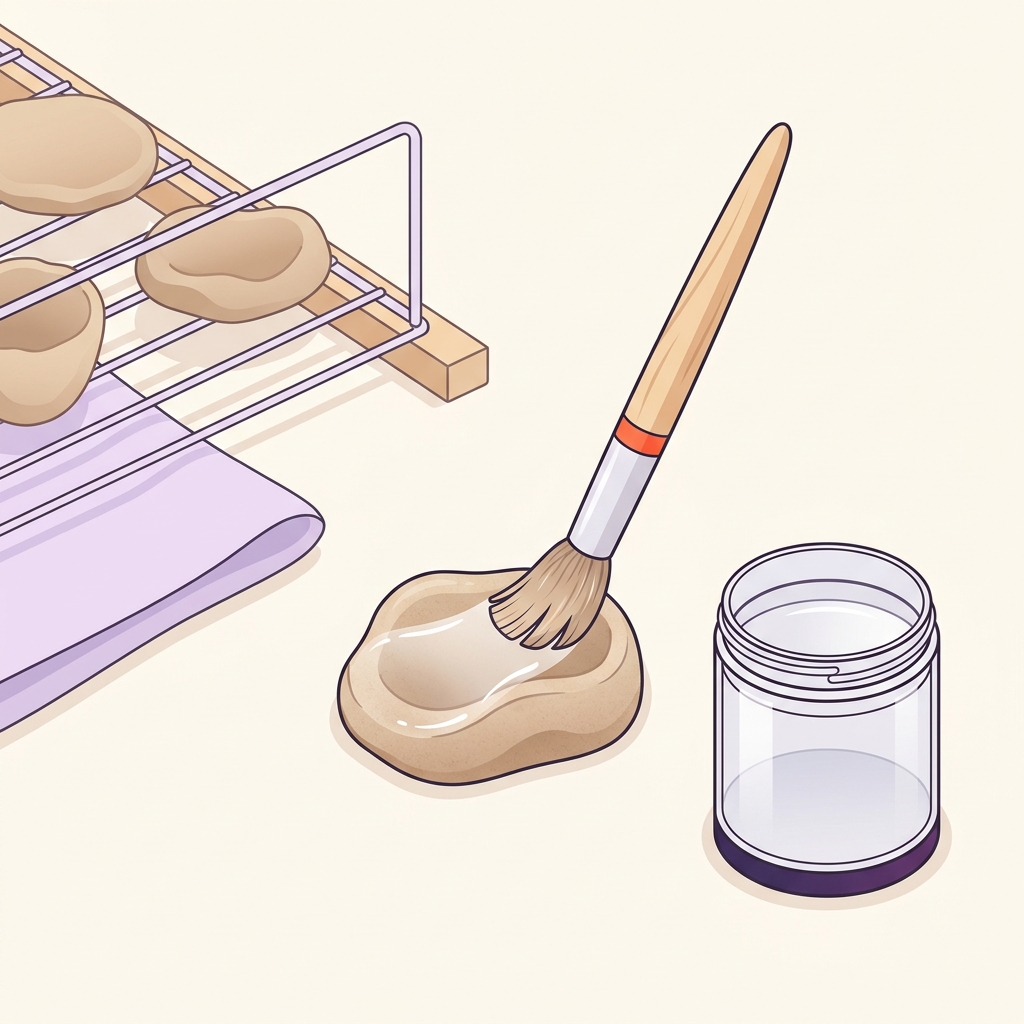
Painting: use artist-grade or student acrylic paints and apply them over the sealed surface. Thin paints as needed and build color in layers. The sealer minimizes paint soaking into the clay, so colors stay truer and you use less paint. If you skipped sealing, expect to need more coats and encounter uneven sheen or color pickup.
Varnish steps: wait until paint is dry and cured per the paint manufacturer's guidance before adding any varnish; varnish is a protective topcoat, not a primer, and it should be applied only after paint has fully cured to avoid trapping solvents or altering the finish Golden Artist Colors guide.
Test swatch: always run a small test on a hidden area or a scrap of the same clay to check adhesion, finish, and how the varnish will look. Tests are low-effort insurance against surprises and are recommended by manufacturers and educators.
Varnishing, sprays and safety considerations
When to varnish: apply varnish when you want extra surface protection against scuffs, moisture, or handling wear. Varnishes come in gloss, satin and matte sheens; choose based on the look you want and test in a small area first. Remember that varnish is distinct from primer and should be applied after paint cure, as noted in varnishing guidance Golden Artist Colors guide. See journal posts for related finishing notes.
Choosing varnish type: brush-on acrylic varnish offers low overspray and good control for classroom settings, while spray varnish can provide very even films but requires careful ventilation. If VOCs or indoor air quality are a concern, prefer water-based acrylic varnish and brush-on applications where possible.
Spray safety: because many aerosol sealers and varnishes emit volatile organic compounds, use sprays outdoors or in a well-ventilated space, wear appropriate respiratory protection if recommended, and follow label instructions and local environmental guidance to reduce exposure risks U.S. EPA guidance.
Low-VOC alternatives: brush-on water-based acrylic varnishes or clear acrylic medium topcoats reduce VOC exposure compared with solvent-based sprays. In classrooms, prefer brush-on water-based products and allow extra dry time for each coat to ensure good film formation and safer air quality Crayola support.
Common mistakes, troubleshooting and a short checklist to finish
Typical mistakes: painting before the clay is fully dry can cause soft spots or cracking; skipping sanding and dust removal results in a gritty or uneven finish; relying on PVA when moisture resistance is needed can lead to reactivation or softening of the surface; and confusing primer/ground with varnish can produce poor outcomes. These are common classroom and home studio problems to watch for.
Fixes and troubleshooting: if paint adhesion fails in a small area, gently sand the spot, clean off dust, apply a thin acrylic ground or medium, and repaint after it dries. If a finish looks blotchy, consider adding another thin coat of sealer and redoing the paint layer after full cure. Retesting on a scrap piece helps identify the right fix before altering the main object Liquitex education page.
Before you paint checklist: confirm the piece is fully dry, sanded and dust-free, apply the first thin sealer coat and let it dry, inspect for evenness, then apply the second thin coat if needed. Test a small area with your chosen paint to verify adhesion.
Before you varnish checklist: confirm paint is fully dry and cured according to the paint label, ensure the painted surface is clean and free of dust, test varnish on a small area for sheen and compatibility, and use appropriate ventilation and PPE if using sprays.
A coating does not turn air-dry clay into fired ceramic. Treat finished pieces as decorative, and do not assume they are waterproof or suitable for food contact.

Basic sanding and dust removal set for air-dry clay prep
Frequently asked questions
Do I have to seal air-dry clay before painting?
Sealing is recommended because air-dry clay is porous; a thin coat of acrylic gesso or clear acrylic medium produces a more predictable paint surface.
Can I use white glue (PVA) instead of gesso?
PVA can reduce absorbency for short-term projects but is more moisture-sensitive than acrylic polymers, so it is less reliable for long-term or wet-exposed pieces.
When should I varnish my painted piece?
Apply an acrylic varnish only after paint is fully dry and cured; varnish is a protective topcoat, not a primer.
Sealing and finishing air-dry clay does not need to be complicated. Using a simple, conservative workflow with acrylic gesso or clear acrylic medium will give more reliable paint adhesion and a cleaner finish. If you work in a classroom, follow product labels, maintain good ventilation for sprays, and use test swatches to avoid surprises. Small tests and thin coats are the best insurance for repeatable results.