
The journal
Does aluminum foil sharpen scissors? Practical advice for fabric shears
how to sharpen fabric scissors with safe home methods, when foil helps, and when to seek pro sharpening.
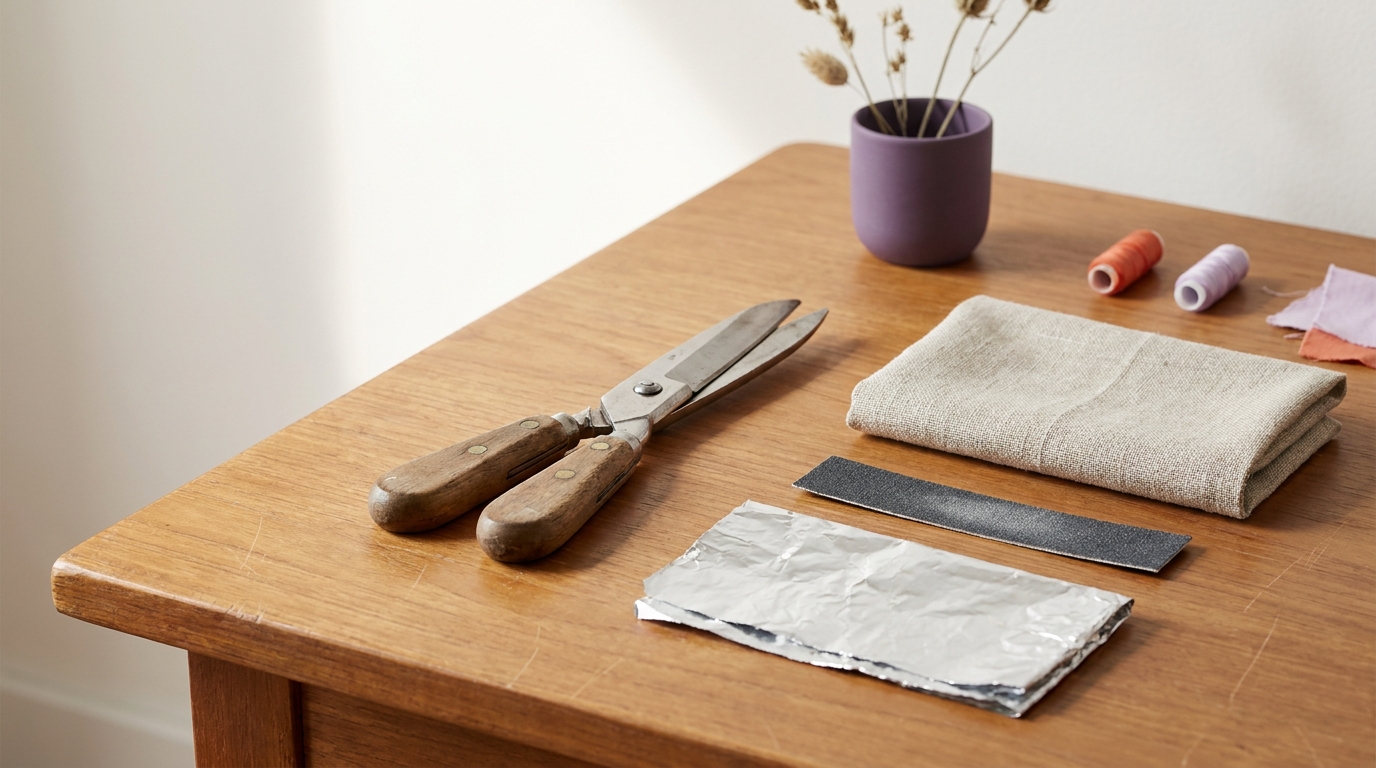
Quick answer and safety first: can aluminum foil sharpen fabric scissors and is it worth trying?
Short verdict, up front: folding and cutting aluminum foil can sometimes make scissors feel a bit sharper for light tasks, but it does not perform a true regrind or long-term sharpening for fabric scissors. If you need straightforward guidance on how to sharpen fabric scissors, start with safe, low-risk tests and then move to a proper honing or professional service when blades are noticeably dull or nicked.
Why this matters: fabric scissors are usually ground to a specific edge angle and hardened for textiles. Simple household tricks aim to realign a small burr or remove tiny surface residue, not to restore an edge that has been rounded, chipped, or worn thin.
Safety first: always keep the scissors pointed away from you when testing, work on a stable surface, and keep fingers clear of the cutting line. Do not use force or try to reshape the blade by bending it. If blades are springy, bent, or have deep nicks, stop and consider professional help rather than continuing with household tricks.
Short note on expectations: household methods are useful for small touch-ups and maintenance between proper sharpenings. They are not a substitute for a regrind when blades have lost their geometry or have deep damage.
How aluminum foil is supposed to work and limitations for fabric scissors
People try aluminum foil because it is convenient and because cutting folded foil can remove tiny burrs or tiny bits of sticky residue from the edge. In simple terms, repeatedly cutting several layers of folded foil can abrade microscopic material and help realign the very edge where two blades meet. See a discussion of household methods on Diamond Needle for a similar view: https://www.diamondneedle.com/how-to-sharpen-sewing-scissors.
That modest action is best described as realignment and light stropping rather than true sharpening. A true sharpening process removes metal with controlled abrasion to re-establish the blade bevel and edge geometry. Fabric scissors often require that regrind or a careful honing at a controlled angle to restore their cutting performance.
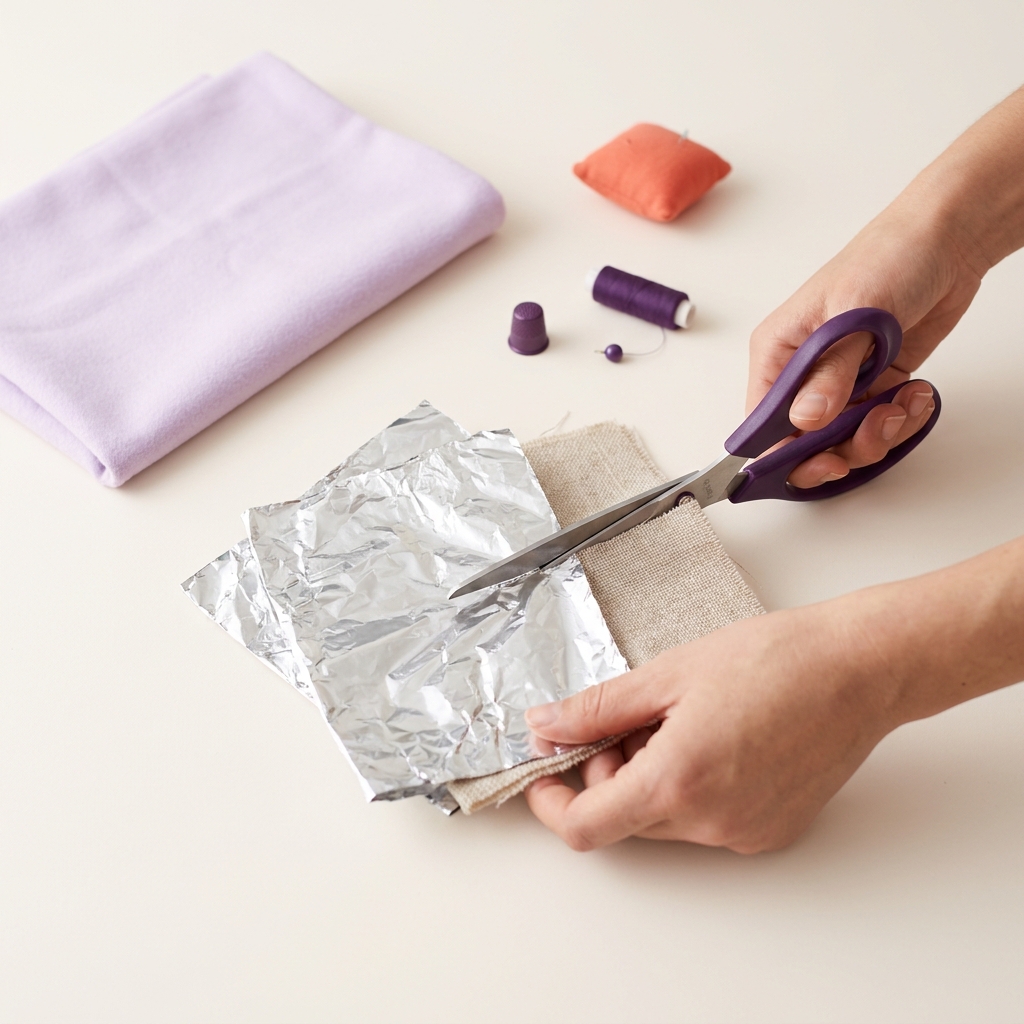
Another limitation is that foil is relatively soft compared to metal. It can smooth a burr or clean residue, but it cannot reliably remove metal from a larger nick or re-establish a bevel that has rounded from heavy use. For example, a cloth shear with small, shallow wear may benefit slightly from a foil test, while a scissor with visible nicks, chipped tips, or heavy rounded edges will need a stone or professional regrind.
Blade geometry matters. Fabric shears are designed with a particular angle and sometimes a convex profile for clean textile cuts. Realigning a tiny burr is not the same as restoring that bevel. If the pivot screw is loose so that blades do not meet cleanly, a foil test will at best mask the problem temporarily. Check pivot tension before attempting any sharpening steps, because geometry and alignment determine much of the cutting behavior. For notes on re-establishing bevels see a professional overview: https://vivront.com/blogs/news/scissor-sharpening?srsltid=AU7gw4XdQcXqxOoVQUZaWhYBpZIYQo7T9DcHZPFfWAciZzo-_s-pQbvl.
a short home honer and prep checklist for fabric scissors
Situations where foil might give a modest, brief improvement include lightly dulled blades, sticky buildup on the edge, or a small burr that needs stropping. It will not help when there are deep cuts in the edge, when the blades are misaligned at the pivot, or when the steel has lost its hardened edge profile.
Bottom line: foil can be a low-risk first test for mild problems, but it is not a reliable method for restoring fabric scissors to like-new condition.
Practical step-by-step: safe DIY methods for how to sharpen fabric scissors
Before any sharpening, check the scissors. Clean visible lint and fabric bits, dry the blades, and check the pivot tension. A scissor that is too loose or too tight will not cut well even if the edge is sound. If you do not know how to adjust the pivot screw, treat it gently and only make quarter-turn changes, testing cut performance incrementally. See our beginner sewing guide for more basic maintenance: https://madeinsteps.com/guides/beginner-sewing/
Foil test, a safe minimal-risk procedure
1. Fold a sheet of plain aluminum foil into several layers so it is roughly as thick as a craft paper square. Hold the scissors safely and make slow, controlled cuts along the folded edge. Repeat 10 to 20 times, opening fully between cuts. Do not force the blades or jam fabric into the joint.
2. After cutting foil, wipe the blades with a soft cloth to remove metal dust and foil residue. Test on a scrap of fabric with short, careful snips to judge any improvement.
3. Evaluate results using a simple cut test: cut a single layer of the fabric you normally use. If scissors now make smooth cuts without snags, the foil may have helped a minor issue. If there is little change, or if snags persist, stop and move to a more controlled honing method.
Does aluminum foil sharpen fabric scissors enough to replace proper sharpening?
Aluminum foil can sometimes improve a lightly dulled edge by removing residue or smoothing a small burr, but it does not replace proper honing or a professional regrind for dull, nicked, or damaged fabric scissors.
Gentle home honing with common tools
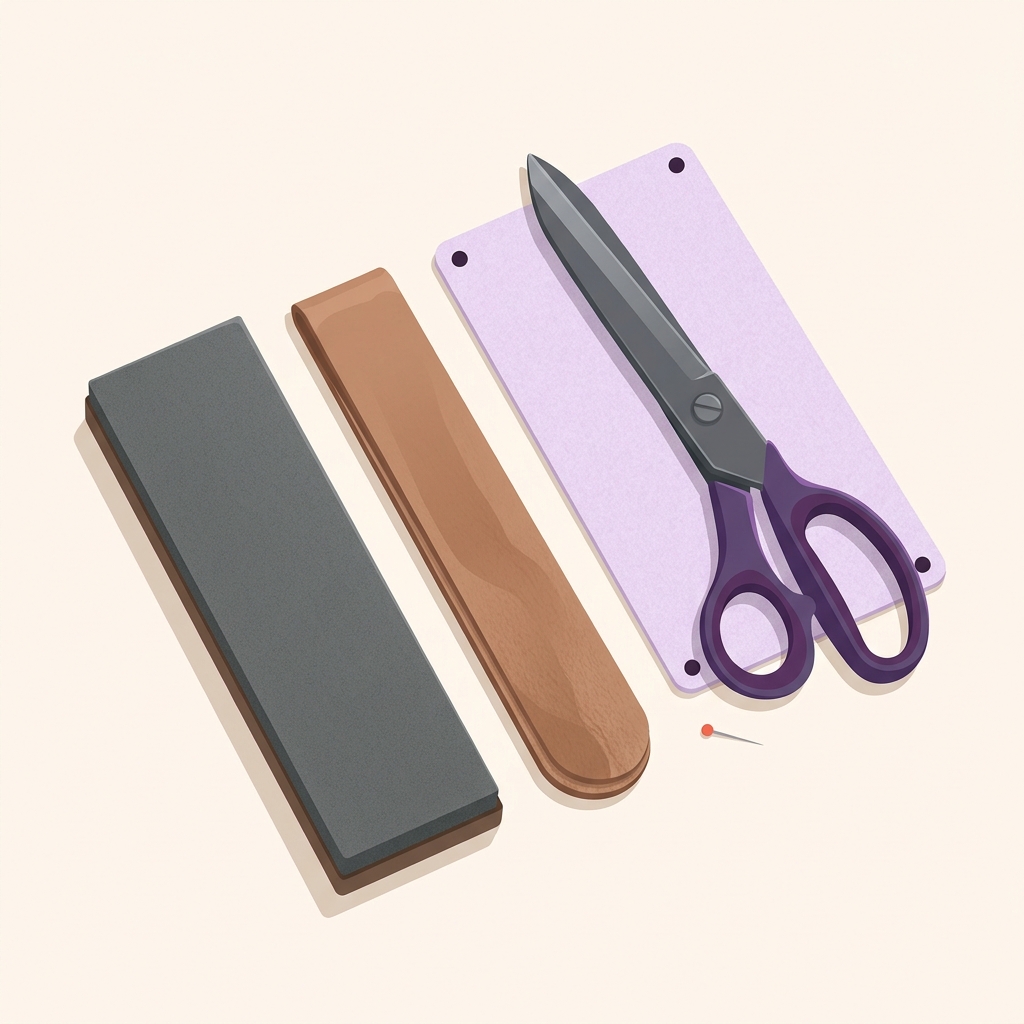
For a controlled home hone that preserves the scissor geometry, choose a fine sharpening stone, an emery cloth rated 400 to 1000 grit, or a leather strop if you have one. Work slowly and prioritize maintaining the original blade angle rather than removing metal aggressively. See our tools page for recommended supplies: https://madeinsteps.com/tools.
Step-by-step for a gentle stone or emery approach
1. Separate the blades if your scissors permit disassembly. If not, work with the blades closed and controlled, supporting the blade with your free hand. Always follow the manufacturer guidance if available.
2. Clean and dry the blades. Remove lint, thread, and adhesive residue with a soft cloth and a small drop of isopropyl alcohol if needed. Ensure blades are dry before sharpening.
3. If using emery cloth, wrap it around a flat surface and pull the edge of the blade across the cloth at a low, consistent angle, matching the existing bevel. Use light pressure and short controlled strokes, then repeat on the other blade the same number of times.
4. If using a fine stone, lay the stone flat on a stable surface. Hold the blade edge against the stone at a matching angle, then push the blade away along the stone with light, even pressure. Maintain the same angle and the same number of strokes per side. For fabric shears aim for modest material removal, not aggressive grinding.
5. After honing, strop the blades on leather or clean cloth to smooth the edge. Reassemble and adjust pivot tension so blades meet cleanly without excessive friction.
When to stop and seek professional help
If you encounter deep nicks, a bent tip, heavy uneven wear, or a coating that peels, do not attempt aggressive DIY grinding. These conditions require professional regrinding or replacement. A pro has the tools to re-establish the correct bevel and heat treatment without risking further damage. For more on professional options see this overview: https://threadsmonthly.com/how-to-sharpen-fabric-pinking-scissors/.
Choosing the right method: decision criteria for how to sharpen fabric scissors
Start with a simple assessment checklist. A quick cut test on scrap fabric often tells more than looks alone. If scissors reliably slice a single layer of fabric cleanly, you may only need cleaning and pivot adjustment. If the scissors pull or snag, or if you feel resistance, a hone or regrind may be needed.
Checklist to assess condition
1. Cut test: slice a single layer of the fabric you use most. Smooth, clean cuts mean light maintenance. Pulling or frayed edges mean the edge needs work.
2. Visual check: look along the edge for visible nicks, chips, or missing metal. Small burrs can be stropped or smoothed. Larger nicks need more material removal.
3. Pivot tension: open and close the scissors. If they twist, bind, or are too loose, adjust the pivot screw a little and retest.
Method to match condition
1. Slightly dull, no nicks: try cleaning, a foil test, a leather strop, or light emery cloth. These are low-cost and low-risk solutions for home sewers doing basic scissor maintenance.
2. Small nicks or uneven edge: use a fine stone or emery cloth with careful technique, or seek a professional who can rehone the edge without changing blade geometry too much.
3. Heavy damage, bent tips, or coating failure: professional regrind or replacement is usually the safer option. Attempting aggressive DIY grinding risks altering blade angle permanently and can make cutting performance worse.
Cost, time and skill trade-offs
DIY sharpening at home costs little for basic tools and takes 15 to 45 minutes for a careful hone, depending on skill. Professional sharpening costs more and may have a turnaround time but returns a correctly reground bevel and consistent performance. For high-quality fabric shears used daily, professional service can be a worthwhile investment when DIY measures no longer help. See our guides for service considerations: https://madeinsteps.com/guides/
Common mistakes and how to avoid them when you try to sharpen fabric scissors yourself
People often make a few repeatable errors that damage scissors or reduce their lifespan. The most common are using the wrong angle, removing too much metal, overtightening the pivot, and using scissors on non-fabric materials. Avoid these to keep your fabric shears working well.
Wrong angle and over-grinding
If you change the blade angle too much, you alter the scissor geometry and may end up with a blunt or brittle edge. Always match the existing angle and make small, even strokes. If you cannot see the original bevel clearly, stop and consult a pro rather than guessing.
Using scissors on non-fabric materials
A frequent cause of premature dulling is using fabric scissors on paper, cardboard, or plastic. These materials can nick the edge. Reserve a pair of scissors exclusively for fabric to extend sharpness between services.
Overtightening the pivot
After sharpening, it can be tempting to tighten the pivot hard to eliminate wobble. Too much tension causes friction and heat and can wear the edge. Adjust the pivot until blades meet cleanly and cut without excess force, then test on scrap fabric.
How to reverse or mitigate minor damage
Small problems like a burr or a tiny nick can often be smoothed with a few light strops on leather or several careful passes on fine emery cloth. If the issue is more than cosmetic, the safer choice is a professional tune-up rather than more aggressive home grinding.
Maintenance tips to keep scissors sharp longer
1. Clean blades after use to remove adhesive and lint.
2. Store scissors dry and in a protective sleeve or dedicated drawer.
3. Use a dedicated pair of fabric shears for textiles only.
4. Check pivot tension periodically and adjust slightly if needed to maintain clean blade meeting.
Practical examples and finishing steps: testing, maintenance routine, and when to replace
Scenario 1, slightly dull fabric scissors: symptoms are light pulling and a tendency to flatten threads. Action: clean the blades, try the foil test as a first step, then perform a few light strops or emery cloth passes. If performance returns for normal fabric cuts, keep a monthly light maintenance habit.
Scenario 2, scissors with small nicks: symptoms include small snags and uneven cuts. Action: use a fine stone or emery cloth with careful, matched-angle strokes to remove enough metal to eliminate the nick, then strop to smooth the edge. If you cannot make the nick disappear after controlled honing, a professional regrind is the safer next step.
Scenario 3, heavily damaged blades: symptoms include large chips, bent tips, or a blade that no longer closes cleanly. Action: stop DIY attempts. Seek professional regrinding or replacement to restore correct bevel and edge hardness. Continued home grinding risks changing the intended blade profile and making performance worse.
Simple maintenance routine
Daily, two-minute routine: wipe blades clean after each sewing session, remove stray threads, and store scissors in a dry place. Weekly, five-minute routine: check pivot tension and test on scrap fabric. Monthly, ten-minute routine: strop or give a light emery cloth pass; inspect for small nicks and address them early.
How to test sharpness safely
Use a single layer of the fabric you normally cut. Make a short controlled snip and look for a clean edge without fraying. If scissors pull or the fabric folds rather than cuts, stop and proceed with honing steps or professional help.
When replacement is the better option
Replacement is often more cost effective when blades are repeatedly reground and shortened, when tips are irreparably bent, or when the cost of professional service approaches the price of a new quality pair. For dedicated hobbyists, a good pair of fabric shears kept clean and used only on fabric will serve longer and cost less over time.

Frequently asked questions
Can aluminum foil permanently sharpen fabric scissors?
No. Cutting folded foil may temporarily realign a small burr or remove residue, but it does not perform a true regrind and will not permanently restore a worn or nicked edge.
How often should I sharpen or maintain fabric scissors?
For regular use, do light cleaning and strop maintenance monthly and inspect blades for nicks; professional sharpening is needed when cuts remain uneven after home care.
Is professional sharpening worth the cost for hobby sewers?
Yes, if you rely on fabric shears for frequent or precise sewing, professional regrinds restore correct bevel and extend tool life compared with repeated aggressive DIY attempts.
Keep expectations realistic: household tricks are useful for small touch-ups but are not a replacement for professional regrinding when blades are badly worn or damaged. With a simple care routine and careful, matched-angle honing, most home sewers can keep fabric shears in good working order for years. If you are unsure about deep damage or how to match the original blade angle, consult a professional sharpener rather than attempting aggressive DIY repairs.