Choose one question for the sample
A sample is easier to learn from when it answers a specific question. You might compare how a hand-stitched outline reads at two scales, or record whether a documented machine setup leaves the fabric flat after finishing. State that question before choosing the prettiest thread combination.
Record the setup that belongs to the method
For hand work, note the fabric, thread, strands and stitches you actually used. For machine work, identify the machine, design file and size, thread and documented support arrangement. Brother’s support guidance distinguishes backing and topping options; the selected combination belongs to the actual fabric and process, not just the motif’s appearance.
Brother: embroidery stabilizers and backing ↗ — Manufacturer guidance on backing and topping for machine embroidery. Hand stitching is a separate process.
Photograph the front and the back
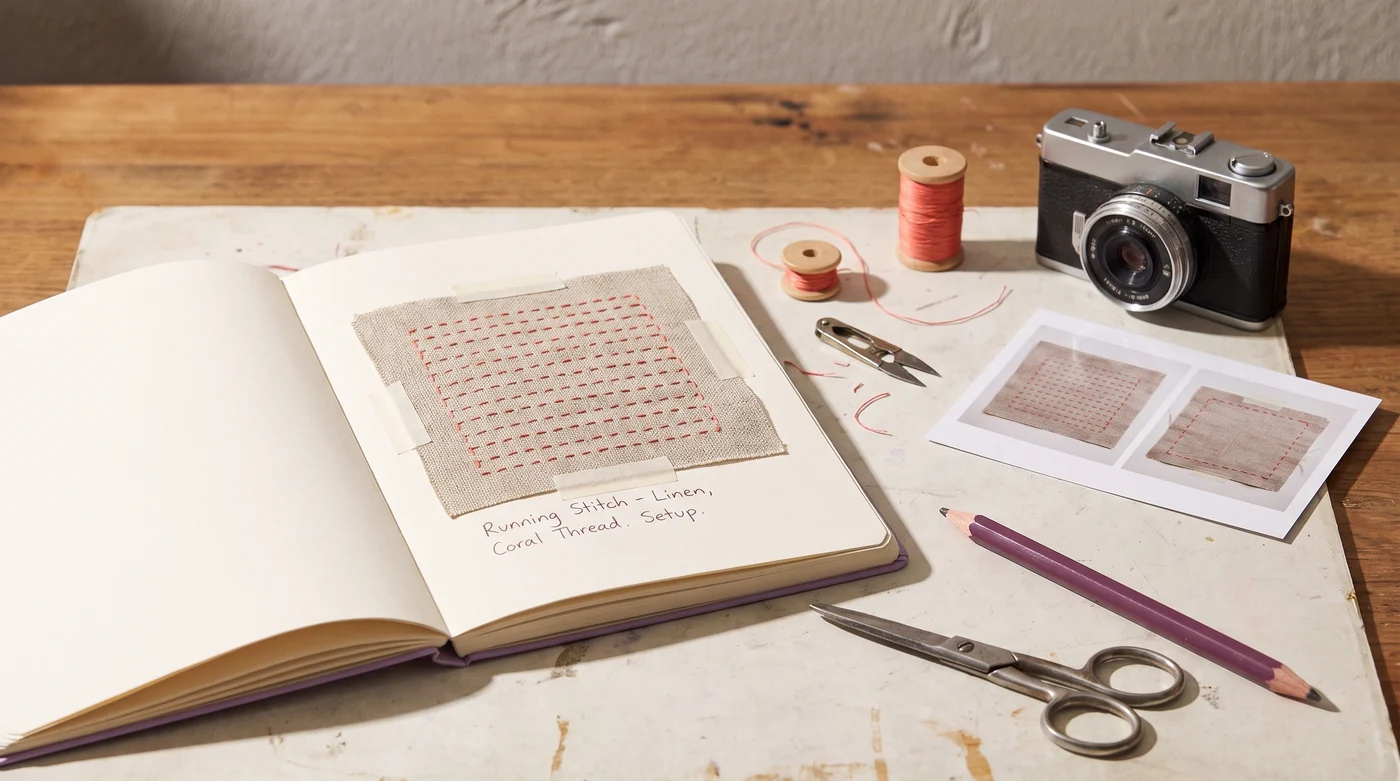
Use comparable light and a scale reference in your own evidence photographs. Take the sample out of any temporary display state according to the method’s instructions before describing its final shape. Our illustrative editorial images are not those evidence photographs; they show the subject and visual direction of the guide.
Write the observation before the explanation
“The fabric puckered around the filled section after removal” is an observation. “The support was wrong” is a proposed explanation that needs further comparison. Keep both fields on the page. Change a defined part of the setup for the next permitted trial, retain the first sample and record the difference without turning a single comparison into a universal rule.
Record material brand and variant, machine and tool, settings, sample photographs and the finished result. Decorative makes belong here; repairs and installed fixtures belong to Home by Doing.