
The journal
What happens if I use bigger knitting needles, and how to choose knitting needle size
how to choose knitting needle size explained simply, with swatch steps to test fit, drape and gauge before you commit
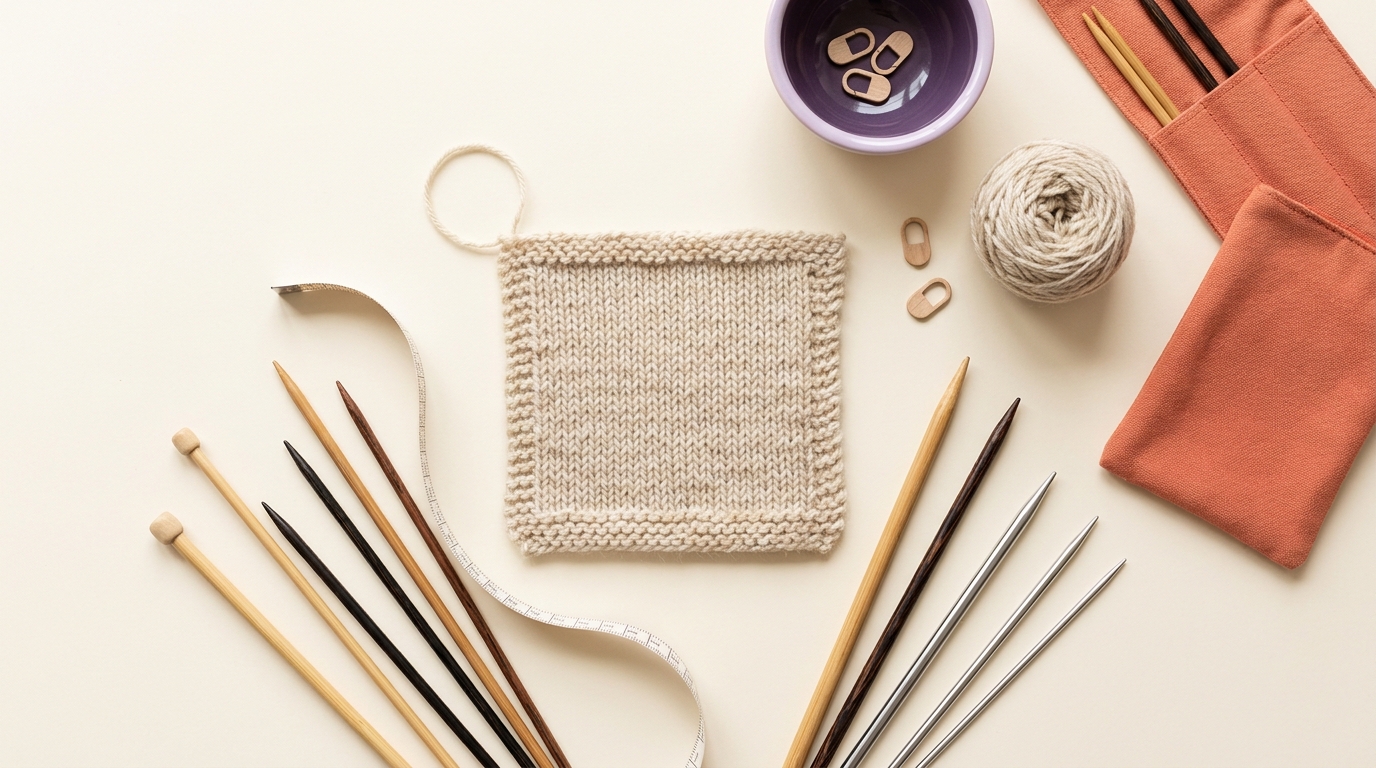
Quick answer: what happens if you use bigger knitting needles
Using bigger needles than a pattern recommends produces larger loops and fewer stitches per inch, so the fabric becomes looser and more open. That change affects gauge, fit and fabric drape, and it usually speeds up knitting because each stitch takes less time and yarn per stitch is larger. For many projects this is immediately visible as wider stitches and a softer, more flexible hand.
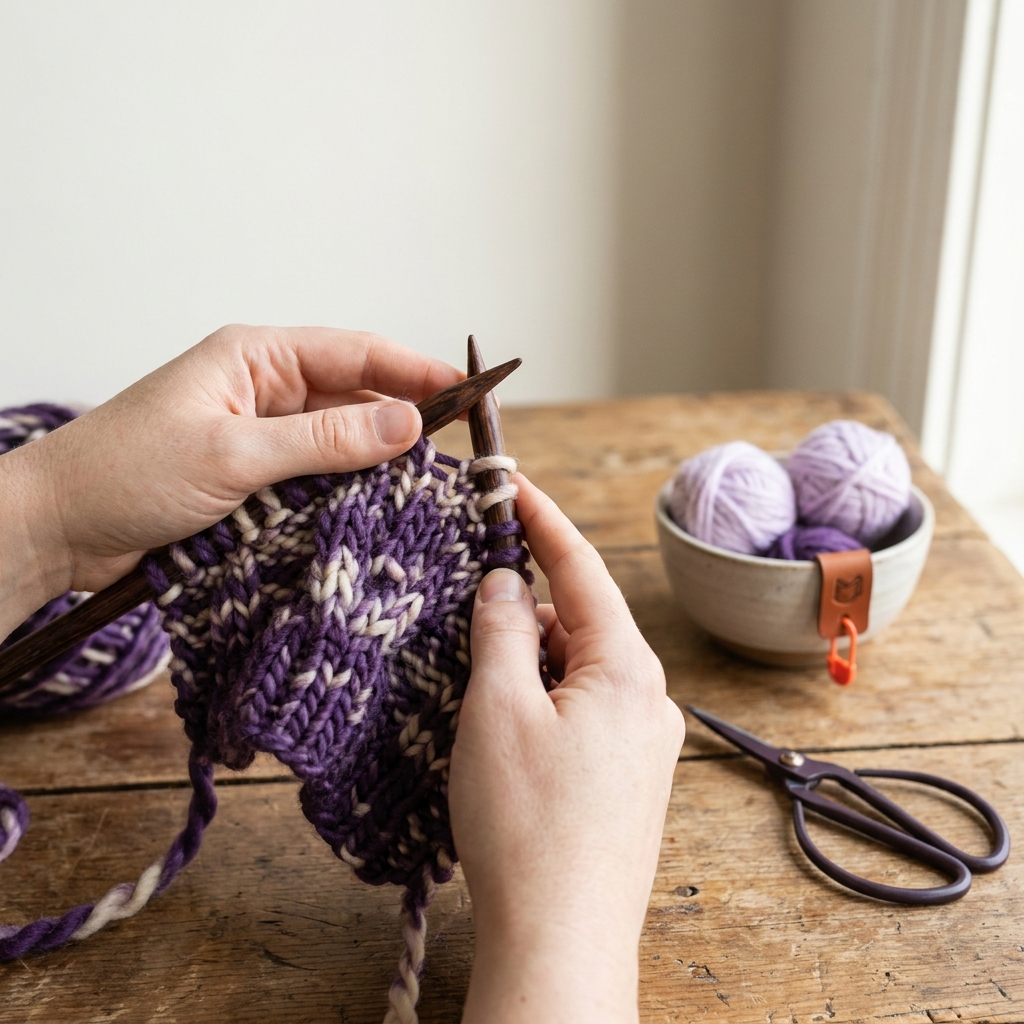
Practically, a larger needle gives you bigger stitch size and more drape, but it also reduces stitch definition and can make structured patterns lose their crispness. Fit-sensitive pieces such as fitted sweaters, socks or mitts can end up too large or floppy if you do not compensate for the altered gauge. At the same time, looser fabric can be an advantage for shawls, scarves and openwork where movement and softness are desirable.
When bigger needles can help: if you want a light, open shawl, a cozy chunky scarf with exaggerated stitches, or a quick sample for texture exploration, upsizing needles can be a deliberate design choice. (See Made in Steps guides.) When it is risky: any project that depends on exact measurements, close-fitting garments, or durable dense fabric for high wear should be treated with caution.
How to choose knitting needle size: why needle size matters to fit and fabric
The main mechanical effect of a needle is simple: needle diameter sets loop size, and loop size determines how many stitches fit into an inch of fabric. Larger needles make taller, wider loops, which lowers the stitch count per inch and increases the overall dimensions of a knitted piece if you keep the same stitch count. That relationship is why a pattern will list a recommended needle size along with a pattern gauge.
Pattern gauge is the designer's target for stitch and row counts, usually expressed as stitches and rows per 4 inches. The recommended needle size is a starting point that helps achieve that gauge with a particular yarn and stitch pattern. If your natural tension or the yarn itself differs, you may need to change needle size to match the pattern gauge so the finished dimensions match the design.
Think of a knit fabric like a chain made of linked loops. A thicker chain link takes more space and makes a looser chain overall. The same holds for stitch gauge: a larger needle is a thicker link and reduces the number of links that fit in a measured length. That is why yarn weight on the label and the pattern's gauge are related but not identical; yarn weight tells you what range of needles will generally work, while pattern gauge tells you the exact outcome the designer used.
When you read a pattern note that lists a needle size and a gauge, read them together. The needle size is the practical tool the designer used to reach that gauge with the chosen yarn and stitch pattern. If you change either yarn or needle size you change the route to the finished dimensions, and swapping a needle to a larger size will usually mean you must either alter stitch counts or accept a different fit and drape.
Measure gauge and count stitches per inch with simple tools
Practical framework: how to test if a bigger needle will work for your project
Before you commit to larger needles for a full project, knit a proper gauge swatch using the same stitch pattern and yarn you will use in the finished piece. A good swatch is larger than a tiny square; aim for a swatch at least 6 inches wide and 6 inches tall so you can measure across the center without edge distortion. Knit the swatch on the bigger needles you want to try, and leave the edges intact until you have blocked it.
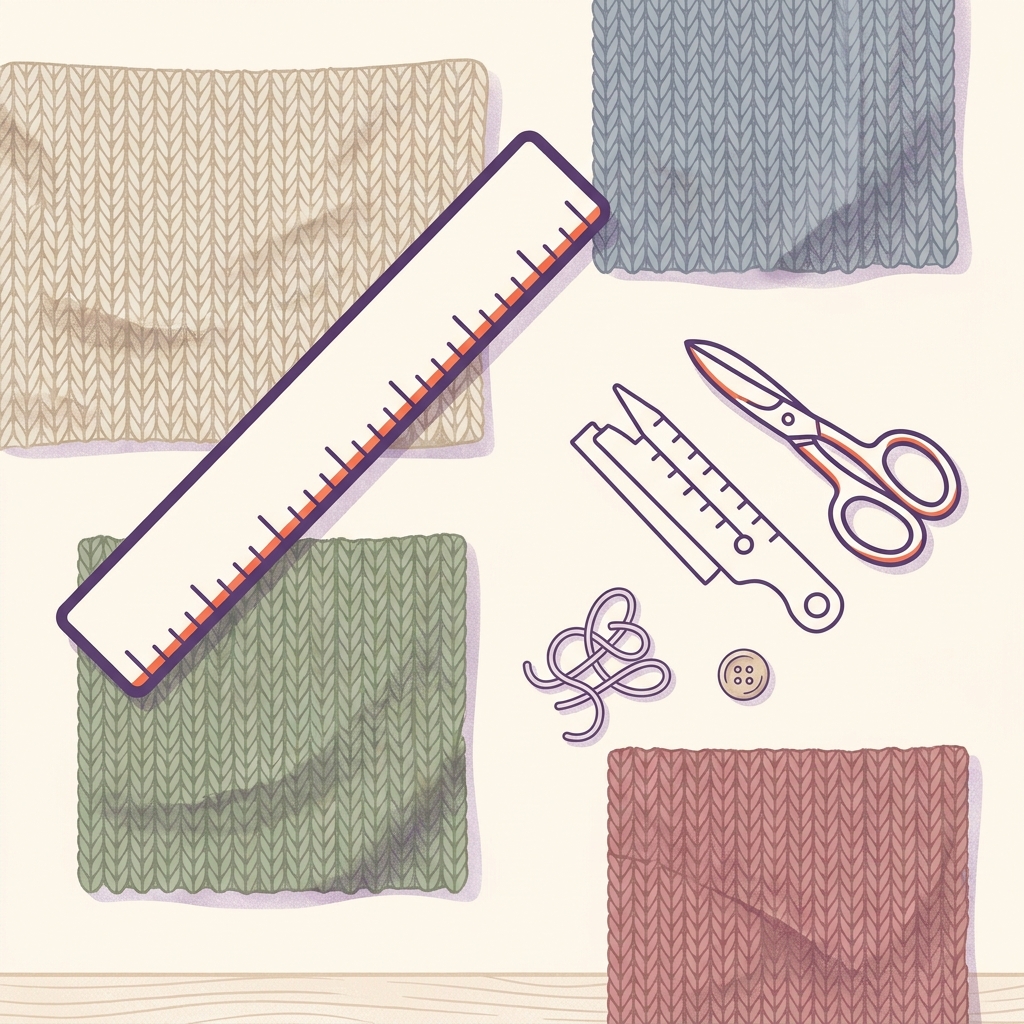
Step-by-step swatch method: cast on enough stitches to give you a central area of at least 6 inches, work the same stitch pattern as the project for a few inches, then work a few border rows in stockinette or garter so the central fabric lies flat. After knitting, wash and block the swatch exactly as the finished piece will be treated, then lay it flat to dry before measuring.
What happens if I use bigger knitting needles than recommended?
Bigger needles produce larger stitches and a looser fabric, changing gauge, fit and drape; test with a blocked swatch to decide whether to accept the result or adjust needle size or stitch counts.
How to measure and calculate gauge: measure across a centered section of the blocked swatch that excludes the curled or uneven edges. Count the number of full stitches across a 4-inch span, or count over a smaller span and convert to stitches per inch. For example, if you count 16 stitches across 4 inches, your stitch gauge is 4 stitches per inch. Compare that figure to the pattern gauge to see how much you differ. If the swatch on larger needles yields fewer stitches per inch than the pattern requires, you will either need to change needle size back down or adjust the pattern to compensate.
Assess fabric drape and hand after blocking. Hold the swatch to see how it hangs and how much the fabric folds or flows, and test stitch definition by inspecting textured or lace motifs. For wearability, gently stretch and press the swatch to check recovery and stability. If the yarn looks too open for the intended use, a smaller needle will tighten the fabric; if the drape is precisely the effect you want, the larger needle may be the right tool.
If your swatch shows you are close to the pattern gauge but slightly off, you can either change needle size by one increment or make small adjustments to stitch counts for simple pieces. If your swatch is far from the pattern gauge, using larger needles means rethinking stitch counts and shaping before proceeding.
Decision criteria: when to accept a larger-needle result and when to change it
Decide whether fit or fabric is the priority. For fit-first projects, such as fitted sweaters, socks, and hats with precise circumference, matching the pattern gauge is usually essential. For fabric-first projects, such as open shawls, oversized scarves, and loosely draped cardigans, the look and drape of the fabric may be more important than exact dimensions.
Checklist of factors to prioritize: finished measurements, fabric drape, stitch clarity, warmth and wearability. If a larger-needle swatch gives the right drape and hand but changes measurements only slightly, you may accept the difference. If the swatch loses motif clarity or becomes too loose for durability, choose a smaller needle or a denser stitch pattern.
Examples of acceptable shifts: scarves and open shawls often benefit from larger needles because they enhance softness and flow. Examples where you should not accept a large-needle result: close-fitting sleeves, button bands that must align, or socks where fabric density affects durability and fit. When you cannot accept the changes, use a smaller needle or change yarn weight to achieve the required gauge.
When adjusting pattern counts, do the math on circumference and length rather than guessing. Increase or decrease total stitch numbers in proportion to the change in stitch gauge. If the swatch on larger needles yields three stitches fewer per 4 inches than the pattern gauge, you must either choose a smaller needle or add stitches proportionally to keep the same finished dimensions. For more on how we choose yarn and tools, see how we choose.
Common mistakes and pitfalls when upsizing needles (and how to avoid them)
A frequent mistake is skipping the swatch and proceeding directly to the project because the needle looks the right size by eye. Relying only on feel or visual comparison can be misleading, since hand tension, yarn construction and stitch pattern all influence final gauge. Another common error is misreading the yarn label as the sole guide; label recommendations are general and do not replace a swatch measured against the pattern gauge.
Problems caused by not checking gauge include poor fit, distorted stitch patterns and inadequate fabric strength. For example, lace motifs can spread out and lose their repeating geometry when upsized too much, and ribbing that should hold a cuff in place can become floppy. Avoid these outcomes by following a few preventive steps: measure, swatch, block and compare to the pattern gauge before committing to a full piece.
Practical precautions: always wash and block a swatch the way you will treat the finished item, because washing can change drape and stitch spacing. Use the same stitch pattern and the same number of border rows as the project when knitting the swatch. Record your needle size, yarn, number of stitches cast and measured gauge so you can reproduce or correct the setup later. See our resources for related reference materials.
If you discover the fabric is too loose after several inches into a project, it is usually better to rip back and correct needle size than to try to force the project to fit by adding shaping. Early correction saves time and yields a more reliable final garment. Keep simple notes on what worked so you build an internal reference for future projects and avoid repeating the same mistake.
Examples and quick scenarios: small projects showing the difference
Scarf scenario: knitting a 7-inch wide scarf on the recommended needles yields close, warm fabric with clear texture. If you switch to one or two sizes larger, the same cast-on may produce a 9-inch wide scarf with a more open, drapey look. If the new width is acceptable, embrace the change as a stylistic variation. If you need the original width, decrease the cast-on stitch count proportionally to the change in stitch gauge.
Fitted hat scenario: a hat designed to fit a 21-inch head depends on matching stitch gauge for correct circumference. Using larger needles without adjusting the stitch count will make the hat too large and the fabric less springy, which can lead to a loose fit at the brim. For fitted items, prioritize gauge first and fabric appearance second, or rework the pattern math to preserve shaping and fit.
Quick fixes for small projects: add shaping like extra decreases to reduce circumference, switch to a firmer stitch pattern to regain structure, or swap yarn for a denser alternative. When a change is minor, these small fixes salvage the project without full rework. When the visual change is the goal, treat the upsized fabric as a new design and note the parameters for future reference.
When to embrace the change: if the larger needle creates a pleasing new texture, faster knitting time and the finished piece still meets your personal fit and durability expectations, accept the result and call it intentional. If you are reproducing a pattern for precise fit, prefer matching the original gauge or adjusting counts carefully.

Frequently asked questions
Do I always need a swatch if I change needle size?
Yes, swatching and blocking are the most reliable way to see how a needle size change affects gauge, fit and drape before you commit to a full project.
How much does one needle size change gauge?
One size can change stitch gauge enough to alter dimensions noticeably; the effect varies by yarn and tension so a swatch is the best test.
Can I fix a too-loose fabric without reknitting?
Minor issues can sometimes be fixed with extra shaping or a firmer stitch pattern, but significant gauge differences usually require reknitting to match the intended fit.
Knitting with larger needles is a useful design tool when you know what to expect and how to test it. Use the swatch method, check gauge and consider whether fit or fabric is more important for your project. With a few simple checks you can turn a potential mistake into a deliberate style choice or correct course early to save time and materials.