
The journal
How do you make paper beads step by step? A complete beginner guide
Learn how to make paper beads with step-by-step instructions on cutting, rolling, sealing and simple projects for beginners.
Quick answer and overview: what paper beads are and how long they take
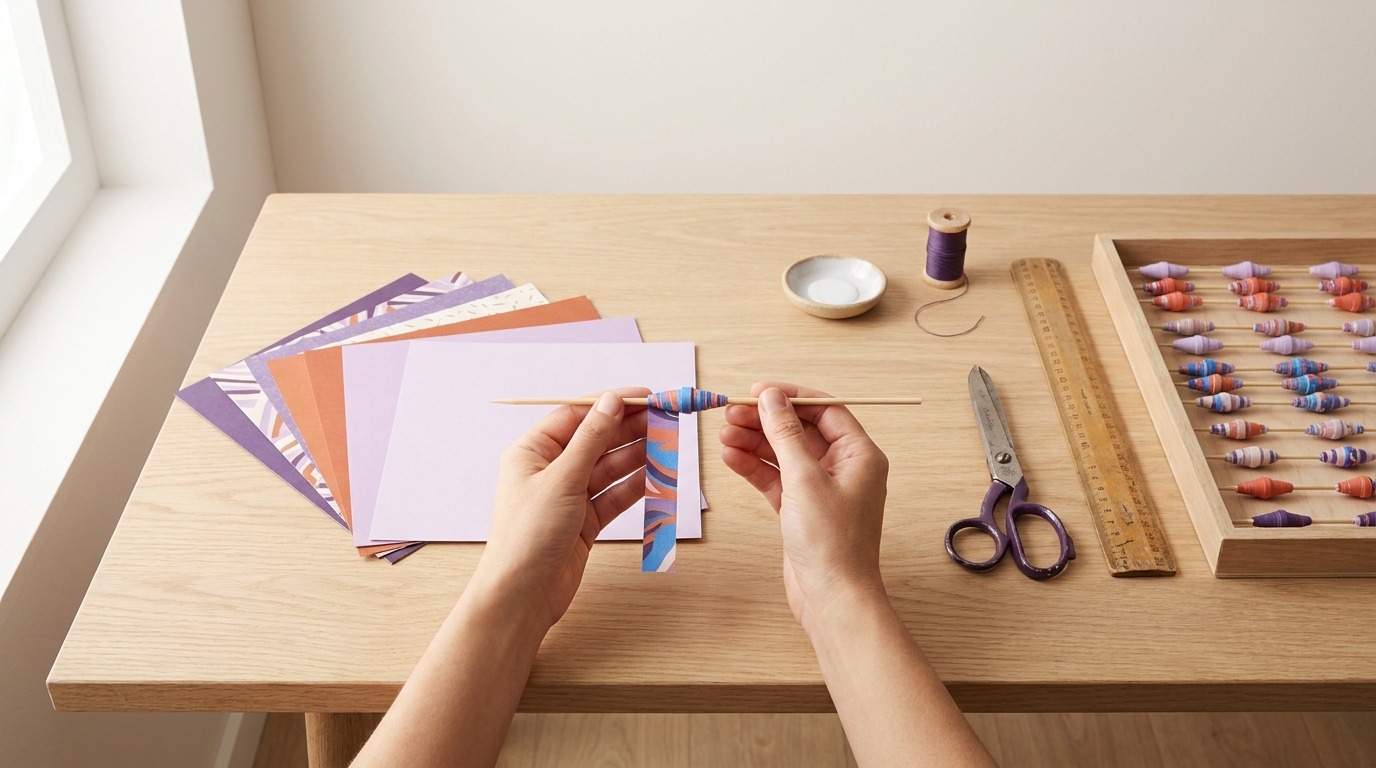
Paper beads are small decorative beads made by rolling narrow strips of paper tightly around a thin core and sealing the finished shape so it holds. If you are wondering how to make paper beads, the basic idea is simple: prepare paper strips, roll each strip around a toothpick or skewer, secure the end with glue, then add a protective finish.
For a small batch of 20 to 30 beads a beginner can expect to spend about one to two hours including drying time, depending on the sealant used and how many layers you apply. Skill needed is low, and with a little practice you will make beads with consistent shape and size.
How do I start making paper beads with basic tools?
Begin by cutting consistent paper strips, choose a thin core like a toothpick, roll with steady tension, secure the end with glue, let beads dry, then seal and string them for jewelry or keychains.
At a glance, the main stages are: prepare paper, cut strips, roll, glue, seal, and string. Each stage has small choices that change the bead's size, appearance and durability, so the rest of this guide walks through practical tips to help you control the results.
What you will learn in this guide: how to make paper beads
Estimated time and skill level
By following this guide you will be able to make basic tubular and conical beads, choose suitable paper and tools, and finish beads for wearable DIY jewelry and small gift projects. Time estimates and simple variations are included so teachers and parents can plan craft sessions. See our guides.
Materials and tools you need before you start
Before you begin, collect the essential items. Typical paper bead supplies are easy to source and inexpensive.
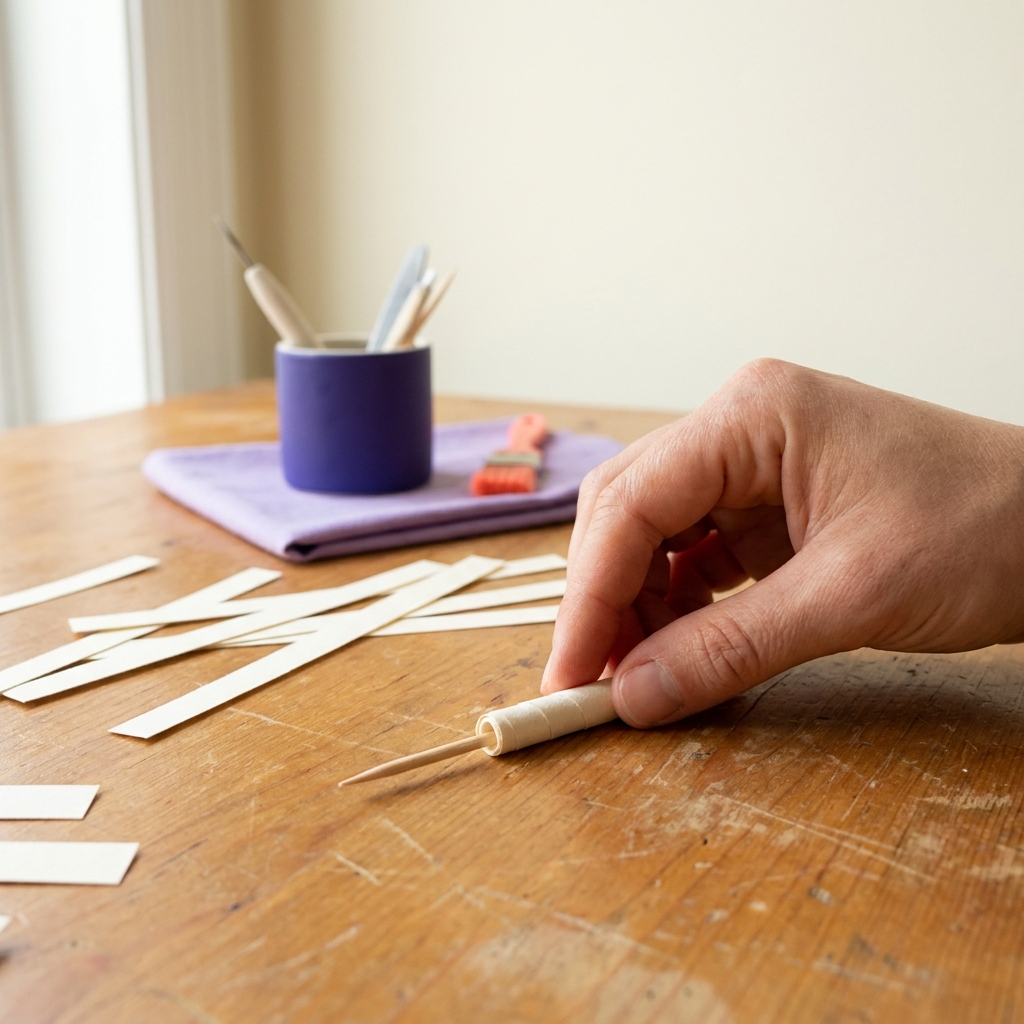
Paper types that work well include magazine paper for glossy color, scrapbooking paper for patterned pages, and lightweight craft paper for stronger beads. Thicker card stock will make very short, chunky beads; thinner paper produces longer, slimmer beads. Choose paper based on the bead diameter and appearance you want.
Essential tools and simple alternatives:
- Ruler and pencil for marking strip width
- Scissors or a craft knife for cutting strips
- A thin rolling core, such as a toothpick, bamboo skewer or thin dowel
- Clear drying glue or PVA glue to secure the end
- A small bowl of water and a cloth for quick cleanups
Optional extras that help finish and string beads: clear varnish or a diluted PVA topcoat, acrylic paint for color, waxed thread or jewelry wire for stringing, and spacer beads or charms to combine with paper beads. See our paper crafts guide.
Kid-friendly substitutions: use blunt scissors, pre-cut strips, non-toxic PVA glue and a thick straw as a rolling core for younger children. For classroom work, prepare strips ahead of time so students can focus on rolling and sealing.
Step-by-step process: cutting, rolling and gluing the beads
Set up a small workspace with all your materials within reach. A clean table, a scrap sheet for glue, and a tray to lay finished beads while they dry will make the process smoother.
1. Preparing and cutting strips
Decide on the strip width: common widths are 6 mm to 12 mm. Narrow strips (6 to 8 mm) yield long, slender beads. Wider strips (10 to 12 mm) make shorter, thicker beads. Mark a straight baseline on the paper using a ruler and pencil, then cut strips consistently to keep bead sizes even.
Tip: For tapered or conical beads, cut triangular strips that are wide at one end and narrow at the other. For tubular beads, trim parallel edges so the strip has uniform width along its length.
- Measure and mark the paper using the ruler and pencil so strips are consistent.
- Cut slowly with scissors or use a craft knife on a cutting mat for clean edges.
- Keep a few test strips to practice rolling before you use decorative or costly paper.
2. Rolling technique and securing the bead
Choose a rolling core that fits how large you want the bead hole to be. A toothpick makes a small hole good for thin thread; a bamboo skewer or thin dowel gives a larger hole suitable for elastic or thicker cord. Hold the core steady and place one end of the strip at an angle on the core to start the roll.
Begin rolling tightly and slowly, keeping even tension so the layers sit flat against each other. If the strip wants to twist, pause and realign its edge before continuing. Keep the first wrap snug, because it forms the bead's central axis and sets the final shape.
Recommend simple cores to roll around and remind to test fit sizes
When you reach the end of the strip, add a thin line of glue along the inner edge or dab a small amount with a toothpick. Press the glued end down and hold for a few seconds until tacky. Place the bead on a clean surface to dry with the core still in place so the hole remains true.
Glue options during rolling: some makers apply a drop of glue at the start, others glue only at the end. Applying glue to the final edge gives a neat finish, while adding glue to the first few wraps ensures the core and early layers do not slip. Both approaches work; choose what feels more controlled for you.
3. Tips for consistent size and shape

Work in short sessions so your hands remain steady. Keep strip widths consistent and use the same starting angle for each bead. For matched sets, measure the length of finished beads as you go and note the strip width that produced the desired size. Arrange completed beads on a drying rack or tray in rows to keep track of progress.
4. Drying time and handling
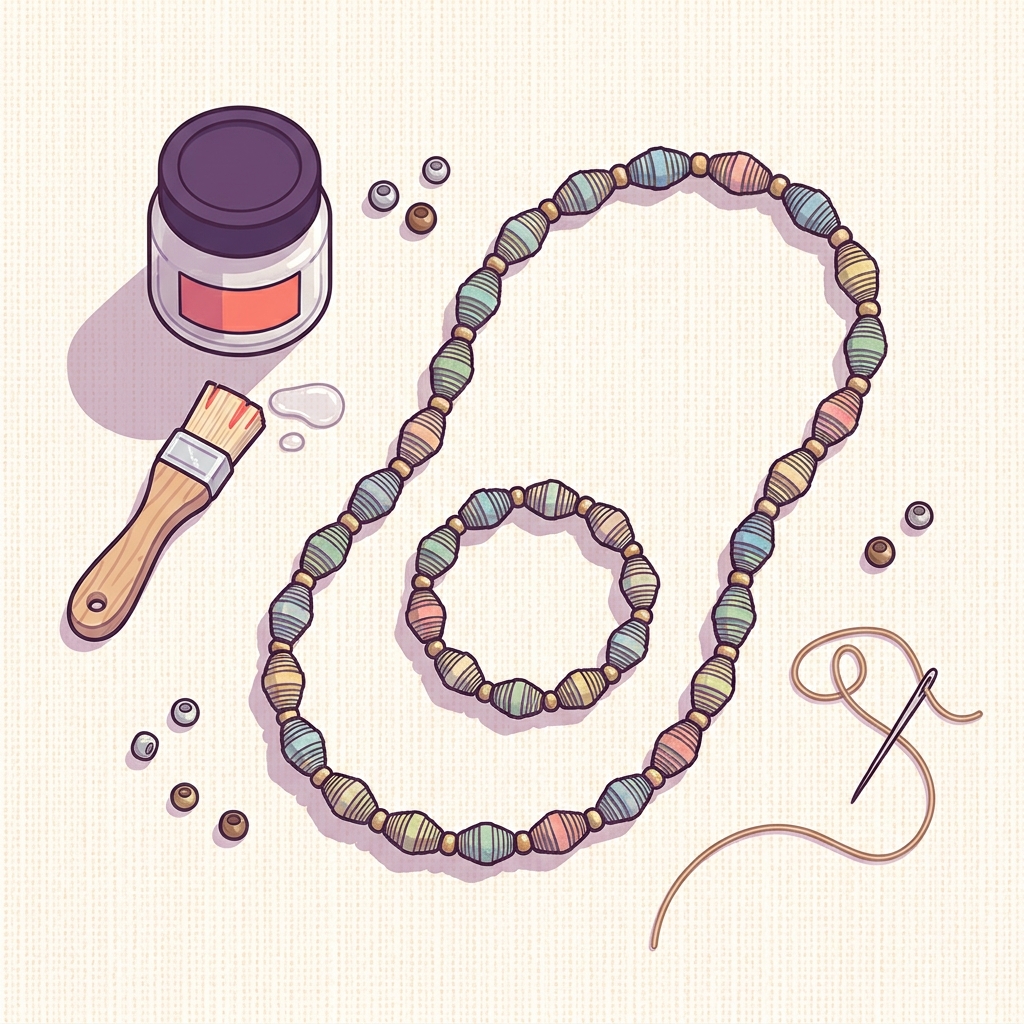
Let freshly glued beads dry thoroughly before removing the core if you plan to apply sealant immediately. Drying time varies with glue type and layer thickness but expect at least 15 to 30 minutes for the initial glue tack, longer if many beads are glued at once. Handle dried beads gently when sliding them off cores to avoid pinching or flattening one side.
Sealing, finishing and variations for durability and look
Sealing is what turns rolled paper into wearable beads. A comparison of sealing methods is discussed on Bottom of the Bin.
Common sealant choices include diluted PVA glue applied as a wash, clear craft varnish for a glossy or matte finish, and a brushing of acrylic medium. Each has pros and cons: diluted PVA is inexpensive and easy to brush on, while clear varnish dries faster and can give stronger water resistance when applied in multiple thin coats. Mod Podge Rocks describes a Mod Podge approach.
When applying a sealant, test on a single bead first to check appearance and curing time. Dip or brush the bead, rotate it to cover all sides, then place it on a drying rack so air circulates around it. Apply two to three thin coats rather than one thick coat to avoid tackiness and uneven texture. Instructables has a glazing and drying walkthrough.
Decoration options before sealing: paint the bead with thin acrylic washes or add powdered pigments, then seal. For a decoupage look, apply a thin layer of decoupage glue on the bead, press down decorative paper or a fine glitter layer, and seal again with a topcoat once dry.
Making beads water resistant: a multi-layered varnish approach gives better surface protection. Allow each coat to dry fully and sand very lightly with fine sandpaper between glossy coats if you want an ultra-smooth finish. Note that no finish makes paper completely waterproof; take care with heavy water exposure.
Design ideas and quick project scenarios
Paper beads can be used in many small projects that are appropriate for different ages and contexts. Below are starter concepts with short material lists and time estimates to help you pick one that fits your available time and skill level.
1. Simple child-friendly bracelet
- Materials: pre-cut paper strips, PVA glue, elastic cord, spacer beads
- Time: about 30 to 45 minutes including drying
- Notes: Use wider strips for chunky beads. Adults should handle glue and scissors for young children.
2. Matching necklace and earring set
- Materials: assorted paper, varnish, jewelry wire, earring hooks, clasps
- Time: 1.5 to 2.5 hours including sealing
- Notes: Make a focal bead by using a larger strip or layering pattern paper for contrast. Combine with metal spacer beads for durability.
3. Keychain or zipper pull
- Materials: thicker paper for a sturdy bead, clear topcoat, keyring hardware
- Time: about 45 to 60 minutes including drying
- Notes: Seal thoroughly and allow longer drying to withstand outdoor use.
Color and pattern guidance: pick 2 to 3 related tones for a coordinated look or use high-contrast strips for a bold mix. Try repeating a pattern every third bead to create rhythm in a necklace or alternate small paper beads with metal spacer beads for a polished feel.
Age-appropriate notes: for classroom projects, pre-cut strips and set up multiple stations with glue, rolling cores and a supervised sealing station. For younger children, focus on rolling and stringing while adults handle sealants and final assembly.
Troubleshooting, common mistakes and care tips
Why beads unravel or crack and how to fix it: unraveling usually means the final glued edge did not bond to the underlying layer. Re-glue by applying a thin line of glue under the loose edge, hold briefly, then allow to dry fully. Cracking after sealing often happens when a heavy coat of varnish dries too quickly; sand lightly and reapply thin coats.
Holes too tight for stringing: if the bead hole is slightly smaller than your cord, gently ream the hole using a round needle or a toothpick turned slowly while backing the bead with soft cloth to avoid crushing it. For larger changes, re-roll another bead with a larger core.
Testing and repair recommendations: make one test bead at the start and put it through the full finishing process before committing to dozens. Store spare strips and a small repair kit with PVA glue and a fine brush to fix chips or loose edges later.
Storage and cleaning: keep finished paper bead jewelry in a dry box or a jewelry pouch to avoid abrasion. Clean gently with a soft, slightly damp cloth if needed, then dry thoroughly. Avoid soaking or exposing beads to heavy moisture even when sealed.
Frequently asked questions
What paper is best for beginner paper beads?
Beginner-friendly choices are magazine pages and scrapbooking paper because they are colorful and thin enough to roll easily while giving a good surface for sealants.
How long does sealant take to dry on paper beads?
Drying time depends on the product; expect at least 30 minutes between thin coats and up to several hours for full cure under normal room conditions.
Can paper beads get wet after sealing?
A proper multi-coat varnish improves water resistance but does not make beads fully waterproof; avoid soaking and dry beads promptly if they get damp.
Making paper beads is an approachable craft that rewards small experiments and steady hands. Start with a few test beads to find the strip width and finish you prefer, and use the project ideas here to turn those beads into gifts or classroom activities. Keep a simple repair kit and store finished pieces out of heavy moisture to extend their life. With practice you will make consistent beads and enjoy the flexibility of this low-cost creative technique.
References
- https://madeinsteps.com/guides/
- https://madeinsteps.com/guides/paper-crafts-and-cardmaking/
- https://madeinsteps.com/guides/craft-cutting-machines/
- https://modpodgerocksblog.com/paper-beads/
- https://www.instructables.com/Glazing-and-Drying-Paper-Beads/
- https://www.bottomofthebin.com/post/paper-craft-paper-beads