
The journal
How to transfer patterns to fabric without transfer paper — Practical methods
how to transfer pattern onto fabric with six low-cost methods, plus tips to choose the right technique and avoid common mistakes.
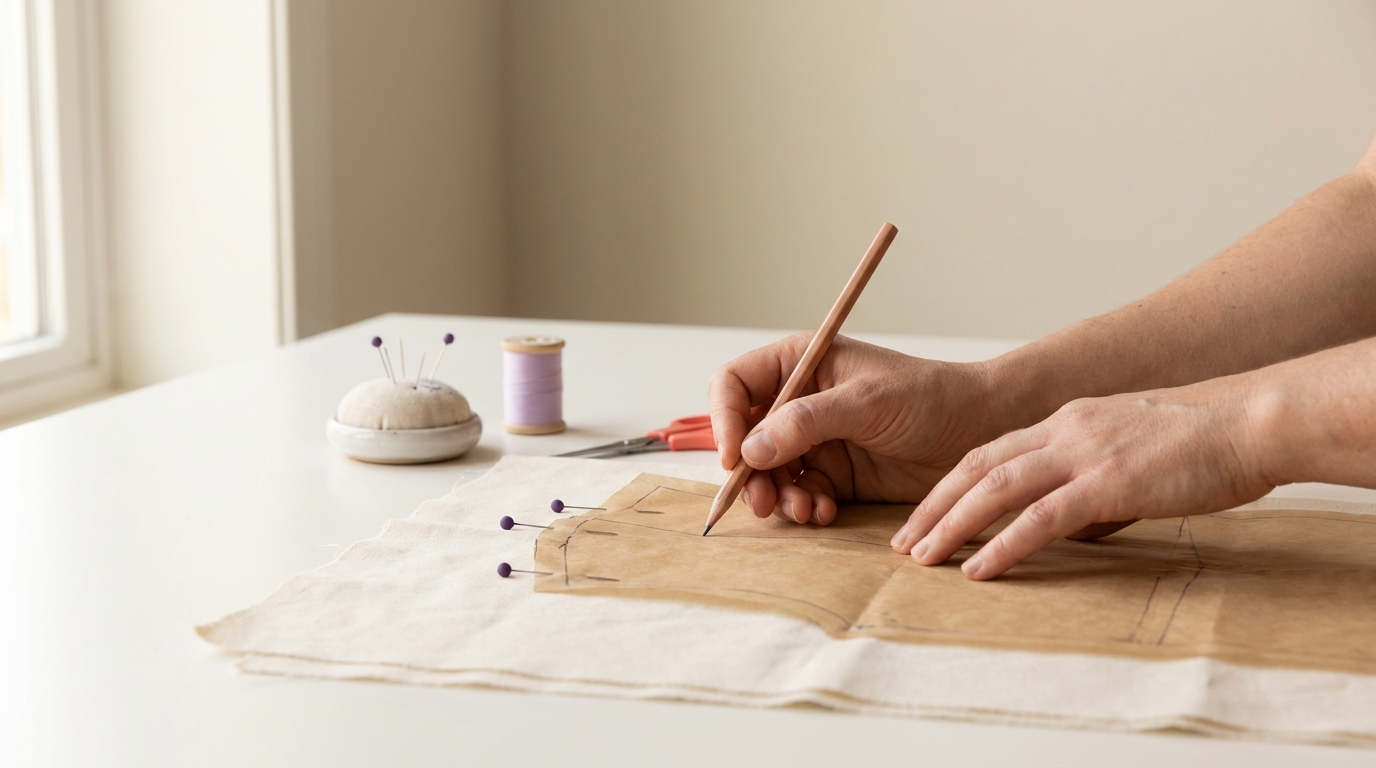
What it means to transfer a pattern to fabric and when you need to do it
Transferring a pattern to fabric means moving the design lines and markings from paper or a digital shape onto the actual fabric so you can cut, sew, or embroider with confidence. Clear lines and marks help you cut accurately, match seams and notches, and stitch places like darts, buttonholes, or embroidery outlines.
When you work without specialist transfer paper, you still need a reliable way to get those marks in the right place and the right form. The core choices are whether the marks must be removable after sewing or whether they can be permanent guides. That choice matters because some marks can be washed or ironed away while others will stay and change the finished look of the piece.
Here are a few practical approaches you can use instead of transfer paper, with a short note on when each one is a good fit. These give you options for lightweight, sheer, thick, or dark fabrics, and for both cutting accuracy and sewing or embroidery guides.
Window tracing, sometimes called tracing with a light source, lets you copy a paper pattern onto fabric by seeing the lines through thin fabric or a transparent stabilizer. It is fast and inexpensive for midweight and sheer fabrics.
Tracing wheel with a carbon substitute uses a tracing wheel and a medium such as dressmaker carbon, or in a pinch a soft pencil underlay, to transfer perforations or dotted lines to stable fabrics. It is useful for marking seam lines and notches where you need permanence until stitching.
Tailor's chalk, pencils, and washable markers are direct-draw tools that give you control over line weight and disappearability. They are the go-to choice when marks must come out in the wash or after a gentle brush-off.
Freezer paper technique bonds a temporary crisp edge to fabric so you can trace or cut accurately on curves and directional prints. This method works well for precise cutting and for dark fabrics when paired with a light-colored marker on the paper side.
Basting and tailor's tacking use thread to mark critical points and lines. They are especially reliable on delicate or textured surfaces where any surface mark might harm the fabric or be hard to remove.
Why pattern transfer matters for sewing and embroidery
Good transfer keeps pattern pieces aligned, ensures seam allowances are correct, and gives you reliable guides for stitching. For tailoring, quilting, and precise garment construction, transferred lines save time and reduce mistakes. Even for basic projects, a clear guide prevents wasted fabric and improves fit.
Quick overview of common non-transfer-paper approaches
The right method depends on the fabric weight, whether marks must be removable, and how many copies you need. Choose direct marking for quick removable lines, freezer paper or window tracing for crisp shapes, and basting or tailor's tacks when you want stitch-based, non-marking guides.
Five practical methods to transfer a pattern without transfer paper
1 Window or lightbox tracing
Materials needed: paper pattern, fabric, clear tape or weights, pencil or washable fabric marker, a bright window or lightbox.
Step-by-step:
- Place the paper pattern on a flat surface with the design side up.
- Tape the fabric over the pattern if you are using a lighttable or place both against a bright window with tape or weights to keep them steady.
- Trace the lines through the fabric with a sharp pencil for light fabrics or a washable fabric marker for slightly heavier cloth.
- Remove the paper and verify the placement by holding the fabric up to the light or the lightbox again.
Tip for cleaner lines: use small weights rather than pins to avoid shifting, and work from the center of a piece outward to keep tension even.
Best fabrics and patterns: lightweight to midweight cottons, linens, and sheer fabrics where light passes through. Not ideal for very thick or heavily textured fabrics.
2 Tracing wheel plus carbon substitute
Materials needed: tracing wheel, dressmaker carbon if available, or a soft pencil like a colored pencil, pattern, and fabric.
Step-by-step:
- Lay the carbon or pencil on the wrong side of the fabric under the paper pattern line.
- Run the tracing wheel firmly along the paper line to make perforations or impressions through to the fabric.
- For dotted transfer, use a sharp tool or stiletto to follow small holes with crumbly fabrics removed after.
Tip for less fabric damage: set the wheel pressure to medium and test on a scrap first so the marks are clear but not overly pierced.
Best fabrics and patterns: medium to stable woven fabrics, quilting pieces, and garment seams where you want accuracy and a mark that stays long enough for construction.
How do I transfer a pattern to fabric without transfer paper?
Use methods like window tracing, tracing wheel with a carbon substitute, chalk or washable markers, freezer paper, or basting and tailor's tacks, and always test on a scrap first.
3 Chalk, pencils and washable fabric markers
Materials needed: tailor's chalk or chalk wheel, fabric pencils, washable fabric markers, a scrap for testing, and a damp cloth for removal tests.
Step-by-step:
- Test the chosen marker or chalk on a scrap, press it, and wash if needed to confirm removability.
- Hold pattern in place with weights or pins and draw along pattern lines on the fabric side that suits your project.
- If you need temporary dots, use small chalk dots; for lines, a pencil or fine marker gives more control.
Tip for cleaner lines: sharpen chalk or pencil edges and use a ruler for long straight lines to keep marks neat.
Best fabrics and patterns: works on most fabrics, especially midweight cottons, quilting cottons, and some synthetics when you choose a marker formulated for that fiber. Not all markers remove from all fabrics, so test first.
4 Freezer paper technique for crisp edges
Materials needed: freezer paper, iron, scissors, pencil or fabric marker, fabric, and a surface to press on.
Step-by-step:
- Cut a piece of freezer paper slightly larger than the pattern piece.
- Place the shiny side of the freezer paper against the wrong side of the fabric and press with a hot iron just long enough to hold it in place; do not slide the iron.
- With the paper lightly bonded, trace the pattern lines onto the paper side or cut around the paper to transfer exact shapes to fabric.
Tip for less distortion: use short press bursts and let the fabric cool before removing the paper to keep edges crisp.
Best fabrics and patterns: ideal for precise cutting on cottons and woven fabrics and for dark fabrics where seeing through is hard. Not recommended for heat-sensitive synthetics or heavily textured knits.
5 Basting and tailor's-tacking for delicate or sheer fabrics
Materials needed: contrasting basting thread, needle, pattern, and pins or safety pins for holding pattern pieces.
Step-by-step:
- Pin the paper pattern to the fabric layers or a thin stabilizer.
- Use long running basting stitches along the pattern lines or make tailor's tacks by bringing a loop of thread through both fabric layers at marks, leaving loops to snip later.
- After construction steps that rely on the marks, remove the basting by pulling the long stitches out, or clip loops from tailor's tacks where needed.
Tip for less damage: use a fine sharps needle and a light tension so holes are minimal and easy to repair, especially on delicate fabrics.
Best fabrics and patterns: sheer, delicate, or textured fabrics and projects where any surface marking could show or be hard to remove. Great for embroidery placement on delicate cloth.
How to choose the best transfer method for your project
Choosing a method starts with five quick checks: fabric weight and texture, whether marks must be removable, number of copies needed, the level of detail on the pattern, and the tools you have at hand. Running through these points as a short checklist helps you pick a method that balances accuracy and fabric care.
Checklist of decision factors:
- Fabric weight and texture: sheer, midweight, heavy, or fluffy.
- Visibility of marks: must the mark disappear or can it stay until laundering.
- Number of copies: single piece or many duplicates.
- Accuracy required: rough guide or exact seam and edge lines.
- Tools on hand: tracing wheel, light source, freezer paper, or just chalk and thread.
Matrix-style guidance: for garment seams on midweight cotton, window tracing or tracing wheel methods are fast and accurate. For quilting where many identical pieces are needed, tracing wheel or washable markers on templates help scale. For embroidery on dark or delicate fabric, the freezer paper method or tailor's tacks give the best placement without visible surface marks.
Budget and tool availability notes: low-cost options include chalk, pencils, and basting thread. A simple bright window costs nothing and often substitutes for a lightbox. A small investment in a basic lightbox or a proper tracing wheel can save time if you transfer patterns frequently.
How permanence affects your choice: removable marks are safer for finished garments and fabrics that press or wash often. Permanent or semi-permanent marks may help with heavy construction but must be compatible with the fabric and final cleaning method.
Common mistakes and troubleshooting when transferring patterns
Typical mistakes include not testing marks, pressing marks before checking removability, using the wrong tool for a fabric texture, and failing to stabilize the fabric so it shifts while you trace. Each mistake has an easy prevention step that keeps a project on track.
Prevention tips: always test on a scrap and stabilize the fabric with weights, a temporary adhesive, or a layer of stabilizer if it moves. Good light and a tidy workspace reduce misalignment and smudging.
Choose a simple visible transfer setup
Why lines disappear and how to prevent it: faded marks are usually the result of weak pigments or an accidental wetting before stitching. To prevent this, test the mark through a full pressing and washing cycle on a scrap. For key alignment points, use tailor's tacks instead of surface marks so you keep reference points through pressing and washing.
Fixes for misaligned or smudged markings: if a line smudges but the seam allowance is still visible, retrace lightly with a washable marker after stabilizing the piece. If you cannot recover the line, re-pin the pattern carefully using original notches and measure key distances from a stable edge to reposition the marking.
When to re-transfer: if more than two alignment points are off or the markings are unreliable after testing, it is faster and safer to re-transfer than to guess. Re-transfer on a fresh, flattened piece of fabric and work in small sections to keep alignment accurate.
Three real-world scenarios with step-by-step examples
Example A: Transferring a bodice pattern onto midweight cotton using window tracing
Materials list: paper bodice pattern, midweight cotton, weights or pins, pencil and washable fabric marker, bright window or lightbox, scissors.
Sequence of actions:
- Press the fabric flat and place it right side up on a clean surface.
- Place the paper pattern on the inside of the fabric if light shows through; otherwise flip the fabric and line the paper underneath against a bright window.
- Secure pattern and fabric with weights and trace the lines onto the fabric with a pencil for subtle guides and a washable marker for more visible lines.
- Cut with scissors and verify alignment by matching shoulder and side seams before basting or stitching.
Image note for the writer: include a close-up photo of the fabric over a window with the pattern visible through it and a hand tracing a neckline.
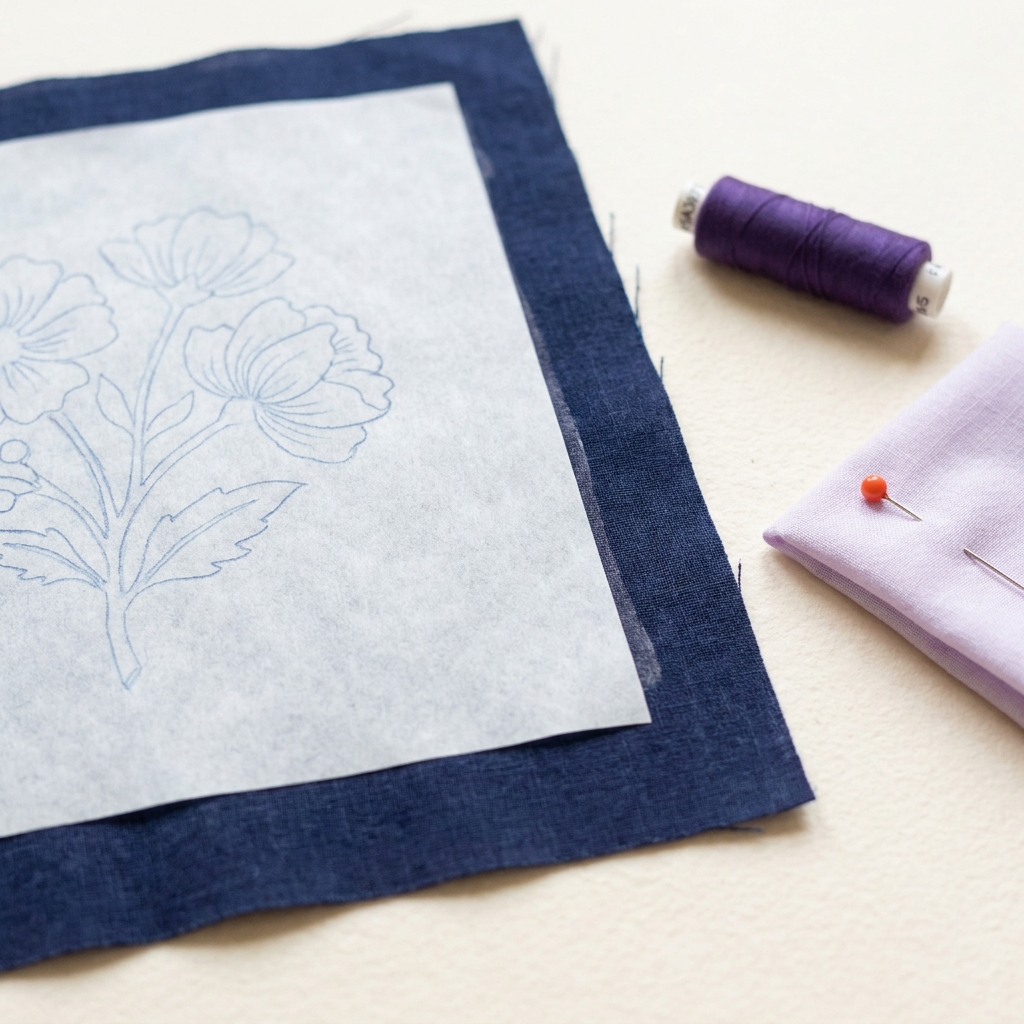
How to remove marks after sewing: for pencil and washable markers test wash a small swatch at the same temperature you plan to launder the finished garment. If marks remain after a test wash, try a gentle soap rub or a specialized fabric cleaner before heat setting the garment.
Example B: Marking quilting pieces with a tracing wheel substitute
Materials list: paper templates, tracing wheel or firm rotary tool, soft colored pencil or tailor's carbon, quilting cotton or midweight fabric, cutting mat.
Sequence of actions:
- Layer fabric and paper templates on a flat cutting mat.
- If you do not have dressmaker carbon, place a soft colored pencil under the paper and press with the tracing wheel to leave a faint colored line.
- Connect dotted marks with a ruler if you need continuous lines and cut pieces for quilting.
Image note for the writer: show a stitched example with the traced seam allowances and a nearby scrap showing the faint pencil transfer.

How to finalize after stitching: most pencil or carbon marks disappear with a gentle washing; for stubborn marks use a test of mild detergent and cold water before full laundering.
Example C: Transferring an embroidery outline onto dark fabric using freezer paper
Materials list: dark fabric, freezer paper, iron, white or light-color fabric pencil, embroidery hoop, scissors.
Sequence of actions:
- Cut freezer paper slightly larger than your pattern and trace the design onto the paper side with a light pencil or fine pen.
- Place the shiny freezer-paper side to the wrong side of the fabric and press with a hot iron in short bursts to bond the paper temporarily.
- Flip the fabric and trace the design through the paper onto the fabric with a white or light pencil if the paper blocks the view, or stitch through the paper as a guide.
Image note for the writer: include a photo of the freezer paper pressed to the wrong side of the fabric, with the embroidery outline visible from the right side.
How to remove the marks or finalize the transfer: when embroidery is complete, peel the freezer paper gently while the fabric is cool. For any residual pencil, use a soft brush or gentle laundering following a test to avoid setting the mark.
Quick checklist and next steps
Printable checklist:
- Pick fabric and a small scrap for testing
- Choose a transfer method that matches fabric weight and removability needs
- Gather materials and stabilize the fabric
- Transfer on a scrap and test pressing and washing
- Transfer to the main piece and verify key points before cutting or stitching
Three practice exercises:
- Easy: Trace a simple rectangle template onto a scrap using a window and pencil, cut and check edges.
- Medium: Use freezer paper to transfer a curved motif onto dark cotton and stitch a running embroidery outline.
- Medium: Practice tailor's tacks on a square of sheer fabric to mark corners and center points.
Keep a small labeled test scrap in your sewing box that notes which marks washed out, which needed a second pass, and which left faint residue. That log becomes your go-to reference for future projects.
With these methods you can transfer patterns onto fabric without transfer paper reliably. Try a couple of approaches and keep notes on what worked for each fabric so your next project is faster and more accurate.
Made in Steps tools and guides

Frequently asked questions
Can I remove all marks after sewing?
Most removable marks come out with a test wash or gentle rubbing, but always test on a scrap first because some fabrics and markers react differently.
Which method is best for very dark fabric?
Freezer paper combined with a light pencil or tailor's tacks is a reliable choice for dark fabrics where seeing lines through the cloth is difficult.
Is a tracing wheel safe on lightweight fabrics?
Use a light touch and test on a scrap; for fragile fabrics prefer window tracing or tailor's tacks to avoid making holes.
Pick one method and practice it on a scrap before you start a real project. Keeping a small test scrap with notes about which marks washed out helps you build a quick reference for future work.