
The journal
How to use a sewing machine seam guide: three practical ways
Set up and sew straight, consistent seams using plate markings, a magnetic guide or an adhesive guide. Clear steps, a worked example and a quick pre‑sew checklist.
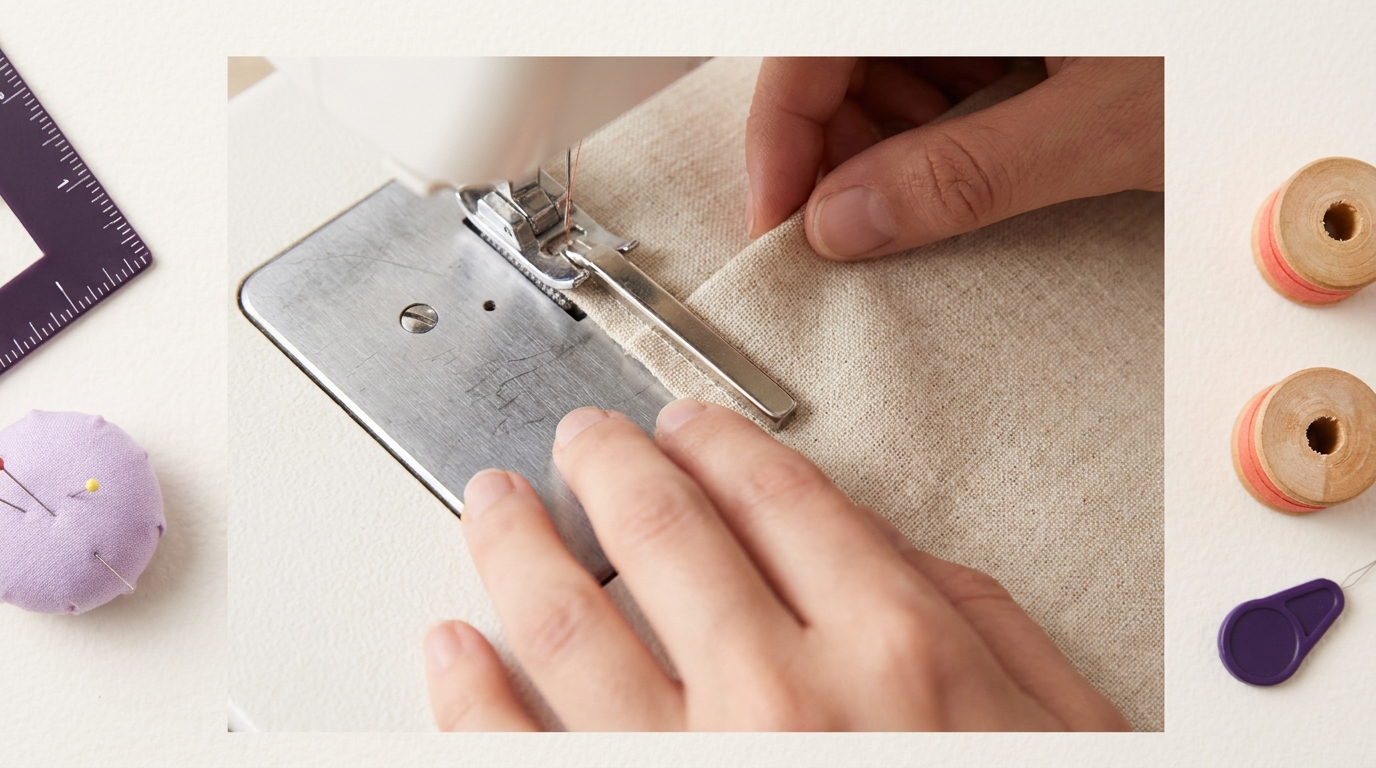
Short answer: position a visual or physical guide the exact distance from your needle, then keep the fabric’s raw edge gently riding along that guide as you sew. Many sewists add a magnetic or adhesive guide to create a “bumper” that keeps seams straight and repeatable, and it can be repositioned quickly when you change seam allowances Wirecutter magnetic seam guide review.
What a seam guide does and the types you can use
- Throat plate markings: most plates have engraved distance lines from the needle. You align the raw edge to a line and follow it.
- Magnetic seam guide: a small magnet that sits on the metal throat plate and acts like a physical bumper so your fabric tracks straight and at an even distance from the edge Wirecutter magnetic seam guide review.
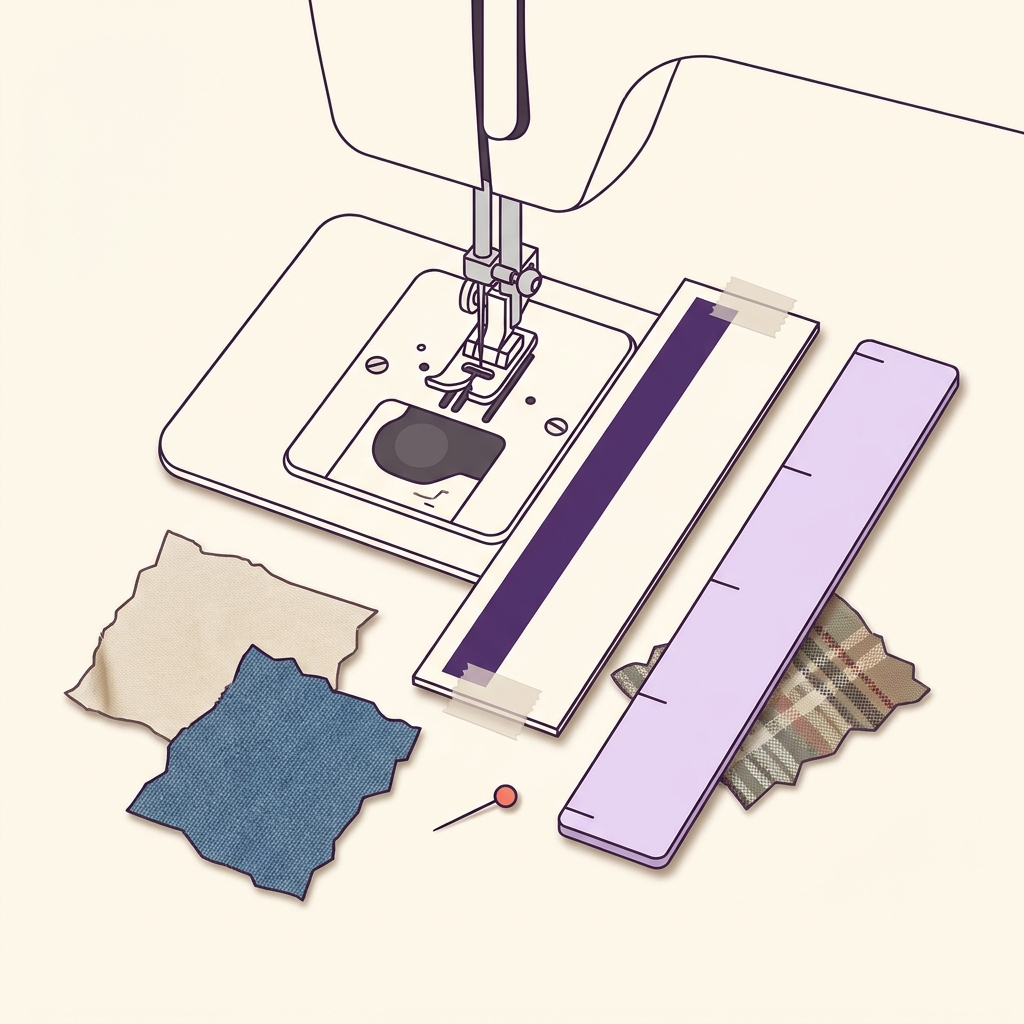
- Adhesive guide: a low-profile sticky guide or template that provides a long, straight reference edge.
Painter’s tape can work as a visual line, but it doesn’t provide a raised bumper, so keeping the edge perfectly aligned still takes more focus Wirecutter magnetic seam guide review.
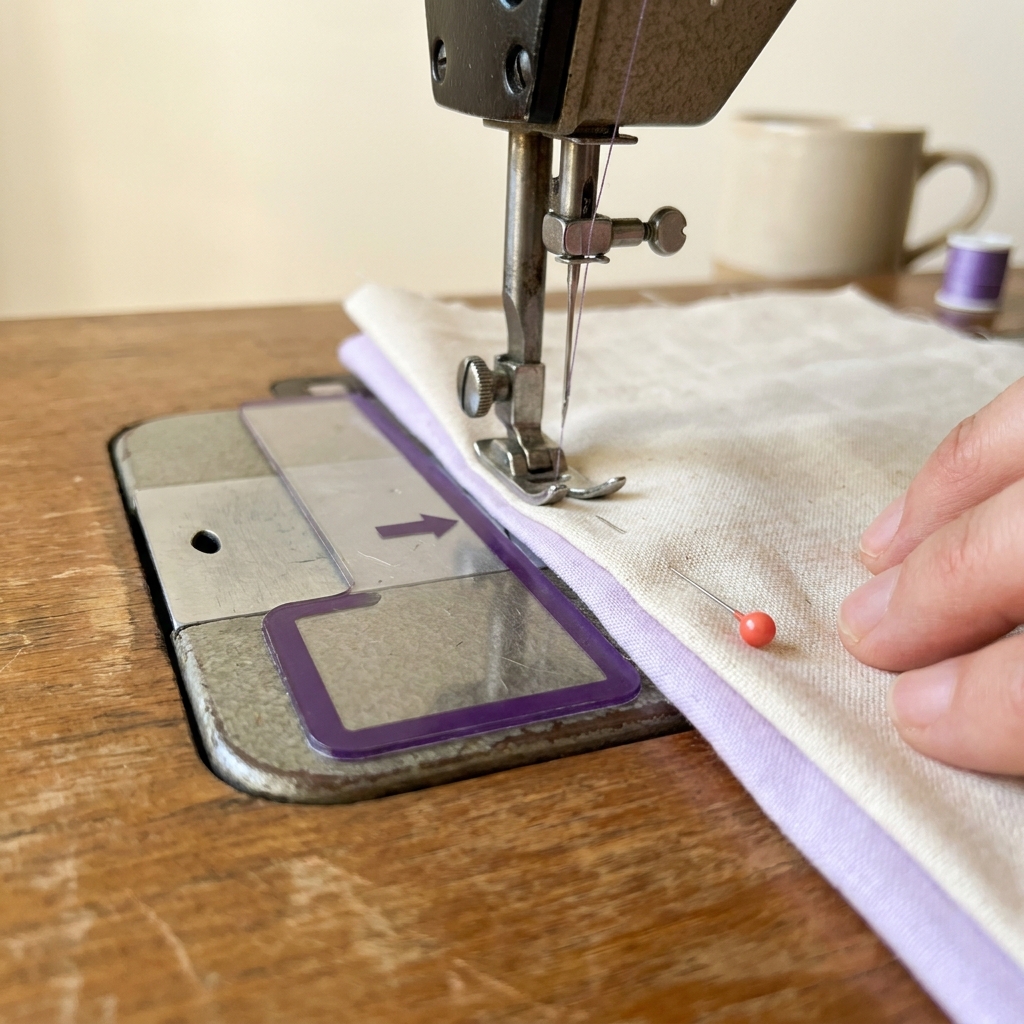
Step-by-step: set a guide and sew a consistent seam
1) Measure and place
Switch the machine off for adjustment, following its instructions. Select and confirm the intended needle position, then measure from that position to the fabric-contact face of the guide. Position it at the seam allowance required by the pattern. If you rely on plate markings to position a magnetic or adhesive guide, verify those markings read true with a ruler first Wirecutter magnetic seam guide review.
2) Confirm clearance
Check clearance with the presser foot, feed dogs and the needle’s full intended travel before restoring power and sewing a scrap.
3) Test on scrap and adjust
Sew 10-15 stitches on a scrap of the same fabric, keeping the raw edge touching the guide. Measure the finished seam. Nudge the guide if needed, then proceed on your project.
Pre‑sew seam guide setup
Needle position matters. For example, bernette’s guided-foot instructions specify a centre needle position before setting the edge width. Changing needle position after measuring can change the seam allowance; remeasure whenever you change that setting.
Worked example: set a 1/2 inch garment seam
- With the needle at its default center, measure 1/2 inch from the needle’s actual position to the intended fabric-edge line on the plate.
- Place a magnetic or adhesive guide so its inner face aligns at exactly 1/2 inch.
- Lower the presser foot, sew a short scrap, and measure the seam. Move the guide slightly if your measured seam is off, then sew your garment panels while keeping the raw edge against the guide.
Tips, cautions and quick fixes
- Repositioning: lift a magnetic guide rather than sliding it to prevent light scratches on the metal plate Wirecutter magnetic seam guide review.
- Computerized machines: compatibility is specific to the guide and machine. PFAFF’s magnetic-guide page does not recommend that strong-magnet accessory for computerized machines. A third-party review is not permission to disregard a manufacturer restriction Wirecutter magnetic seam guide review.
- Curves and slippery fabrics: go slower so the fabric edge doesn’t ride up over the guide; a bumper-style guide can make curves easier to manage Wirecutter magnetic seam guide review.
- When not to use: if fabric needs to pass on both sides of the foot (e.g., some flat-felled constructions), a seam guide may get in the way; use the fabric edge as your reference in those cases Wirecutter magnetic seam guide review.
Switching allowances mid‑project
For projects that alternate, say, 1/4 inch and 1/2 inch seams, lift the magnetic guide and set it to the new distance using a seam gauge, then sew a quick test. Choose the approved guide you can position reliably; recheck the allowance after each change Wirecutter magnetic seam guide review.
If you’re unsure what allowance your pattern expects, read our explainer on standard seam allowances.
Need to undo a wonky line after testing? Use a ripper safely and methodically; our quick primer is here: seam ripper safety tips.

FAQ
Can I use a magnetic guide on any machine?
A magnetic guide works on a metal throat plate. that alone does not establish compatibility. Check both makers’ instructions: PFAFF does not recommend its strong-magnet guide for computerized machines. Use approved plate marks or an appropriate non-magnetic guide instead when needed Wirecutter magnetic seam guide review.
Will a magnetic guide damage the plate finish?
Avoid sliding it when moving; lift and reposition to help prevent fine scratches Wirecutter magnetic seam guide review.