
The journal
Practical safety tips for using a seam ripper
Simple, reliable seam ripper safety: inspect the tool, use slow controlled cuts, protect fabric with the safety ball, and store it capped.
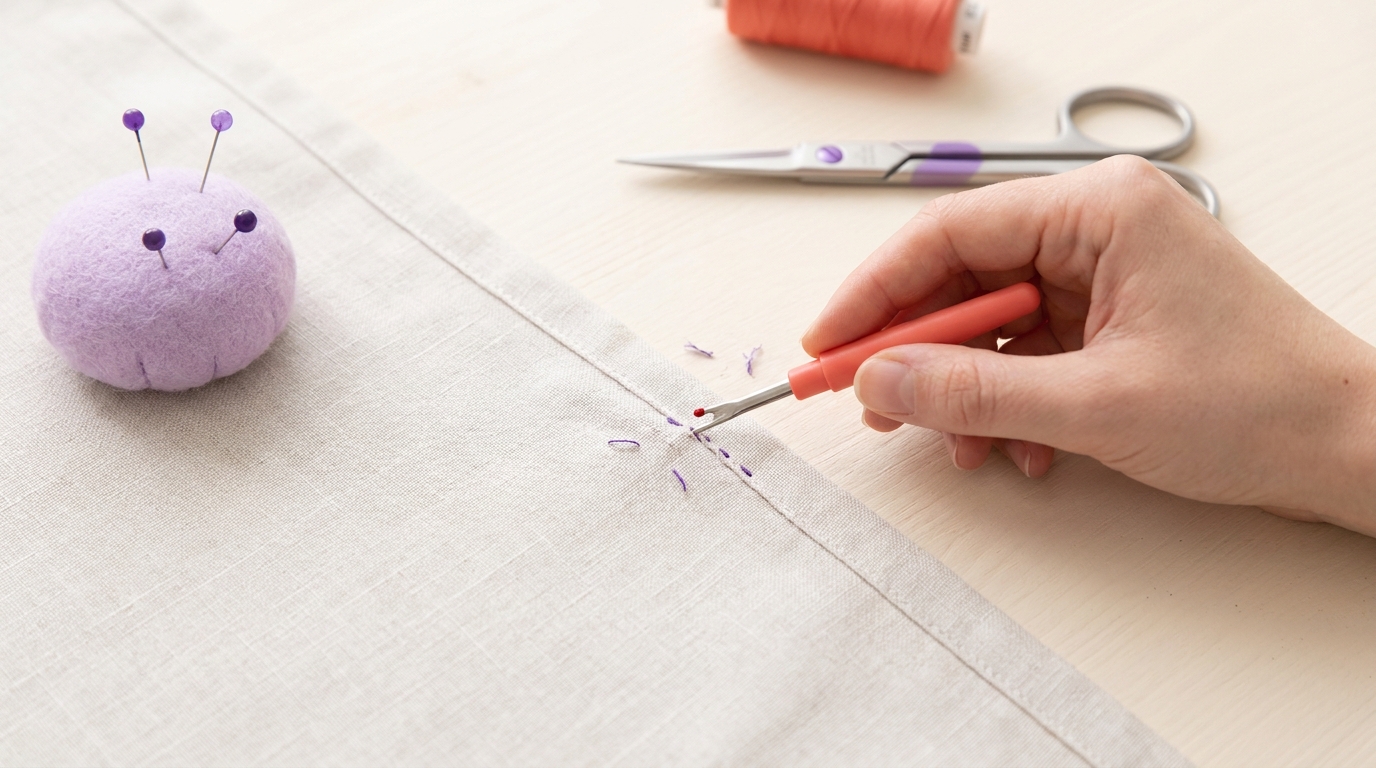
Safety tips for using a seam ripper: check the safety ball is intact, work in good light on a flat surface, slide the curved blade under a single stitch and cut gently, and for longer seams use the ball-down method so the ball glides on the fabric while the blade cuts the thread. Cap the tool as soon as you set it down and replace it when it no longer cuts cleanly (https://blog.commonsewing.com/how-to-use-a-seam-ripper-correctly; https://www.draperyu.com/sewing-tips-how-to-seam-ripper/; https://www.lindazs.com/videos/how-to-use-a-seam-ripper-quick-tip?srsltid=AYCX9vIq07jh3YT8ntWBG3u3L1ce70RjGXwnghEeWdalqxQc5FCCn_ea; https://mypacklove.com/blogs/heat-transfer-labels/what-is-a-seam-ripper-uses-parts-how-to-guide?srsltid=AYCX9vJridiv3XSM2UeSDA7bfCtBpiI8i9mFpz_92-1XrY5m8zlImooX; https://madamsew.com/blogs/sewing-blog/use-your-seam-ripper-like-a-pro?srsltid=AYCX9vIN6FuIo75gOVdo6kZycqTG0TpeBTprnq8HV7xLHJ8Ki01zpbFu).
Prepare safely: tool and workspace
Confirm the ripper’s parts are in good condition. The small safety ball protects fabric from punctures; ensure it’s present and intact before use (https://blog.commonsewing.com/how-to-use-a-seam-ripper-correctly). Lay your project flat on a sturdy surface with bright task lighting so you can see individual stitches clearly (https://www.lindazs.com/videos/how-to-use-a-seam-ripper-quick-tip?srsltid=AYCX9vIq07jh3YT8ntWBG3u3L1ce70RjGXwnghEeWdalqxQc5FCCn_ea; https://blog.commonsewing.com/how-to-use-a-seam-ripper-correctly).
Pre-use seam ripper safety check
Cap the tool whenever you set it down and store it capped and out of reach of children and pets (https://mypacklove.com/blogs/heat-transfer-labels/what-is-a-seam-ripper-uses-parts-how-to-guide?srsltid=AYCX9vJridiv3XSM2UeSDA7bfCtBpiI8i9mFpz_92-1XrY5m8zlImooX).
Safe unpicking technique
Go stitch by stitch (or every few)
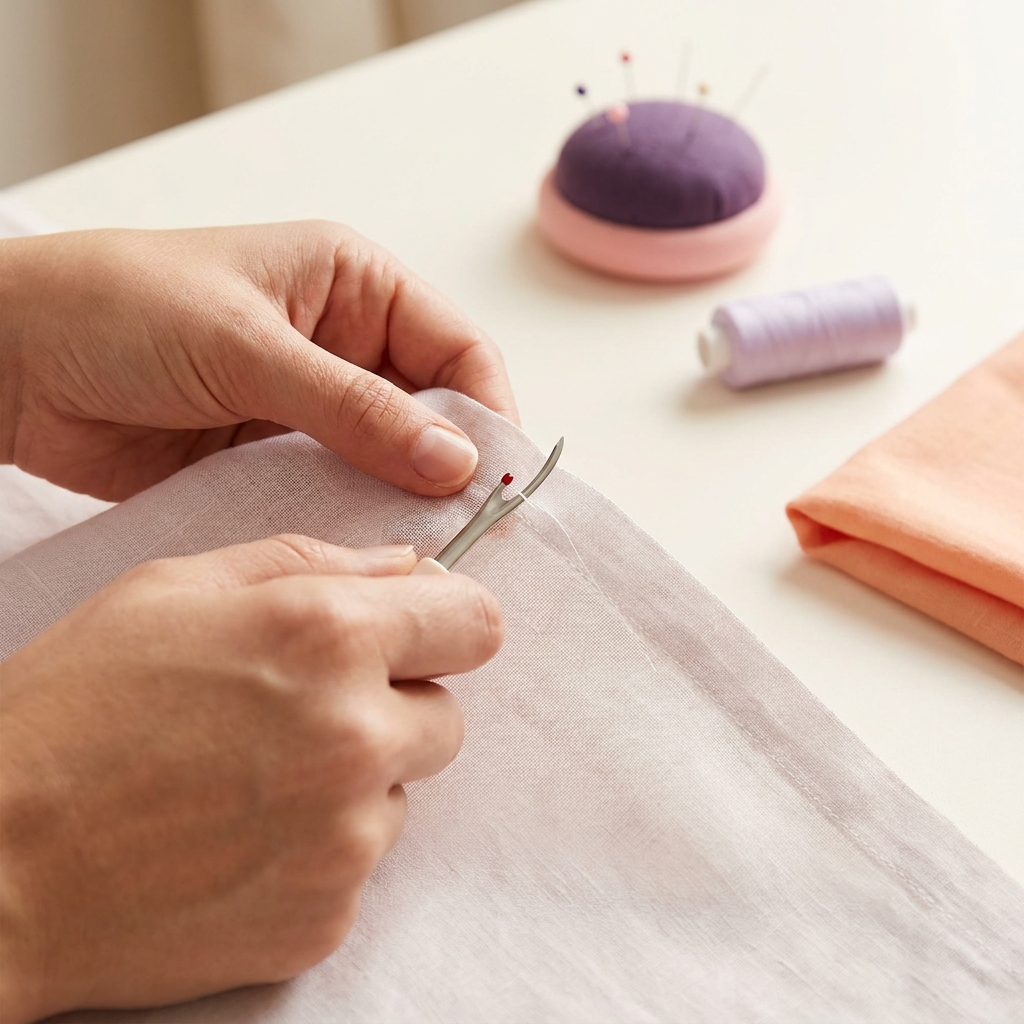
Slide the sharp point under a single stitch, then let the curved blade in the U cut with light pressure. Progress slowly, cutting each stitch or every third to fourth stitch before gently pulling threads free (https://www.lindazs.com/videos/how-to-use-a-seam-ripper-quick-tip?srsltid=AYCX9vIq07jh3YT8ntWBG3u3L1ce70RjGXwnghEeWdalqxQc5FCCn_ea; https://blog.commonsewing.com/how-to-use-a-seam-ripper-correctly).
For longer seams: ball-down method
Snip a few stitches to open the seam. Insert the ripper between layers with the safety ball resting against the fabric and the sharp tip facing away, then glide along so the blade cuts the thread while the ball helps protect the cloth (https://www.draperyu.com/sewing-tips-how-to-seam-ripper/).
Buttonholes: add a stop
To open a machine-sewn buttonhole, place a straight pin just inside each bar tack as a physical stop, then start the cut inside the buttonhole and push toward the pin to prevent overcutting (https://mypacklove.com/blogs/heat-transfer-labels/what-is-a-seam-ripper-uses-parts-how-to-guide?srsltid=AYCX9vJridiv3XSM2UeSDA7bfCtBpiI8i9mFpz_92-1XrY5m8zlImooX).
Adjust for your fabric and know when to stop
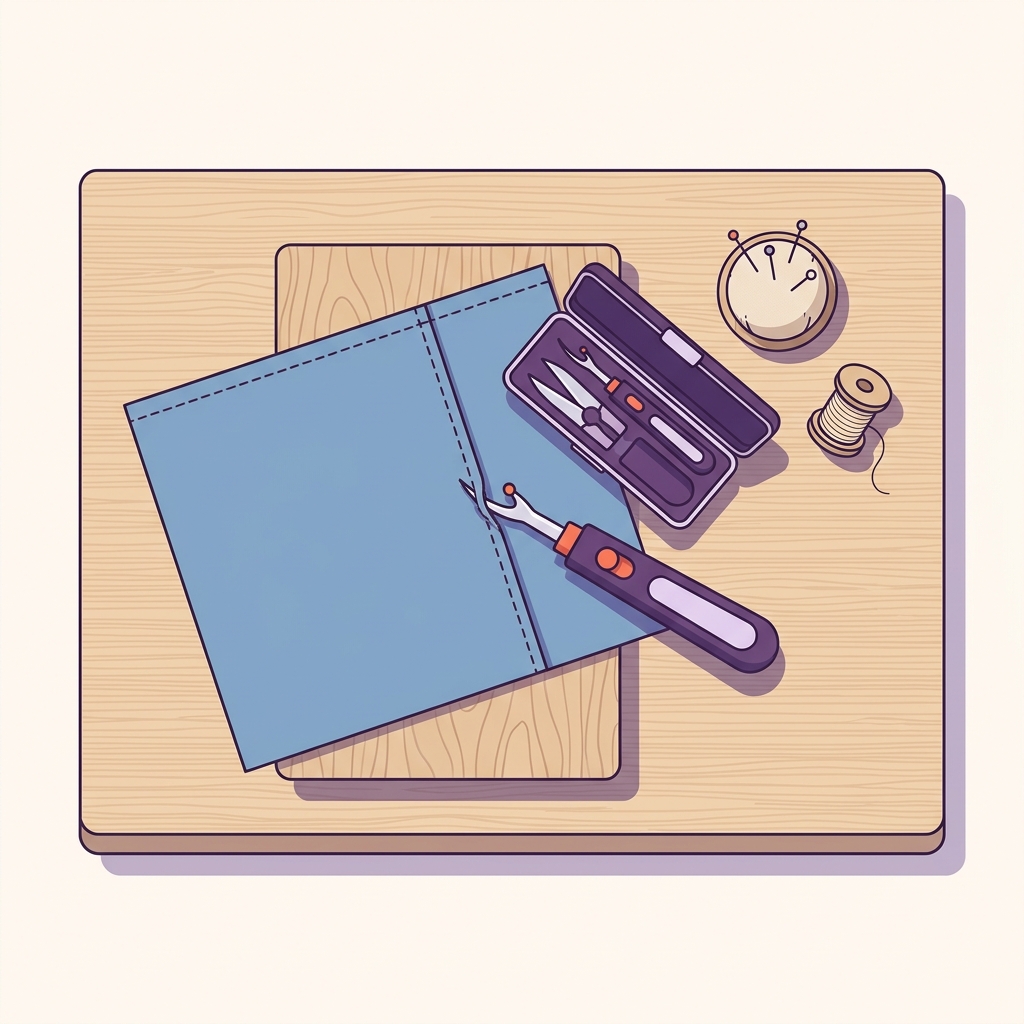
For delicate wovens or knits, take shorter, lighter cuts and support the fabric with your non-dominant hand. Cut individual stitches and remove remnants with tweezers instead of dragging the point through loops. If you feel resistance or the tool starts to slip, pause and change angle or method rather than pushing harder (https://blog.commonsewing.com/how-to-use-a-seam-ripper-correctly).
Common mistakes to avoid
- Letting the sharp tip lead the cut. Keep it away from the fabric and use the curved blade or ball-down method (https://www.draperyu.com/sewing-tips-how-to-seam-ripper/).
- Rushing. Move slowly and cut a few stitches at a time; speed increases the chance of slips and tears (https://www.lindazs.com/videos/how-to-use-a-seam-ripper-quick-tip?srsltid=AYCX9vIq07jh3YT8ntWBG3u3L1ce70RjGXwnghEeWdalqxQc5FCCn_ea).
- Forcing the tool. If it doesn’t cut easily, adjust your angle or technique; don’t use excess force (https://www.lindazs.com/videos/how-to-use-a-seam-ripper-quick-tip?srsltid=AYCX9vIq07jh3YT8ntWBG3u3L1ce70RjGXwnghEeWdalqxQc5FCCn_ea).
Care, storage and replacement
Cap the ripper whenever it’s not in use and store it securely to prevent accidents and dulling. Replace the tool when it starts to snag threads or no longer cuts cleanly; seam rippers aren’t forever tools (https://mypacklove.com/blogs/heat-transfer-labels/what-is-a-seam-ripper-uses-parts-how-to-guide?srsltid=AYCX9vJridiv3XSM2UeSDA7bfCtBpiI8i9mFpz_92-1XrY5m8zlImooX; https://madamsew.com/blogs/sewing-blog/use-your-seam-ripper-like-a-pro?srsltid=AYCX9vIN6FuIo75gOVdo6kZycqTG0TpeBTprnq8HV7xLHJ8Ki01zpbFu).
Related how-tos
FAQ
Is it safe to “plow” through a seam?
It can be faster on sturdier fabrics if you insert the ripper between layers with the safety ball against the fabric and the sharp tip up and away. Move slowly to avoid catching the cloth (https://www.draperyu.com/sewing-tips-how-to-seam-ripper/).
What’s the quickest way to clean up thread bits?
After cutting every few stitches and separating layers, lift remaining threads with tweezers or fingers. Good lighting helps you spot leftovers (https://www.lindazs.com/videos/how-to-use-a-seam-ripper-quick-tip?srsltid=AYCX9vIq07jh3YT8ntWBG3u3L1ce70RjGXwnghEeWdalqxQc5FCCn_ea).