
The journal
What size fabric for a 6 inch embroidery hoop? Practical cutting and finishing advice
Learn how to choose embroidery hoop size and cut fabric for a 6 inch hoop, with simple formulas, allowance choices, and finishing tips.
Why hoop size matters and how much extra fabric you need
What hoop size actually measures
When makers talk about hoop sizes they mean the inner diameter of the ring, the circle that holds your stitched area in place. Knowing the inner diameter matters because it defines how much visible design space you have and where to position your motif before you tighten the hoop; many embroidery guides make this explicit when they show placement and tensioning steps The Spruce Crafts how-to guide.
Beyond the visible circle you also need fabric to fold or gather to the back. A simple rule most tutorials use is cut size = hoop diameter + 2 × allowance, where allowance is the extra fabric you plan to fold or gather. That formula keeps planning consistent across hoop sizes and finishing styles, where allowance choices affect the final trim and backing How to Finish Embroidery in a Hoop.
Quick rule-of-thumb for planning fabric
Practically, allowance choices in tutorials fall into two groups: about 1 inch beyond the hoop edge for a tight fold-over finish, or 2 to 3 inches for lacing, gathering, or a felt-backed display. For a 6 inch hoop that gives cut squares from about 8×8 inches up to 10×10 or 12×12 inches depending on the finish and fabric bulk. For another practical setup guide see How to Set Up Fabric in An Embroidery Hoop.
Also remember that hoop tension affects appearance, so tighten only enough to make the fabric feel like a drum head without stretching the weave. Binding the inner ring with tape or narrow fabric can help grip thicker weaves and reduce visible hoop marks while you stitch.
How to calculate and cut fabric for a 6 inch hoop — step by step
Step 1: choose your allowance based on finish and fabric
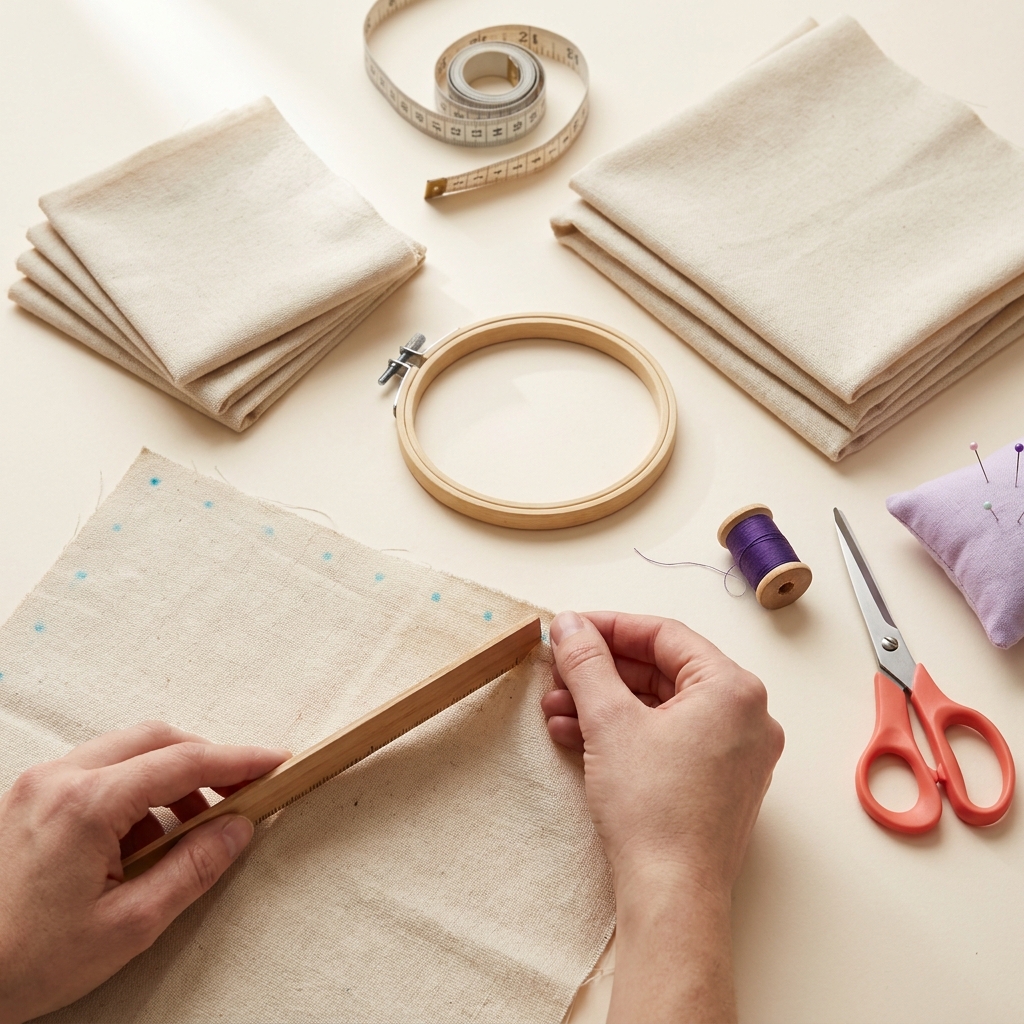
Start by deciding how you will finish the back. If you plan a tight fold-over finish choose about 1 inch allowance; if you want to gather and cover with felt or to lace the fabric through the inner ring allow 2 to 3 inches. For the 6 inch hoop examples below use the formula and pick the allowance that matches your finish and fabric thickness How to Finish Embroidery in a Hoop.
Example calculations for a 6 inch hoop using cut size = hoop diameter + 2 × allowance: with 1 inch allowance cut an 8×8 inch square; with 2 inch allowance cut a 10×10 inch square; with 3 inch allowance cut a 12×12 inch square. These sizes come from common practice across recent tutorials and are easy to adapt if you prefer round cuts or asymmetrical trimming. For specific sample measurements see our notebook example example calculations for hoops.
Calculate cut size for a hoop using hoop diameter and chosen allowance
Cut size:
Use whole inches for easy cutting and adjust for bulky fabrics
Step 2: apply the formula and mark your cutting lines
Use a ruler and fabric marker to measure from the fabric center or from your intended design placement. Mark a square or circle using the calculated cut size, then cut roughly on the outer line leaving a little extra to permit small trimming after basting if needed The Spruce Crafts how-to guide.
On looser weaves you may prefer to baste the work to stabilizer before trimming so the edges do not distort while you finish. For exact placement measure from the inner ring, not the outer ring, because hoop sizes denote the inner diameter that determines the visible area.
Step 3: tips for cutting squares or rounds
Choose a cutting tool that fits your comfort and accuracy: sharp shears work well for freehand cuts, while a rotary cutter and mat give crisp straight edges for squares. Work on a flat surface and avoid stretching the fabric while you cut so the weave remains even How to Use an Embroidery Hoop.
If you plan to trim after finishing, cut slightly larger than the calculated size to allow a practice baste and final adjustment. Pre-press the fabric first so measurement lines flatten and transfer marks are less likely to shift during cutting.
Choosing allowance by finishing method and fabric type
Fold-over and tight finishes (1 inch allowance)
Fold-over or tight finishes use minimal extra fabric and are efficient when you need to save material. With about 1 inch allowance the raw edge folds under and the fabric gathers neatly at the back with little bulk, making an 8×8 inch cut suitable for a 6 inch hoop in many cases How to Finish Embroidery in a Hoop.
One trade-off is that very little allowance can make a neat back harder to achieve on thick fabrics or when a backing layer is desired, so test on a scrap if you plan a visible display or sale item. Thin linens and fine cottons often behave well with a tight allowance Complete guide to embroidery hoops and simple tests on scraps.
What size fabric should I cut for a 6 inch embroidery hoop?
Use the formula cut size = hoop diameter + 2 × allowance and choose allowance based on finish: about 1 inch for tight fold-over (8×8), and 2–3 inches for lacing or felt-backed displays (10×10 to 12×12).
Lacing, gathering and felt-backed finishes (2–3 inch allowance)
Lacing or gathering methods give a flatter, cleaner back for display because the excess fabric is pulled evenly and can be covered with a felt circle. Tutorials commonly recommend 2 to 3 inches of allowance for these finishes so a 6 inch hoop works well with 10×10 or 12×12 inch cuts depending on fabric bulk.
Felt backing adds padding and hides raw edges, but it also increases bulk, so factor that into your allowance choice. For felt-backed display pieces err toward the larger end of the allowance range for an even gather and a tidy final look How to Finish Embroidery in a Hoop.
How bulk and weave affect allowance
Heavier fabrics, heavy stitches, or added interfacing will need more room to fold and gather without creating thick lumps. Increase allowance slightly for chunky linens or layered projects so the back finishes flat and the hoop closes without forcing the rings.
Conversely, fine fabrics with a tight weave can use smaller allowances and look neat with less trimming. Keep a small box of scrap pieces to test allowances before you cut the main fabric to avoid surprises.
Preparing fabric and mounting it correctly to avoid puckering
Pre-wash, press, and remove marks
Pre-washing and pressing fabric before you stitch reduces shrinkage and permanent creases, which lowers the chance of puckering when you mount the piece in the hoop; many contemporary guides recommend this as a routine step How to Finish Embroidery in a Hoop.
Remove transfer marks when safe for the material and transfer method; some marks vanish with steam or gentle soap while others need a stabilizer that will wash out after stitching. Testing the removal method on a scrap saves the main piece from accidental damage.
How to mount in the hoop for even tension
Loosen the outer ring, center the design over the inner ring, then lay the outer ring on top and tighten gradually while smoothing the fabric outward from the center. Aim for even, fabric-like tautness rather than extreme stretching to avoid distorted stitches The Spruce Crafts how-to guide.
Check tension by tapping the fabric surface; it should give a small, cloth-like sound, not be so tight that the weave pulls. If you see marks forming, try binding the inner ring or re-hooping with a slightly larger allowance.
Optional inner-ring binding to reduce marks
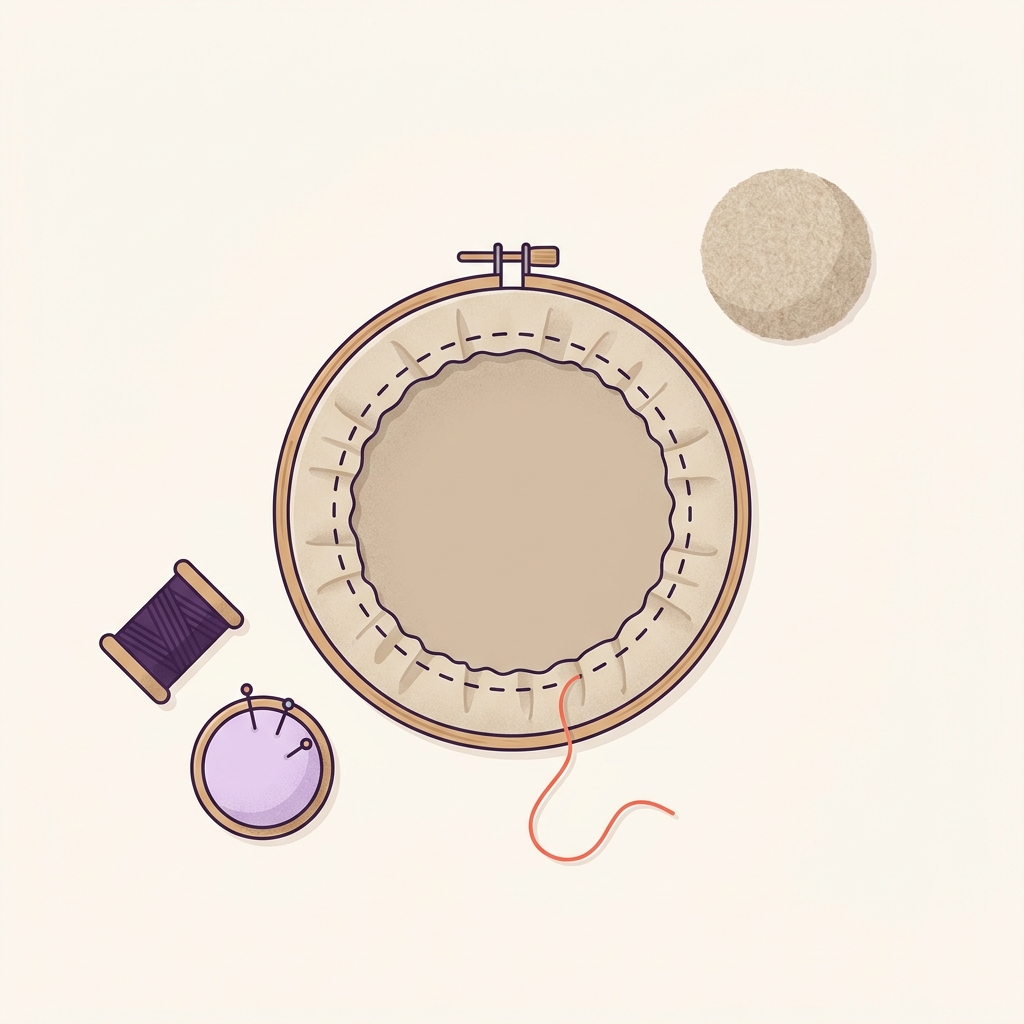
Binding the inner ring with narrow tape or a strip of fabric increases grip and helps protect delicate weaves from hoop marks. This is a simple step to add when you plan to keep the fabric in the hoop for display or when working with slippery fabrics.
If you plan to leave the work in the hoop long-term, check periodically for shifting and re-tighten if needed, always keeping tension even and avoiding over-stretching the fabric How to Use an Embroidery Hoop.
Finishing the back neatly and display options
Running-stitch gather and felt cover
The running-stitch gather is a common finishing method where you sew a loose running stitch near the edge, pull the thread to gather the excess fabric, and knot it to secure before adding a felt circle to cover the back. Tutorials show this approach for a tidy, padded finish How to Finish Embroidery in a Hoop. See a step illustration at Finishing and Framing in Hoops.
Cut a felt circle slightly smaller than the inner ring and glue or hand-stitch it in place to hide raw edges and secure hanging hardware if desired. Felt adds a soft backing and gives a professional appearance for gifting or selling pieces Embroiderers' Guild finishing tutorial.
Lacing method for a flat back
Lacing through pre-made holes in the inner ring or lacing around the gathered fabric gives a very flat back and is preferred when you want a taut, tidy rear surface for display. This method usually needs more allowance, so plan for 2 to 3 inches when you intend to lace the fabric.
When you want a low-profile hanging solution, stitch a small loop of ribbon or add a discreet screw-eye to the inner ring before attaching the felt, keeping hardware light so it does not distort the hoop shape How to Use an Embroidery Hoop.
Alternatives for framed or gift presentation
If you prefer a framed look, remove the outer ring and mount the embroidered piece into a shallow frame or shadow box for extra protection. This option shifts the finishing focus from the hoop edge to a mat or frame mount, so you can trim more closely if desired.
For quick gifting try a decorative ribbon hanger or a backing button to tuck into the felt; small presentation touches make handmade work feel finished without complex sewing.
Troubleshooting common mounting problems and quick checklist
Fixing puckers and distortion
If you notice puckering after mounting, loosen the hoop and re-press the fabric if possible, then re-hoop with slightly less tension. Persistent distortion often means the fabric was stretched when tightened; re-hooping or using a larger allowance can resolve this How to Finish Embroidery in a Hoop.
Hoop marks may be reduced by binding the inner ring or by using a softer outer ring material when available; some problems come from holding the hoop too tightly while stitching, so check tension periodically.
If your design is off-center or the hoop is too small
When a design sits off-center, remove the work and re-center on the inner ring, or baste corners temporarily to secure placement before tightening. If a design reaches or crowds the hoop edge consider moving to the next hoop size up to keep a balanced composition.
Final checklist before trimming and display
Use this short checklist before you trim: confirm design placement, confirm allowance chosen, pre-wash and press done, tension is even, and finishing method selected. Test your chosen finish on a scrap if uncertain to avoid last-minute adjustments on the main piece The Spruce Crafts how-to guide.
If the back finish looks bulky after your first attempt, allow a slightly larger allowance next time and keep notes on which fabrics needed extra room to help future planning Embroiderers' Guild finishing tutorial.

Frequently asked questions
How much fabric should I cut for a 6 inch embroidery hoop?
Common practice is to cut between 8×8 inches for a tight fold-over and 10×10 to 12×12 inches for lacing or felt-backed finishes, using cut size = hoop diameter + 2 × allowance.
Do I need to pre-wash my fabric before hooping?
Yes, pre-washing and pressing reduces shrinkage and creases so the fabric is less likely to pucker when mounted.
Can I leave my work in the hoop for display long-term?
You can, but check tension periodically, bind the inner ring to reduce marks, and consider protective backing to prevent distortion over time.
Keep a small set of test scraps and note how different fabrics and finishes behaved to make future planning faster. Trying a simple running-stitch gather and a felt backing on a practice piece will show you how much allowance you prefer. With a consistent formula and a few tests, deciding what size fabric for a 6 inch embroidery hoop becomes a quick, repeatable step in your making process.