
The journal
How do you know your hoop size? Practical embroidery hoop guide
how to choose embroidery hoop size: measure the design, add 1 to 2 inch margin, and match the hoop inner diameter for even tension and clean finishes.
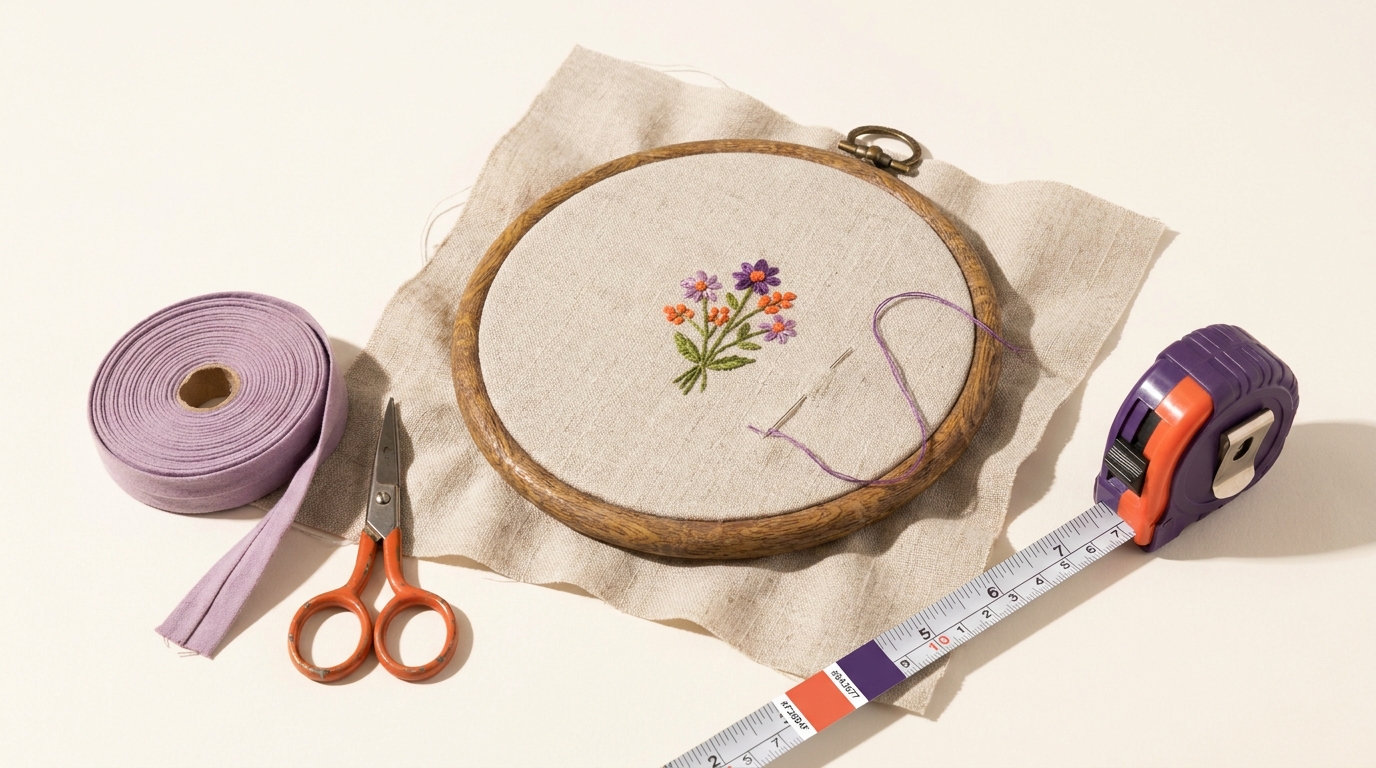
Quick answer: how to choose your embroidery hoop size
In practice, the simplest rule for how to choose embroidery hoop size is to match the hoop's inner diameter to just larger than the design's longest dimension and allow at least 1 to 2 inches of fabric margin all around so you can pull the fabric drum-tight for stitching; this working margin keeps tension even and is a standard recommendation for hand embroidery The Spruce Crafts guide. See our embroidery stabilizers guide for related setup tips, and an illustrated measuring walkthrough at Modern Hoopla.
Common hobby hoop sizes are typically 4, 6, 8, and 10 inches, with 6 to 8 inches covering many small to medium designs; choose the smallest hoop that still leaves the 1 to 2 inch working margin so you can maintain even tension while stitching.
Working margins differ from finishing allowances: if you plan to finish a piece in the hoop or mount it in-hoop you will need extra fabric beyond the working margin for lacing or backing, which is covered later in this guide The Spruce Crafts guide.
What hoop size means and how to measure your design
Hoop size refers to the inner diameter of the hoop, the clear round opening that holds the fabric; to know which hoop to buy or use, measure the design's longest dimension and add the working margin before you compare that number to a hoop's inner diameter The Spruce Crafts guide.
Steps to measure a design: first trace or print the design at full size, then lay a ruler or flexible tape along the longest point and note that measurement. If you work from a pattern on paper or traced cloth, measure the stitched area rather than blank fabric so the measurement reflects the finished motif.
- Measure the design's longest dimension in inches.
- Add a working margin of 1 to 2 inches on every side to allow for even tension and manipulations while stitching.
- Compare the total to hoop inner diameter options and pick the next larger inner diameter that keeps your working margin.
For example, a 4 inch wide motif usually needs a 6 inch hoop if you want a full 1 inch margin on each side; that keeps the fabric taut without forcing the design into a too-small opening, which can distort shapes and cause uneven stitches.
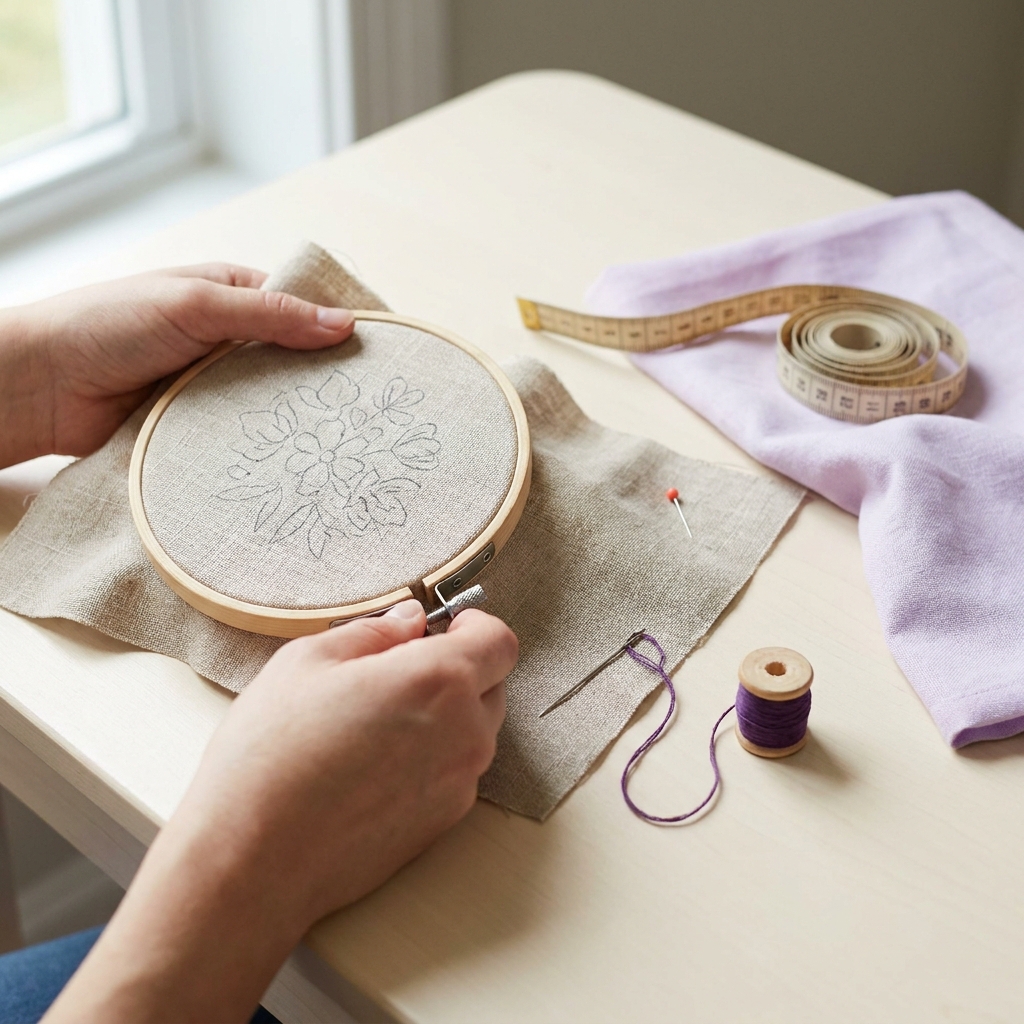
Measure the hoop itself by checking the inner ring: to test at home, place a ruler across the inner opening from edge to edge and read the number in inches. Many hoop sellers list the nominal size as the inner diameter, so comparing your measured need to the listed inner diameter usually matches what you see on the product page The Spruce Crafts guide.
Choosing by design and fabric: rules of thumb
Start with common sizes as a baseline: 4 inch hoops suit very small motifs and quick sampler elements, 6 inch and 8 inch hoops fit most small to medium embroidered motifs, and 10 inch or larger hoops are better for wider compositions and heavier fabrics; always keep your working margin in mind when choosing. See related guides.
Fabric and stitch density affect size choice. Dense fills, heavy thread, beads, or high-pile fabrics can compress under pressure if the hoop is too small; those situations usually call for a larger hoop or a frame so the stitches are not crushed and tension remains even Embroiderers' Guild basics.
Short scenarios to guide your choice:

- Small floral motif on light cotton: a 6 inch hoop usually works if you keep a 1 inch margin.
- Medium sampler with several elements: an 8 inch hoop gives room to move and avoids repeated re-hooping.
- Dense filled panel on toweling or velvet: size up to 10 inches or consider a frame to prevent crushing and slipping.
If you are unsure, size up rather than down. A slightly larger hoop preserves the fabric and stitch shape and reduces the need to advance the work constantly; if finishing will be in-hoop, remember finishing allowances when you pick the larger size.
quick measuring checklist to pick a hoop size
Hoop types, grip and tension: how the mechanism affects your choice
Screw-tension wooden hoops give adjustable, generally even tension when the screw is tightened and the inner ring is seated correctly, which helps maintain consistent stitch length across the design. See an additional guide at Stitched Modern.
Binding the inner ring of a wooden hoop with cotton tape or a narrow strip of cloth improves grip, spreads pressure and reduces hoop marks; this is a long-standing, practical method that helps avoid visible impressions on finer fabrics Needle 'n Thread binding notes.
Plastic and spring hoops trade a speedier setup for less control on slippery or dense fabrics; they can be convenient for quick sessions, but on slick or high-pile materials they may slip and require either binding or a larger hoop to keep tension stable.
Tip: when a hoop type seems to slip on certain fabric, add cushioning like a thin layer of cotton between the rings or use narrow tape on the inner ring to increase friction and protect the cloth.
Practical workflow: fitting the hoop, advancing work, and preventing marks
Start by centering the design on the fabric and positioning the inner ring under the design so the stitched area will fall in the middle of the opening; place the outer ring over the fabric, press down and snug the screw to take up slack, then tighten gradually while smoothing the fabric until it is drum-tight without visible distortion The Spruce Crafts guide. You can compare samples in our embroidery sample notebook.
How tight is tight enough? The fabric should sound slightly taut when plucked and show no puckers or stretched motifs; if tightening changes the shape of drawn lines or curves, loosen and re-seat until the design sits naturally in the opening.
How do I choose the right embroidery hoop size for my project?
Measure the design's longest dimension, add a 1 to 2 inch working margin on every side, and choose a hoop with an inner diameter slightly larger than that total; size up for dense stitching or heavy fabrics and plan extra fabric for finishing.
Between sessions, remove the hoop if you will leave the piece unattended for a while; removing the hoop prevents set-in hoop marks and reduces fabric stretch over time, and re-hooping before the next session lets you re-check tension and re-center the design as needed.
When working small areas in a larger design on a too-small hoop, advance the work by re-seating the fabric: loosen the screw, shift the cloth so a new area sits in the opening, smooth and tighten again. Use padding or a thin interfacing between rings when stitching near beads or dense fills to protect stitches from pressure Embroiderers' Guild basics.
Finishing, framing and extra fabric allowances
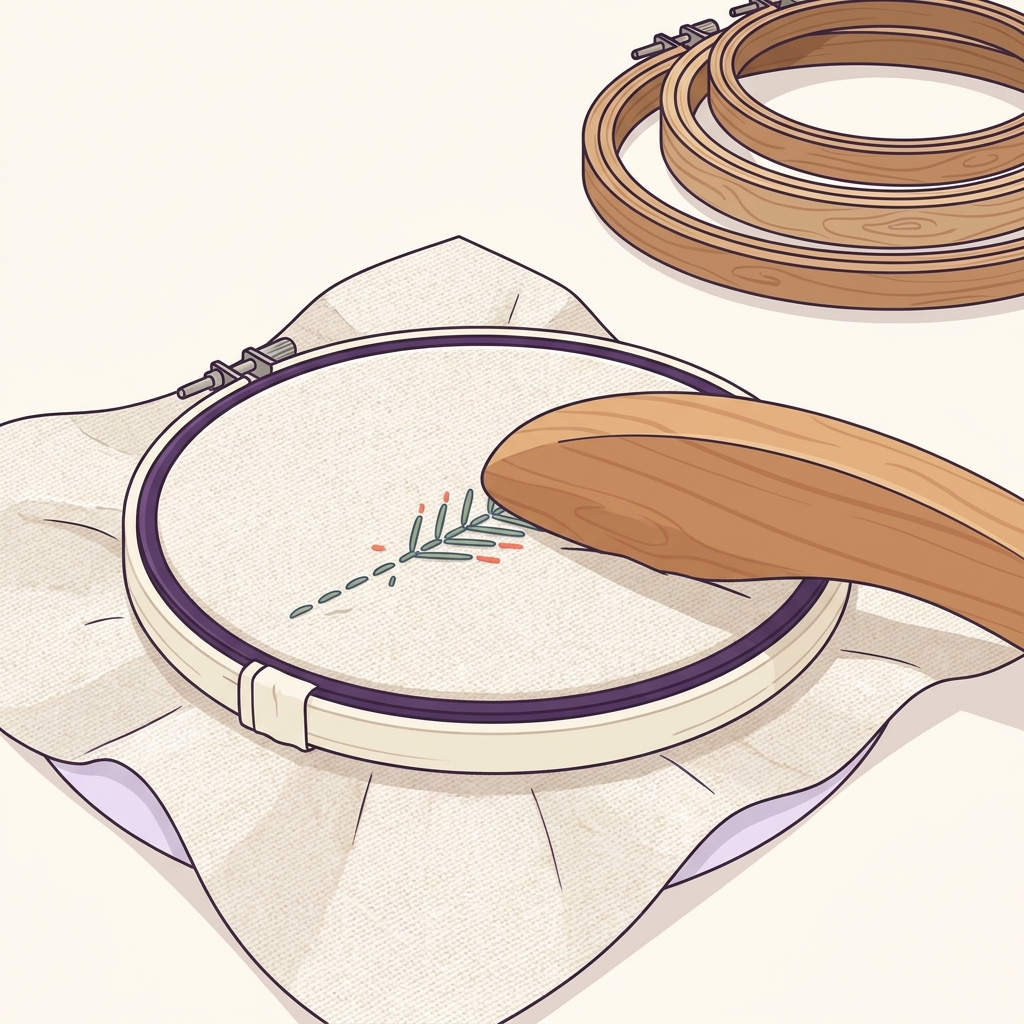
Finishing in a hoop or preparing an in-hoop display requires more fabric than working alone; allow an extra 2 to 3 inches beyond the hoop edge for lacing, backing and trimming when you plan to mount a piece inside the hoop rather than float and frame it later The Spruce Crafts guide.
Working allowance and finishing allowance are separate: cut fabric with both in mind by adding the recommended working margin for stitching and then adding the finishing allowance only if you intend to finish inside the ring. If finishing will be framed or stretched on bars, plan the finish method early so your cutting line accommodates attachment and backing Embroiderers' Guild basics.
Alternatives when you need more finish space include using a deeper frame, stretcher bars, or a larger hoop so you can both stitch comfortably and preserve ample fabric for tidy backing and lacing; these options keep the stitched surface undistorted while you complete a neat presentation. Notes on machine hoop sizes are also available at SWPEA.
Common mistakes, troubleshooting and quick checklist
Top mistakes makers make include choosing a hoop only because it feels comfortable rather than measuring the design, leaving the hoop on between long sessions, and using too small a hoop for dense fills; each can cause uneven tension or visible marks that are hard to remove The Spruce Crafts guide.
Troubleshooting quick fixes: if the hoop slips, add binding tape to the inner ring or a thin pad between rings; for hoop marks, remove the hoop and let the fabric rest flat, then gently press from the back if the fabric allows; for uneven tension, re-seat and re-tighten the hoop and re-check the working margin Needle 'n Thread binding notes.
Quick checklist before you start stitching: measure the design, add 1 to 2 inch working margin, choose the hoop inner diameter that keeps that margin, select a hoop type that suits your fabric, test for drum-tight tension, and plan finishing allowance if needed.
Frequently asked questions
What does hoop size mean?
Hoop size is the inner diameter of the hoop; pick one slightly larger than your design plus a 1 to 2 inch working margin so fabric can be held drum-tight.
Can I leave the hoop on between stitching sessions?
Avoid leaving the hoop on for long periods; removing it between sessions prevents hoop marks and reduces fabric stretch.
Do dense stitches require a different hoop?
Yes, dense stitching, beads or heavy fabrics often need a larger hoop or a frame to prevent crushing stitches and to maintain even tension.
With a consistent measuring routine and a few simple tweaks to grip and finish, choosing the correct hoop size becomes routine. Test a new technique on a scrap before applying it to a treasured piece, and plan finishing early so your cutting and hoop choice support the final display.
References
- https://www.thesprucecrafts.com/how-to-use-an-embroidery-hoop-1177402
- https://madeinsteps.com/guides/embroidery-and-stabilizers/
- https://www.modernhoopla.co/pages/how-to-measure?srsltid=AU7gw4V2Osc95A5l04BIWkkduWXVgB0WENNV4FFJCip7-3rEwuzdVITi
- https://madeinsteps.com/guides/
- https://stitchedmodern.com/blogs/news/an-essential-guide-to-embroidery-hoops?srsltid=AU7gw4X7O31TWFFwfGeKB0MKq-hN1o634qiMk9RZCW5bPHS4PgvWLOim
- https://madeinsteps.com/journal/embroidery-and-stabilizers/embroidery-sample-notebook/
- https://swpea.com/blogs/machine-embroidery-blogs/understanding-hoop-sizes-machine-embroidery?srsltid=AU7gw4WBL-HIE7Eqz4J770G1qbuKxw-ZS40fCNje32NTjRMi5zxVV3g