
The journal
What is understitching in garment making?
Understitching is a hidden line of stitching that anchors seam allowances to a facing or lining so edges roll to the inside and lie flat. Learn when to use it, how to sew it, and common fixes.
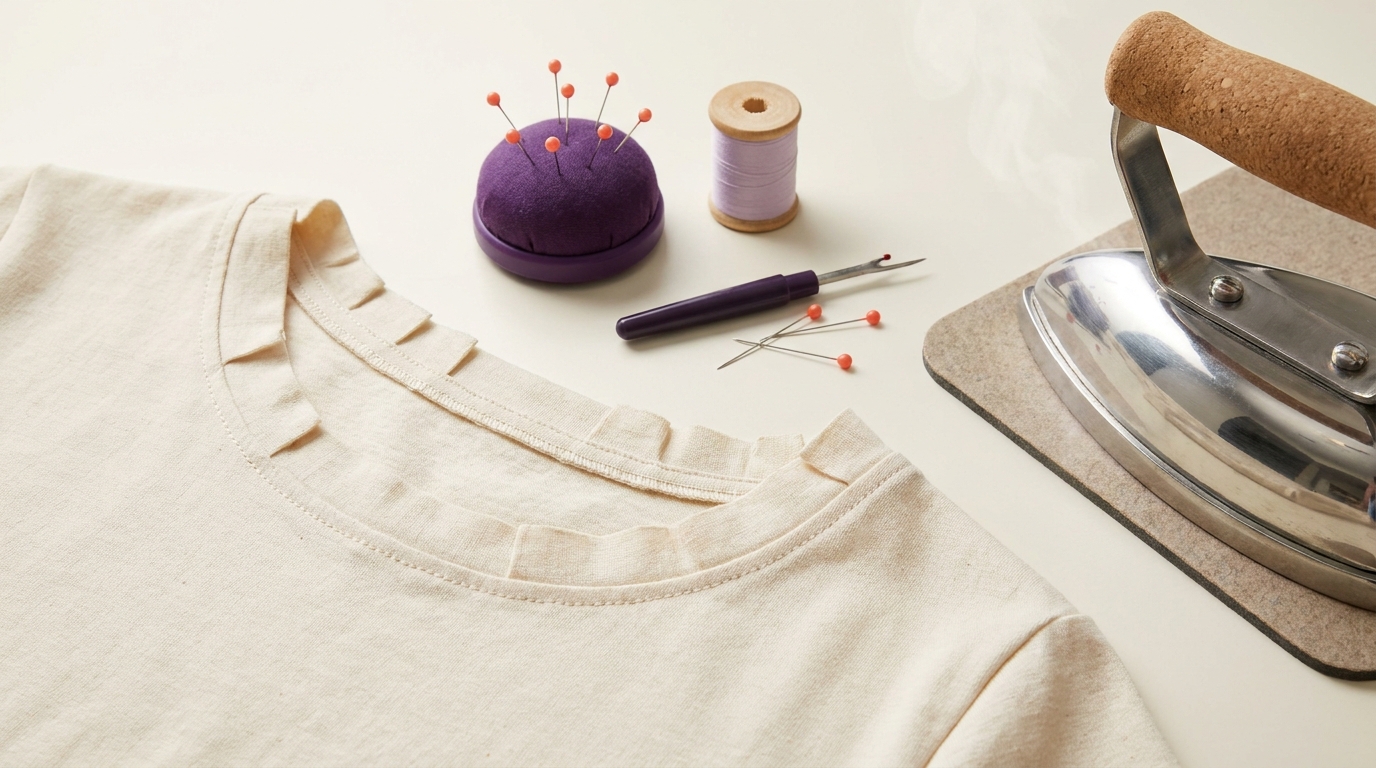
Understitching is a line of stitching sewn on the facing or lining side, catching the seam allowances, to keep that edge turned to the inside and lying flat. It is commonly used on necklines, armholes, facings and in-seam pocket openings, and should not be visible from the right side of the garment (see WeAllSew; Twig + Tale; Simplicity).
Why and when to use understitching
Understitching prevents the facing or lining from rolling to the outside, giving a clean, flat edge. It’s especially helpful on curved edges like necklines and armholes, and on pocket facings that can peek out during wear (WeAllSew; The Sewing Revival). Done correctly, the stitching line sits just inside the facing or lining and is not visible on the garment’s right side (Spool of Thread).
How to understitch a facing: clear steps
- Sew the garment edge and the facing (or lining) right sides together, following your pattern instructions (WeAllSew).
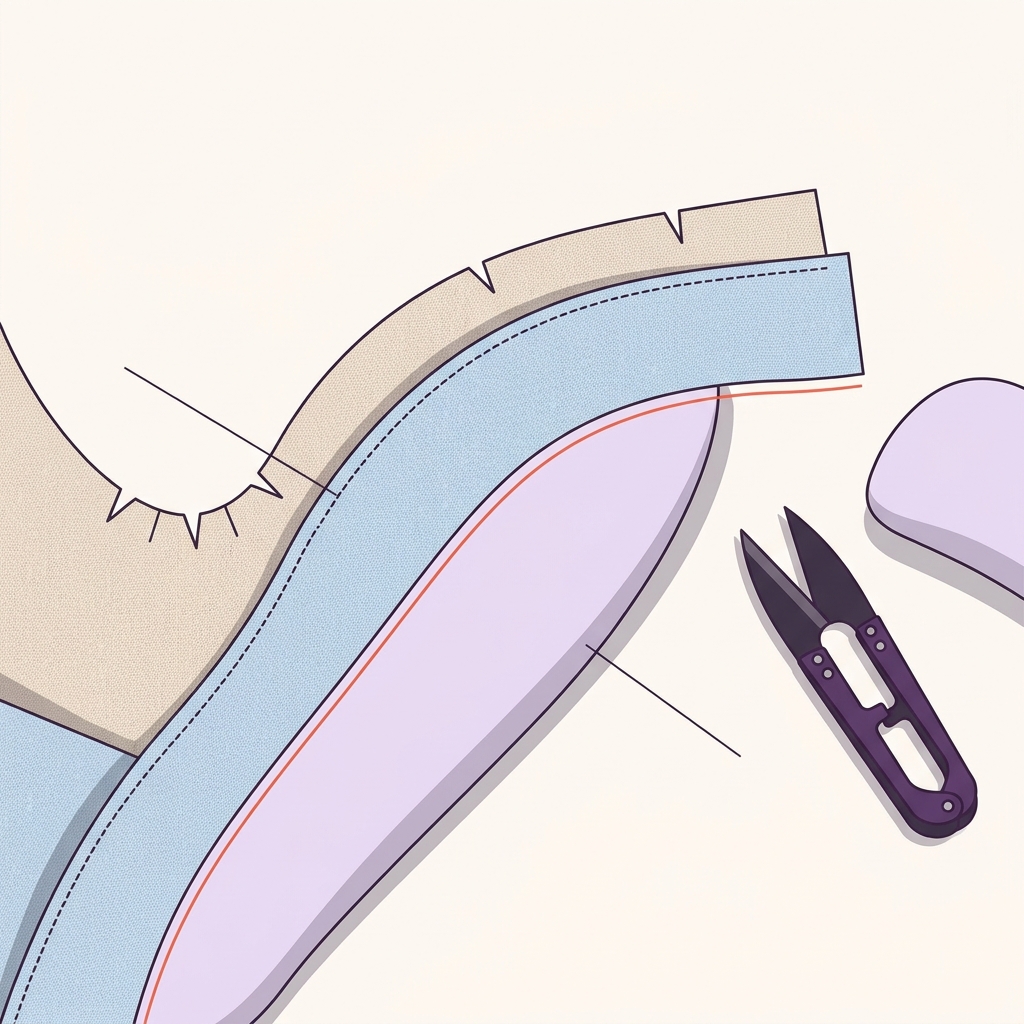
- Reduce bulk: grade the seam allowances, trimming them to different widths; then clip curves so the edge can turn smoothly. Make more clips in tighter curves and take care not to snip into the stitching (Spool of Thread).
- Press the seam allowances toward the facing or lining to prepare for understitching (WeAllSew; The Sewing Revival). Some instructors prefer to understitch first and press afterward to avoid setting a crease, which also works well (Spool of Thread).
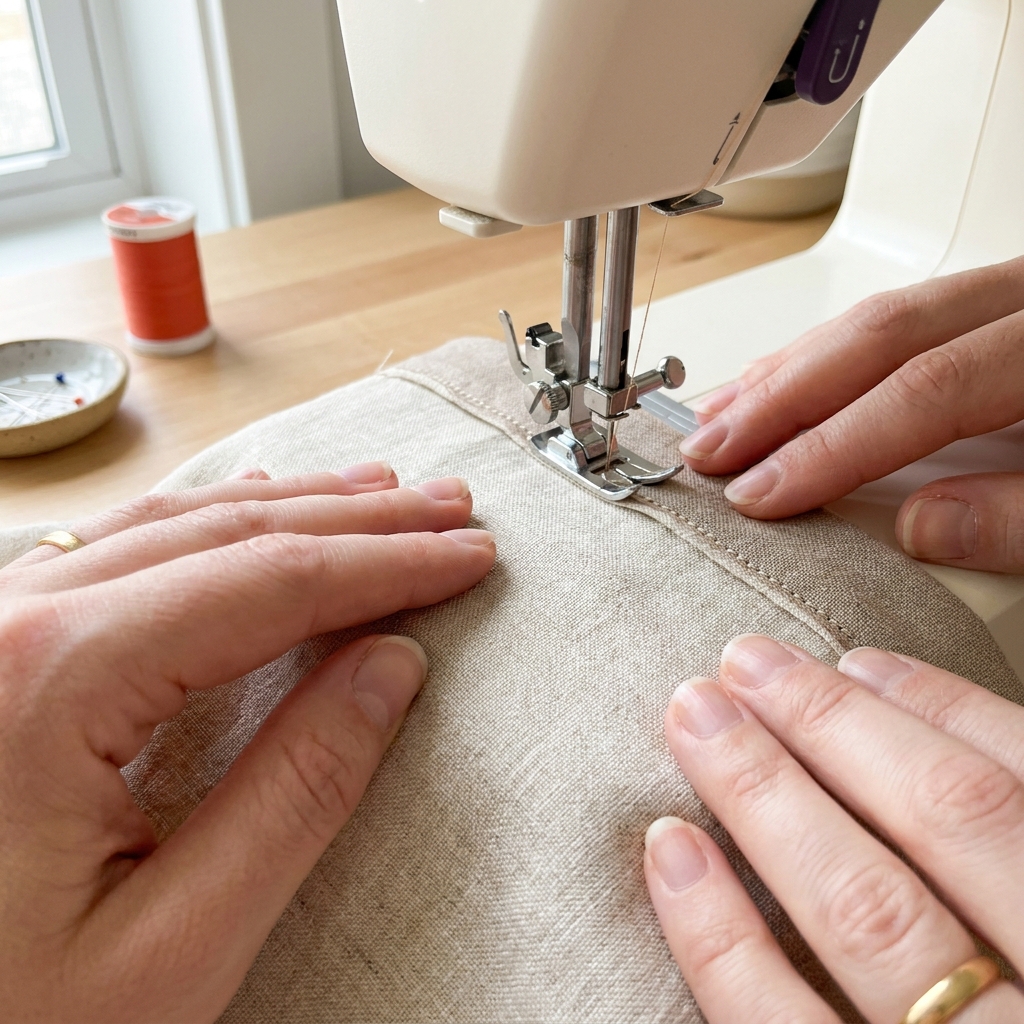
- From the facing/lining side, stitch through the facing/lining and the seam allowances, very close to the seam line, at the distance your pattern specifies, often about 1/8 inch (3 mm). Keep the stitching within the actual width of the trimmed seam allowances. Do not catch the garment fabric layer (WeAllSew; Twig + Tale; Simplicity).
- Press the facing or lining to the inside for a crisp edge (WeAllSew).
Before you begin, interface facings if your pattern requires it for stability. If you need a refresher, see Attach fusible interfacing properly: clear steps.
Shaping curved edges for a flatter finish
Grading and clipping reduce bulk and let curved seams spread so the edge can turn without rippling. Space clips according to the curve and fabric, making closer clips only where the shape needs them, being careful not to cut the stitch line, then understitch and press. This sequence helps the facing roll inward neatly (Spool of Thread; Twig + Tale).
Common mistakes and simple fixes
- Stitches show on the outside: you likely caught the garment layer. Unpick that section and restitch from the facing/lining side, keeping to the facing plus seam allowances only (Simplicity).
- Ripples at curves: add more clips, re-press, and understitch close to the seam with steady, even feeding (Spool of Thread).
- Can’t reach corners or tight areas: sew as far as you can, then press. Some patterns also secure facings at shoulder seams with a short “stitch in the ditch” if needed (Twig + Tale; The Sewing Revival).
Decisions: adding or skipping understitching
Follow your pattern first. Many patterns will tell you when to understitch; if they don’t, you can add it after reading the instructions through to ensure it won’t conflict with later construction steps or different edge finishes (Spool of Thread). For pocket openings, a short run of understitching on the pocket facing helps keep the pocket bag hidden (The Sewing Revival).
Use a suitable needle for your fabric and test stitch placement on a scrap first. If you’re unsure which needle to choose, see What needle size should I use for different fabrics?
Understitching prep and finish checklist
FAQ
Is understitching the same as topstitching?
No. Understitching is sewn on the inside through the facing/lining and seam allowances and should not be visible from the outside. Topstitching is visible on the right side and is often decorative or structural (Spool of Thread; Simplicity).
How close to the seam should I sew?
Follow the pattern; about 1/8 inch (3 mm) is a common example. The line must still catch the trimmed seam allowances, and must not catch the garment layer (WeAllSew; Twig + Tale).
Do I need to understitch the entire edge?
No. On tight corners or deep curves, stitch as far as you can; press the remaining section and secure it only as your pattern directs. Some patterns also add a small anchoring stitch at seams like the shoulders (Twig + Tale; The Sewing Revival).