
The journal
Attach fusible interfacing properly: clear steps
Place the adhesive side to the fabric’s wrong side, follow your product’s exact heat, moisture, time and pressure, press without sliding unless your brand says otherwise, and let it cool flat before sewing.
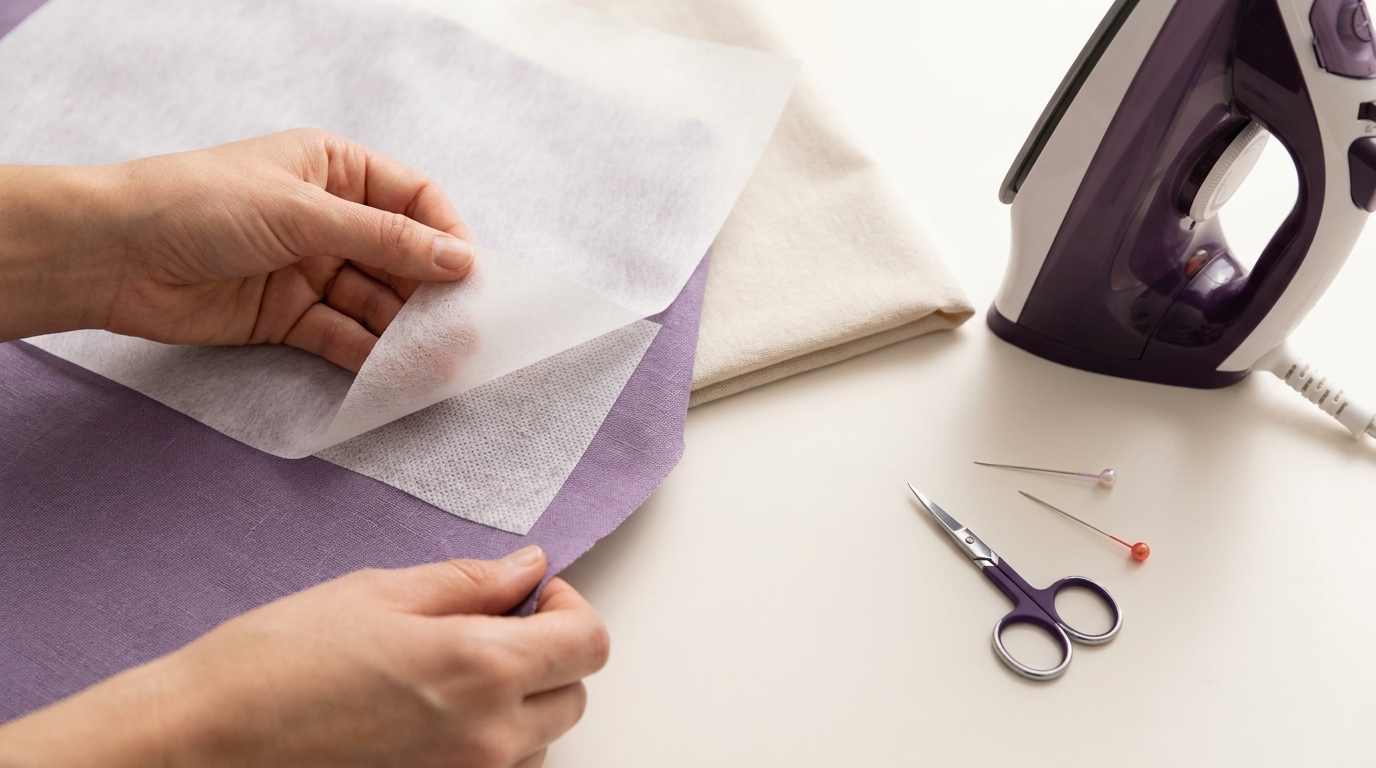
Place the adhesive side of the interfacing against the fabric’s wrong side, then fuse in sections using the method, heat, moisture and time specified for your exact product and fabric. Avoid sliding the iron unless your brand’s instructions say to, and let the piece cool flat so the bond sets fully (Pellon P44F directions; Vlieseline FAQ).
Why the method varies by product and fabric
Brand instructions differ on moisture, motion, time and temperature. For example, Pellon P44F specifies a damp press cloth, a steam iron on Low-Permanent Press, firm pressure and 10 seconds per section, followed by cooling (Pellon P44F directions). Vlieseline recommends fusing interlinings with a damp cloth for an even result, but also defines a “dry iron-on” method for certain products (no steam, circular motion with pressure) (Vlieseline FAQ). This is why one universal pressing time or steam rule is unreliable. Always test on a scrap and follow the instructions for your specific interfacing and fabric. Do not exceed the fabric’s heat tolerance.
Tools and setup
- Standard household iron with adjustable heat; avoid handheld steamers for fusing (Pellon FAQ).
- Firm pressing surface and a press cloth to protect your iron and help manage steam (Pellon FAQ).
- Interfacing and fabric offcuts for a scrap test (Pellon P44F directions).
Identify the adhesive side by touch: most fusibles have rough glue dots, while some have a shiny sprayed adhesive. If in doubt, test a tiny piece between scrap layers to confirm the fusible face (Pellon FAQ; Pellon blog: which side is fusible).
Match grainlines when using woven interfacing; non-wovens have no grain. Always pre-test heat, time and moisture using the same fabric and interfacing you’ll sew (WAWAK step-by-step; In the Folds interfacing guide).
Set up before you fuse
Step-by-step fusing
1) Align and stabilize
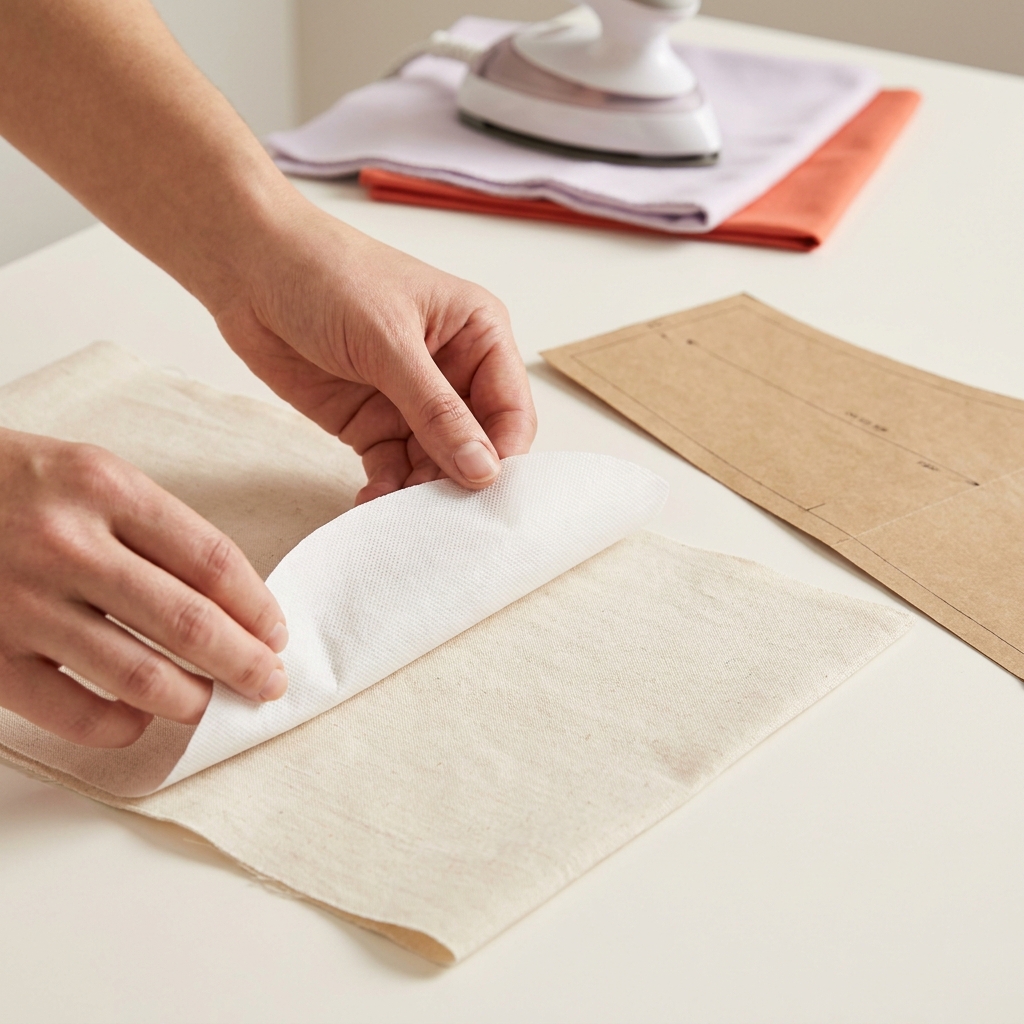
Place the interfacing adhesive side to the fabric’s wrong side and align edges. To keep shapes accurate, use your pattern piece as a reference while you position; some makers lightly “tack” the center and corners with very short presses so layers don’t shift before full fusing (Sew DIY tips). If you have many small pieces, block-fusing a larger area first and then cutting can be easier (WAWAK step-by-step).
2) Fuse per your brand’s directions
- Press-and-lift method: Most garment instructions favor pressing in small sections without sliding the iron, overlapping slightly to avoid gaps. This reduces distortion and shifting (In the Folds interfacing guide; WAWAK step-by-step).
- Moisture and time vary: As one example, Pellon P44F uses a damp press cloth with a steam iron on Low-Permanent Press, firm pressure, about 10 seconds per section, then a press on the right side before cooling (Pellon P44F directions).
- Dry iron-on exceptions: Some Vlieseline products define “dry iron-on” (no steam) using slow circular motion with pressure for the stated time. Follow the product leaflet for your specific interlining (Vlieseline FAQ).
Do not use a handheld steamer; use a household iron or a steam press with controllable heat, time and pressure (Pellon FAQ).
3) Cool and verify
Let the piece cool flat and undisturbed so the adhesive sets, then check the bond and re-press any missed spots as directed. Some products also instruct a press from the right side before cooling (Pellon P44F directions; WAWAK step-by-step).
Troubleshooting and safe stops
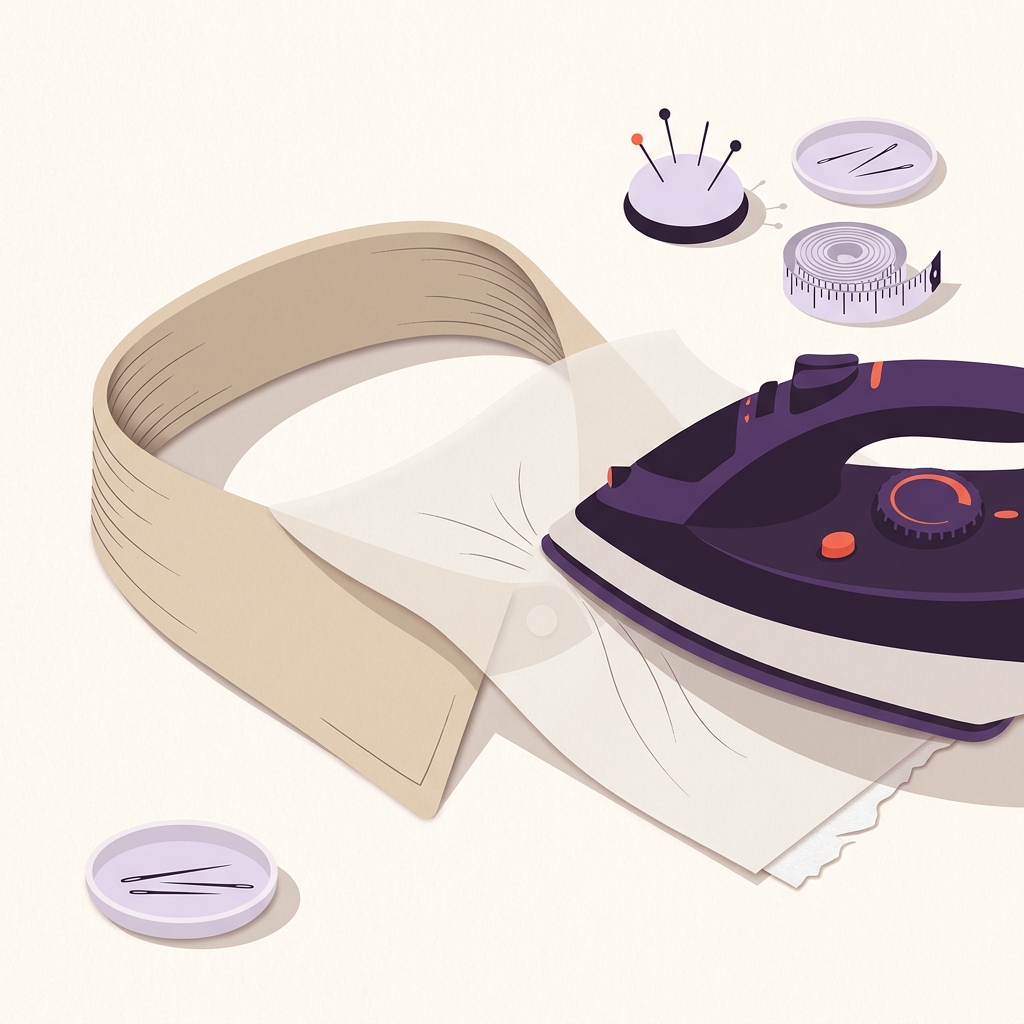
- Bubbling or rippling: Common causes are fabric shrinkage (prewash fabric), insufficient heat/time/pressure, or dragging the iron. Re-test on scraps, then re-press in sections per your brand’s method (In the Folds interfacing guide).
- Adhesive on the iron: While hot, wipe on scrap fabric; dedicated hot iron cleaners are also available. A press cloth reduces the risk next time (Vlieseline FAQ; Pellon FAQ).
- Weak edges: Re-press with the correct moisture and time, overlapping your presses. Allow full cooling before handling (Pellon P44F directions).
- Need to reposition: Some fusibles let you reheat to soften the glue, peel gently, smooth and reapply; test first, as not all products behave the same (Pound Fabrics: How to use fusible interfacing).
- Fabric not suitable: Avoid fusing to very sheer, loose/open weaves, heavily textured or heat-sensitive/nap/foil/vinyl fabrics; use sew-in instead (In the Folds interfacing guide). If you see scorching, glazing or texture damage, stop and lower the heat or switch to a sew-in option.
Where and what to interface
Common garment areas include collars, cuffs, button plackets, waistbands and facings. Choose woven, knit or nonwoven interfacing to match how your fabric behaves, and keep weight the same as or lighter than your fabric (In the Folds interfacing guide). For help choosing, see our guide: How to choose interfacing: woven, nonwoven, fusible or sew-in.
Moisture choices can depend on fabric. For fabric-by-fabric tips on whether your press cloth should be wet or dry, read pressing cloth: wet or dry?

FAQ
Do I use steam or a damp cloth?
Use what your product specifies. Some brands recommend a damp press cloth and steam for an even bond, while others specify dry iron-on. Check your leaflet and test first (Pellon P44F directions; Vlieseline FAQ).
Can I use a handheld steamer?
No. Use a household iron or a steam press that controls heat, time and pressure (Pellon FAQ).
Why does interfacing bubble after washing?
Fabric that wasn’t preshrunk can tighten under heat/wash while the interfacing doesn’t. Prewash the fabric, then fuse with the right time, pressure and motion for your product (In the Folds interfacing guide).