
The journal
Sew a 4-hole button by hand: a simple step-by-step
A clear, practical method to hand-sew a 4-hole button: mark, anchor, stitch in cross or parallel, create a thread shank with a spacer, and tie off securely.
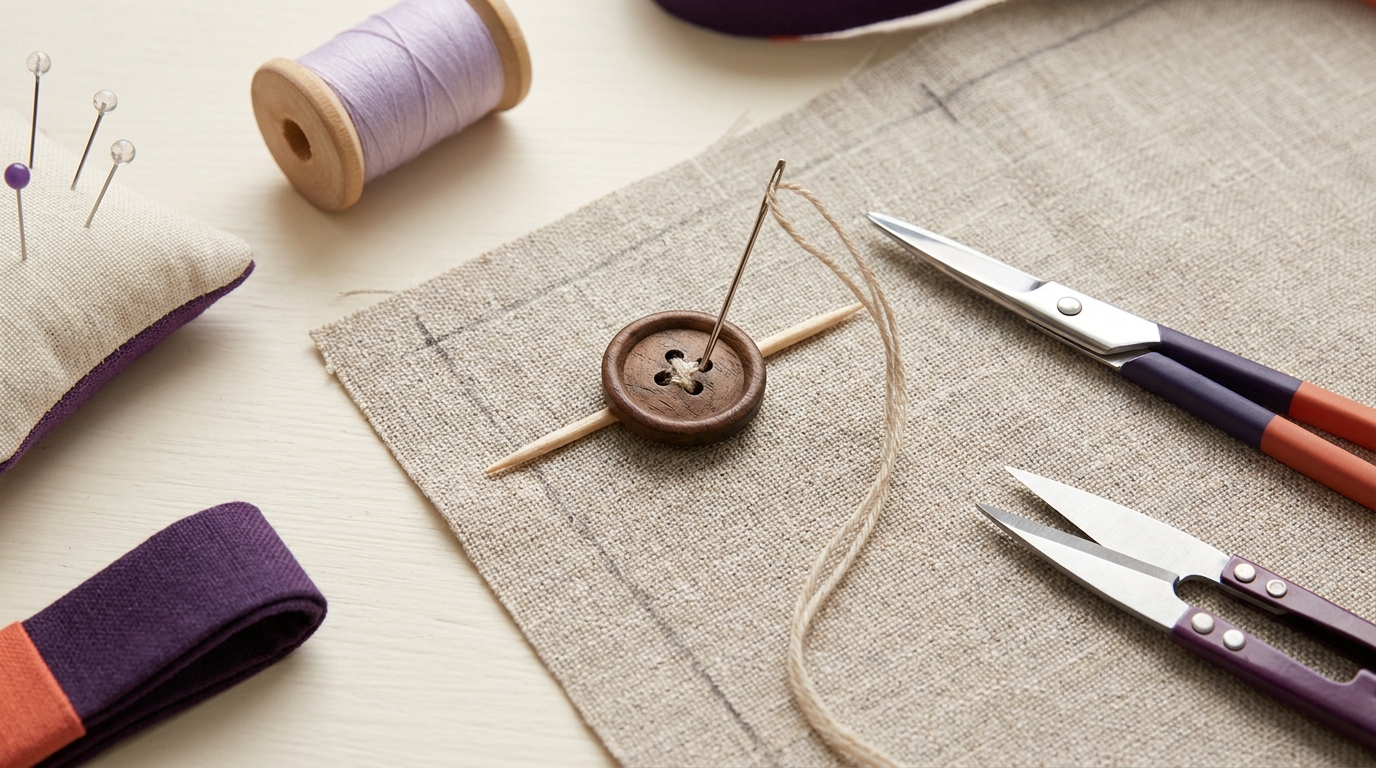
To sew a 4-hole button by hand: mark the spot, anchor your thread on the wrong side, sew either a cross (X) or parallel bars through the holes, add a spacer while stitching to leave room for a thread shank, wrap the shank, then knot and trim on the back (https://ask.ifas.ufl.edu/publication/4H414; https://www.reskinned.clothing/the-re-edit-blog/4-hole-button-sewing).
What you need and quick prep
Tools: needle, all-purpose or button thread, scissors, a toothpick or pin as a spacer, and your button. Mark placement with a removable fabric marker or light pencil dot. Cut a manageable thread length; many guides suggest roughly 16 to 24 inches depending on comfort (https://ask.ifas.ufl.edu/publication/4H414; https://www.reskinned.clothing/the-re-edit-blog/4-hole-button-sewing). Double-threading the needle is common for strength and easier handling (https://www.firststopcosplay.com/blogs/fsco-blog/how-to-hand-sew-a-4-hole-button-a-step-by-step-guide-for-newbie-sewists?srsltid=AYCX9vL_4mAkoc37ZgYU-Hyg2Dq_tJ5yB8FtVwZnpIKMn9yF4ss9mume). If your fabric is delicate, you can lightly reinforce the back with a small scrap (https://aboderie.co.uk/how-to-sew-on-a-button-2-4-hole/).
Tip: Need a refresher on marking fabric cleanly? See our practical methods for marking without transfer paper: How to transfer patterns to fabric.
Cross vs parallel: which stitch pattern to use?
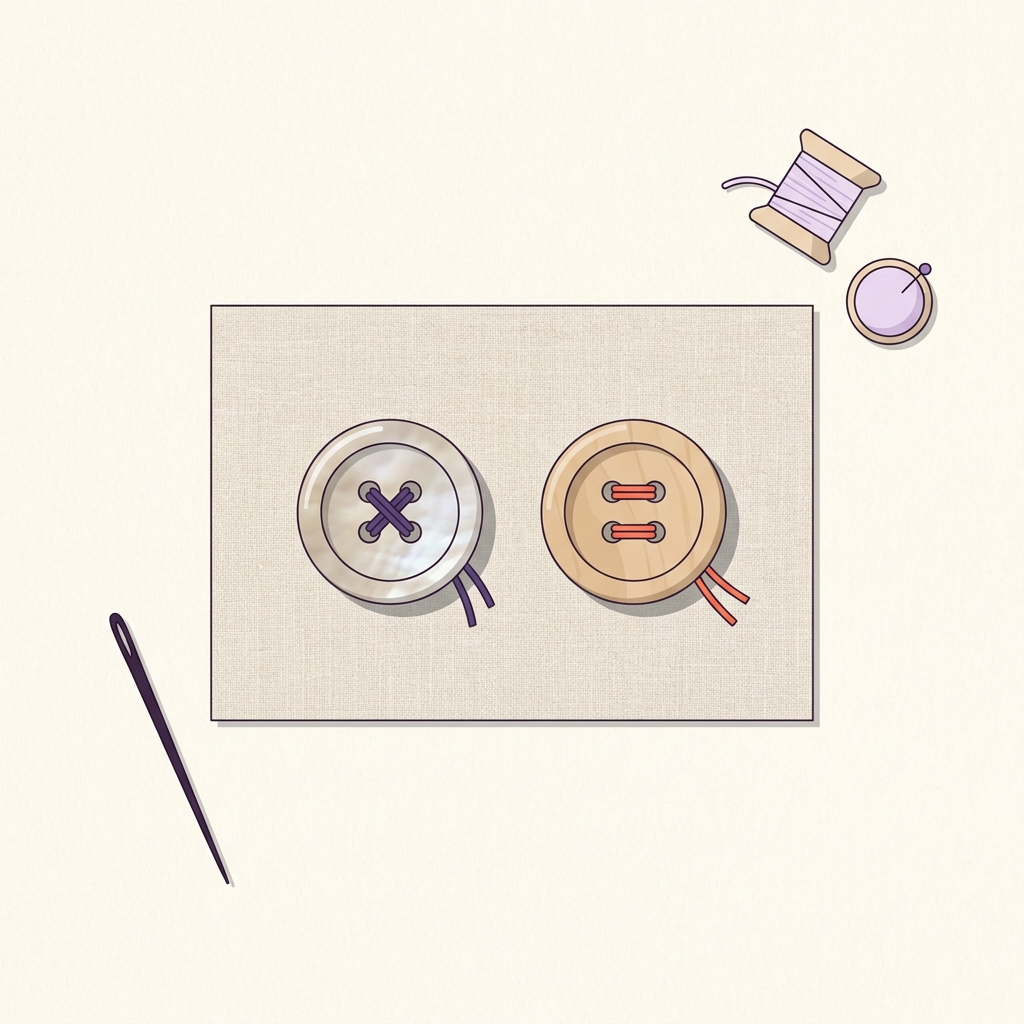
Both patterns are correct. A cross (X) is widely used and is often noted as slightly stronger; parallel bars give a tailored look. The bigger factor is matching what’s already on the garment for consistency (https://aboderie.co.uk/how-to-sew-on-a-button-2-4-hole/; https://www.reskinned.clothing/the-re-edit-blog/4-hole-button-sewing).
Step-by-step: sew a 4-hole button by hand
1) Mark and anchor
Mark the center point. Double-thread your needle and anchor with a few small stitches on the wrong side so you finish with the needle underneath, ready to place the button (https://www.firststopcosplay.com/blogs/fsco-blog/how-to-hand-sew-a-4-hole-button-a-step-by-step-guide-for-newbie-sewists?srsltid=AYCX9vL_4mAkoc37ZgYU-Hyg2Dq_tJ5yB8FtVwZnpIKMn9yF4ss9mume).
2) Position and add a spacer
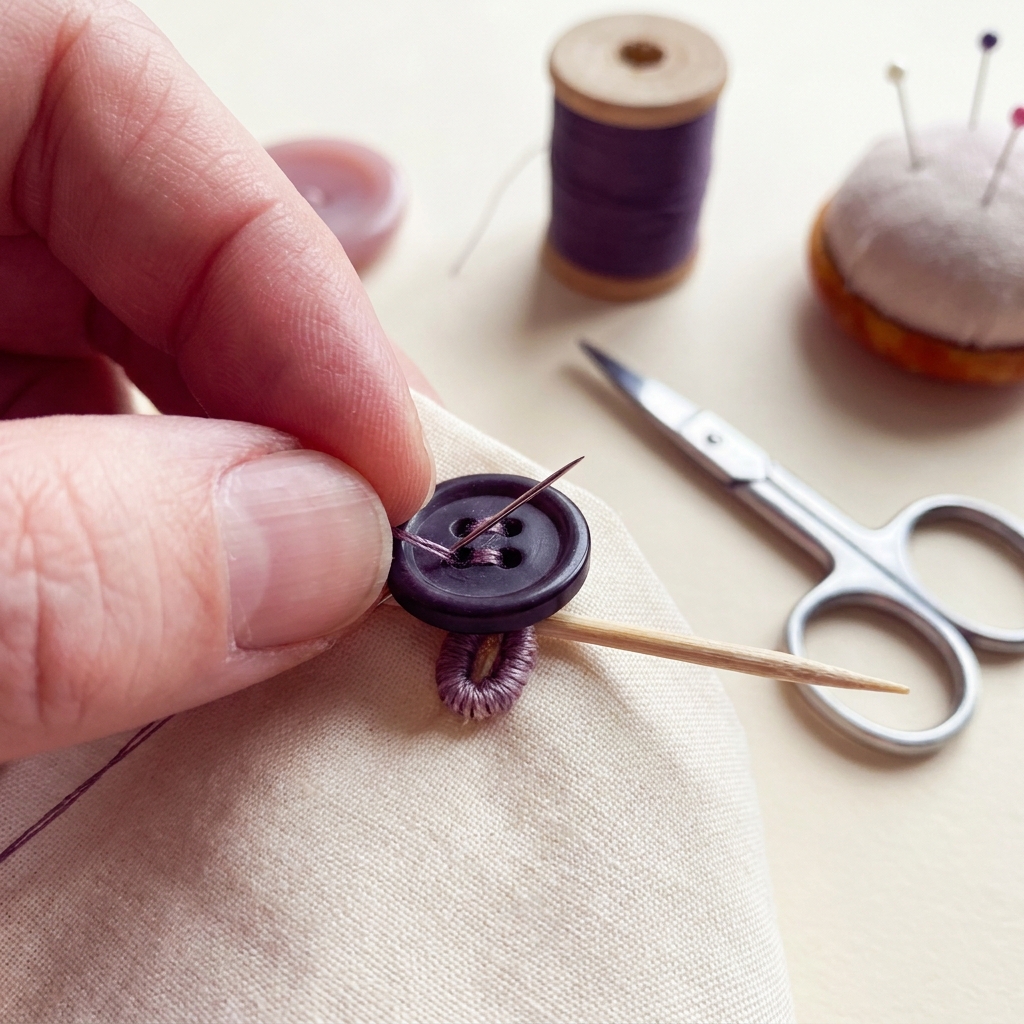
Center the button over the mark. Lay a toothpick or pin across the button between the holes as a spacer so you don’t sew it down too tightly. This leaves room for a thread shank and the buttonhole layer later (https://ask.ifas.ufl.edu/publication/4H414; https://www.wikihow.com/Sew-a-Four-Hole-Button).
3) Stitch the first pair
Bring the needle up through the first hole and down through its opposite (choose straight or diagonal based on the look you want or to match existing buttons). Repeat several passes to build strength. Many tutorials suggest 3 to 5 repetitions per pair (https://www.reskinned.clothing/the-re-edit-blog/4-hole-button-sewing; https://aboderie.co.uk/how-to-sew-on-a-button-2-4-hole/).
4) Stitch the second pair
Travel under the button to the unused pair and repeat the same number of passes for an even look and balanced strength (https://www.firststopcosplay.com/blogs/fsco-blog/how-to-hand-sew-a-4-hole-button-a-step-by-step-guide-for-newbie-sewists?srsltid=AYCX9vL_4mAkoc37ZgYU-Hyg2Dq_tJ5yB8FtVwZnpIKMn9yF4ss9mume).
5) Build the thread shank
With the needle now under the button, remove the spacer. Wrap the thread firmly around the stitches between the button and fabric several times to form a short shank, then pass the needle down to the wrong side (https://ask.ifas.ufl.edu/publication/4H414; https://www.reskinned.clothing/the-re-edit-blog/4-hole-button-sewing).
6) Tie off neatly
On the back, take a few small securing stitches and knot, then trim the tails closely without cutting the knot (https://www.wikihow.com/Sew-a-Four-Hole-Button; https://www.firststopcosplay.com/blogs/fsco-blog/how-to-hand-sew-a-4-hole-button-a-step-by-step-guide-for-newbie-sewists?srsltid=AYCX9vL_4mAkoc37ZgYU-Hyg2Dq_tJ5yB8FtVwZnpIKMn9yF4ss9mume).
Make it last: practical tips
- Match the stitch orientation to the other buttons on the garment for a professional finish (https://www.reskinned.clothing/the-re-edit-blog/4-hole-button-sewing).
- Use a spacer on anything that will be buttoned through overlapping layers; it prevents strain and popping (https://ask.ifas.ufl.edu/publication/4H414).
- For high-stress, functional buttons, sewing through all needed layers helps resist tearing (https://www.firststopcosplay.com/blogs/fsco-blog/how-to-hand-sew-a-4-hole-button-a-step-by-step-guide-for-newbie-sewists?srsltid=AYCX9vL_4mAkoc37ZgYU-Hyg2Dq_tJ5yB8FtVwZnpIKMn9yF4ss9mume).
Sew a 4-hole button: follow-along checklist
Troubleshooting common issues
- Button sits too tight to the fabric: Use a spacer while stitching and build a small thread shank before tying off (https://ask.ifas.ufl.edu/publication/4H414).
- Button feels wobbly: Add more passes through each pair. Many guides suggest 3 to 5 repeats (https://www.reskinned.clothing/the-re-edit-blog/4-hole-button-sewing; https://aboderie.co.uk/how-to-sew-on-a-button-2-4-hole/).
- Fabric is thin or worn: Add a tiny backing scrap on the inside for support before sewing (https://aboderie.co.uk/how-to-sew-on-a-button-2-4-hole/).
- Needle snagging layers: Shorten your thread and keep stitches small; knot securely on the back (https://www.wikihow.com/Sew-a-Four-Hole-Button).
Ready for a simple project to practice neat placement and finishing? Try our beginner-friendly make: Sew an envelope pillowcase.
FAQs
How many times should I stitch each pair of holes?
Do multiple passes for durability. You’ll commonly see 3 passes in quick repairs and up to 4-5 passes for a stronger hold (https://www.reskinned.clothing/the-re-edit-blog/4-hole-button-sewing; https://aboderie.co.uk/how-to-sew-on-a-button-2-4-hole/).
Do I always need a spacer and thread shank?
Use them whenever the button must bridge overlapping layers or thicker fabric. The spacer ensures clearance; the wrapped shank prevents stress and makes buttoning easier (https://ask.ifas.ufl.edu/publication/4H414).
Is cross or parallel stronger?
Both are serviceable; a cross is often noted as slightly stronger, but matching the garment’s existing style is a good rule. Strength mainly comes from enough passes and a secure finish (https://aboderie.co.uk/how-to-sew-on-a-button-2-4-hole/).

With a spacer, consistent passes, and a neat shank, your 4-hole button will look tidy and stay put.