
The journal
Why there are thread loops under your fabric when you sew, and how to fix them
Underside loops usually mean your upper thread isn’t in the tension discs. Rethread with the presser foot raised, do a quick pull test, then test-stitch and fine-tune.
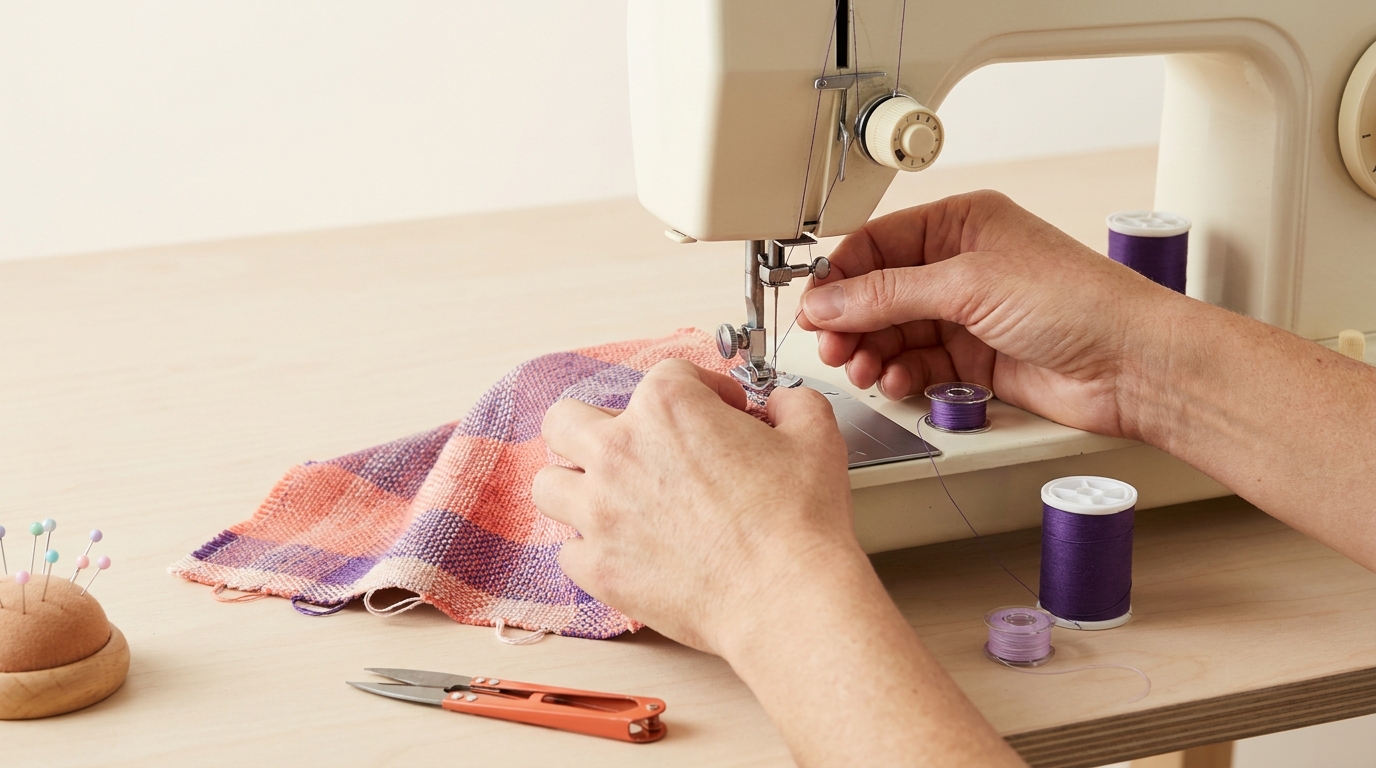
Most thread loops under the fabric happen because the top thread isn’t properly engaged in the machine’s tension system, so the upper thread has little or no tension and gets pulled below. Rethread the upper path with the presser foot raised, then test on a scrap; this fixes most cases (Janome Sewing Centre; The Sewing Machine Shop).
Why loops form underneath
In a lockstitch, the knot forms below the needle plate and is then pulled into the fabric layers. If the top thread has almost no tension, it’s carried under the fabric and builds loose loops on the underside. Manufacturer guidance and repair pros point to incorrect upper threading or a zero-tension condition as the usual cause of underside loops (Janome Sewing Centre; The Sewing Machine Shop).
Confirm it fast: the pull test
- Thread the machine correctly through all guides and the take-up lever, but do not thread the needle yet.
- With the presser foot raised, gently pull the top thread: you should feel little to no resistance.
- Lower the presser foot and pull again: you should feel clear drag from the tension discs. If not, you have a zero-tension condition to address (The Sewing Machine Shop).
Fix it in minutes: rethread correctly
- Turn the power off before threading (Janome Sewing Centre).
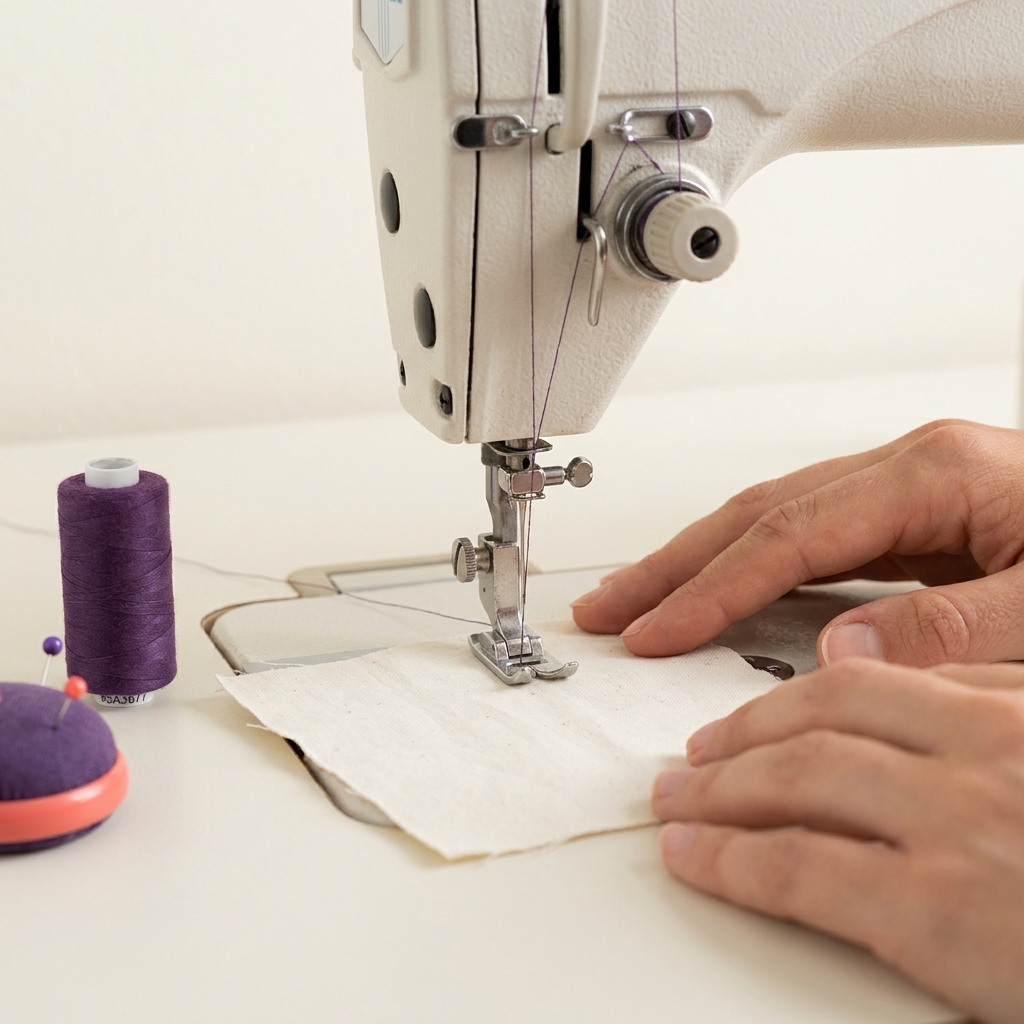
- Raise the presser foot so the tension discs open, then place the spool and follow the full threading path: upper guides, down and around the check spring area, up and through the take-up lever eye, then the lower guides, and finally thread the needle front to back (Janome Sewing Centre; The Sewing Machine Shop).
- Do the pull test again. You should now feel strong drag with the foot down.
Test-stitch and fine-tune the top tension
- Sew a few rows on a scrap and check both sides.
- If loops still show underneath, increase the top tension in small steps. A typical balanced range is often around 3-6 on many machines; adjust gradually and retest (The Sewing Machine Shop).
If loops persist: clean, recheck, or get service
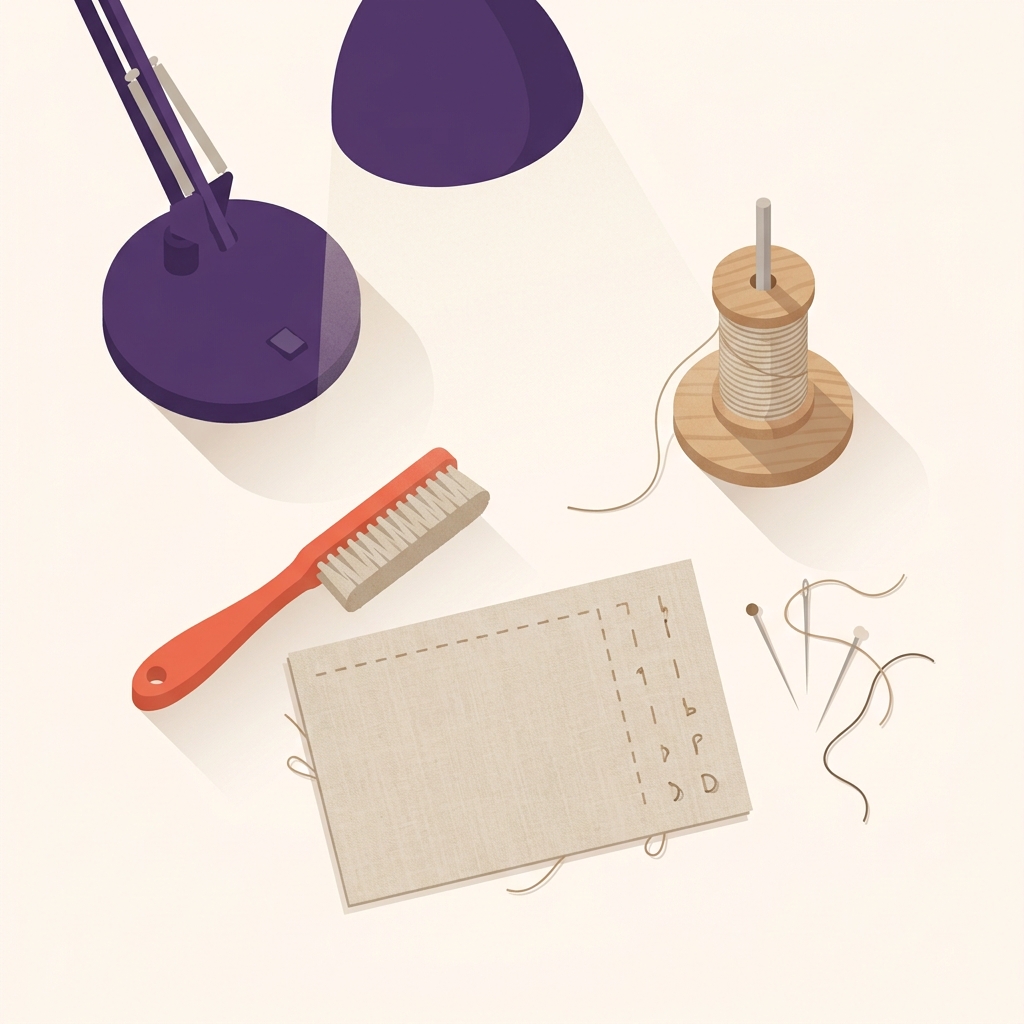
- Clean the tension area: raise the presser foot to open the discs and remove any lint or shredded thread between the discs (use canned air and/or tweezers carefully). Debris can keep discs from closing and cause zero tension (The Sewing Machine Shop).
- Repeat the pull test. If there is still no drag with the foot down and the dial set appropriately, the tension release mechanism may be malfunctioning. Stop and have a technician service it (The Sewing Machine Shop).
When it’s actually the bobbin
Symptom matters: loops on the top side usually point to the bobbin side being too loose, while loops underneath point to the upper thread. If you see loops on top, address bobbin tension and installation per your manual (The Quilting Room with Mel).
Try a simple project once your stitch is balanced
Fast checklist to stop underside loops

FAQ
Should I tighten the bobbin tension to fix loops underneath?
No. Underside loops are usually an upper-thread issue. Rethread the top correctly and set top tension first. Bobbin tension is the likely culprit only when loops are on the top side (Janome Sewing Centre; The Quilting Room with Mel).
What tension number should I start from after rethreading?
Many machines balance well around 3-6. Start in that range, make small adjustments, and test on a scrap each time (The Sewing Machine Shop).