
The journal
Wind a bobbin the right way: clear steps and quick fixes
A practical, manufacturer-aligned method to wind a sewing machine bobbin evenly and firmly, with troubleshooting for loose or lopsided bobbins.
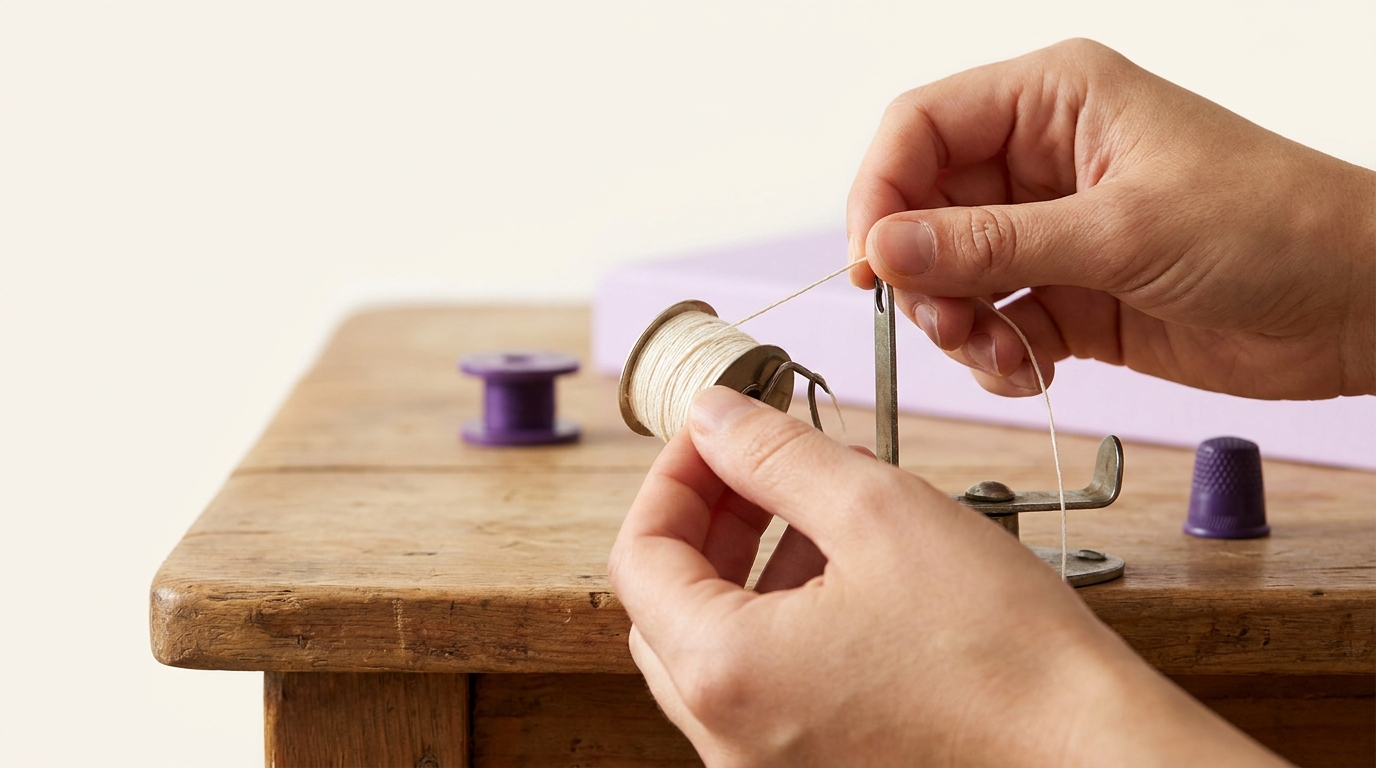
Proper way to wind a bobbin: route the thread through your machine’s bobbin-winder tension disk, thread a bobbin hole from inside to out, hold the tail for the first turns and trim it, then wind at a steady speed until the fill is just below the bobbin rim. Always use the bobbin type your manual specifies and seat the thread firmly in the winder tension disks for an even, tight wind (Brother, SINGER).
Step-by-step: wind an even, firm bobbin
- Place your thread spool on the spool pin and cap it if your model requires it. Follow the printed diagram on your machine.
- Route the thread through the bobbin-winder tension guide/disks and be sure it sits snugly between the disks. This is essential to apply winding tension (SINGER).
- Thread the bobbin: pass the thread from inside to outside through a hole in the bobbin flange (Brother).
- Place the bobbin on the bobbin-winder shaft and engage the winder (often by sliding the shaft to the right). Hold the thread tail upright for the first few turns (Brother).
- Start the machine to wind a few turns, stop, and trim the tail close so it cannot tangle as the bobbin fills (Brother).
- Continue winding at a steady, comfortable speed until the thread is just below the rim. Many machines slow or stop as the bobbin nears full; stop and disengage the winder, then remove the bobbin (Brother).
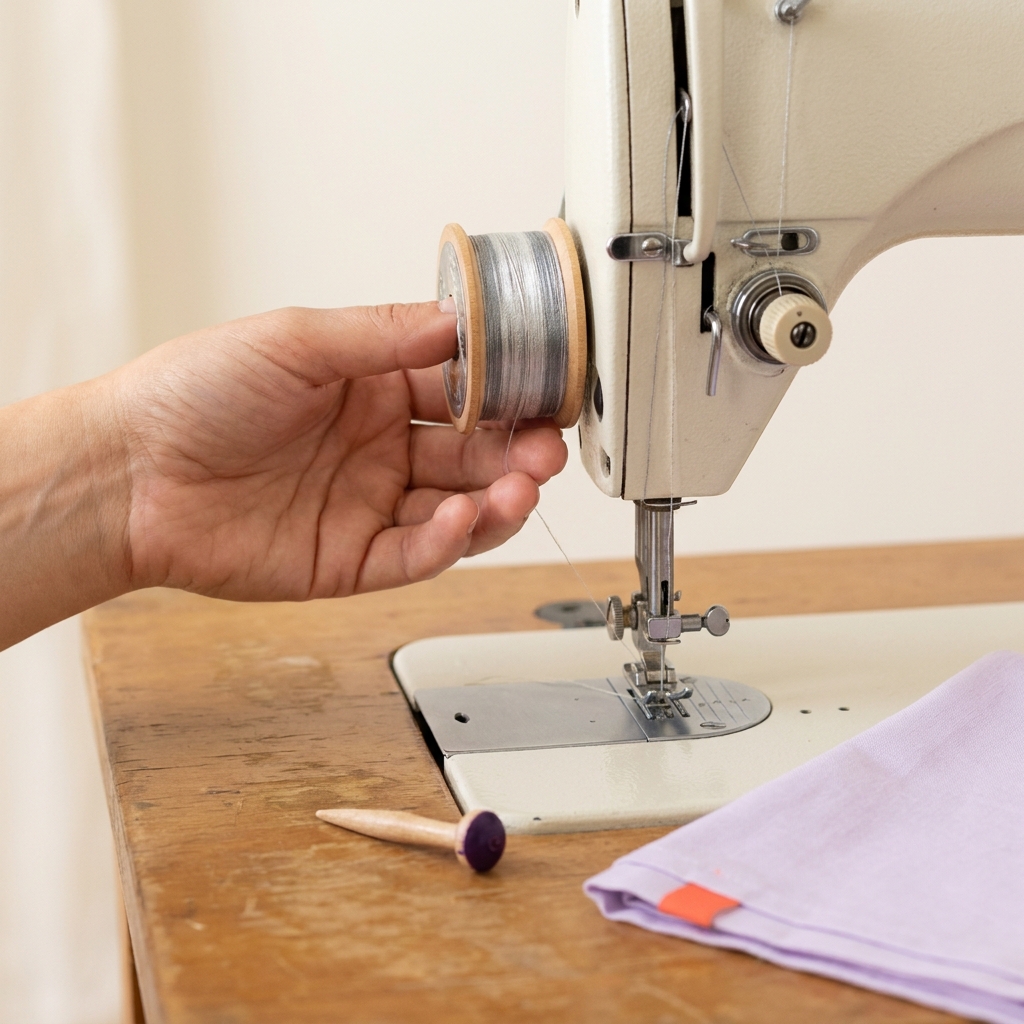
Check quality as you wind
A good bobbin looks tight and evenly layered from side to side. Overfilled or loose, spongy bobbins can cause poor stitch quality and even jams. Stop winding when the thread is level with, not over, the bobbin flanges (Meissner Sewing). If the wind looks loose or lopsided, rethread the winder tension path and try again; the winder tension is where this is won or lost (C. Schoenberg).
Prevent problems before they start
- Use the correct bobbin style for your machine and do not substitute types (for example, don’t swap plastic and metal if your manual specifies one). The machine is designed for a specific style (SINGER).
- Always seat the thread firmly in the bobbin-winder tension disks before winding to avoid a loose, sloppy bobbin (SINGER).
- Don’t mix multiple thread sources on one bobbin; this increases tangles and stitch issues (C. Schoenberg).
- Turn the machine off before clearing jams or when handling parts near the needle; follow your model’s safety steps (SINGER).
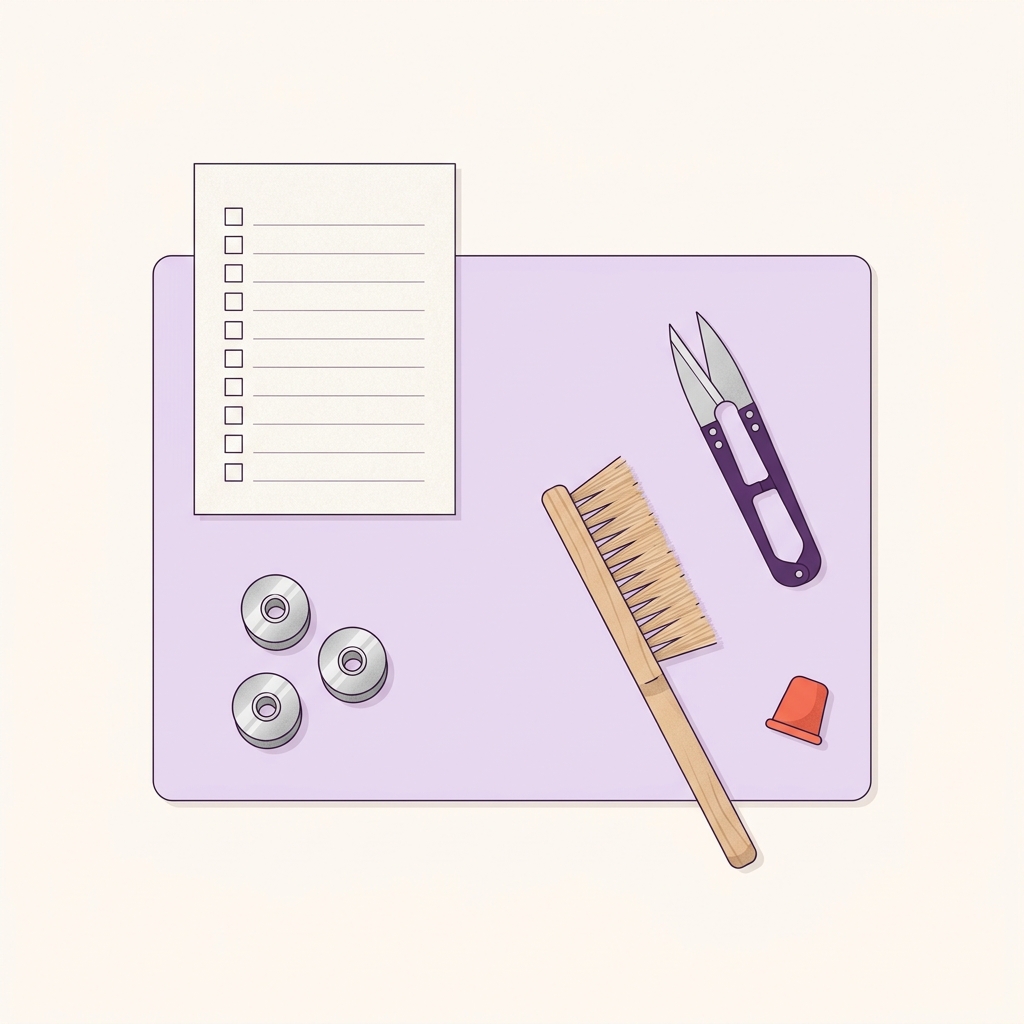
Bobbin winding quick checklist
If your bobbin winds loose, spongy or lopsided
First, rethread the winder path and “floss” the thread into the tensioner: after wrapping as directed, gently work the thread back and forth to seat it between the disks. You should feel clear resistance when you pull on the thread. If tension is still weak, wrap the thread a full 360 degrees around the winder tensioner to increase friction, which helps with slippery or fine threads (Meissner Sewing, C. Schoenberg).
If problems persist after correct winding, confirm your bobbin style matches your model. A mismatch can cause ongoing tension and feeding issues (SINGER).
Why tight, even winding matters
A sloppy bobbin can bury the “next-up” thread under loose layers, obstructing smooth feed and causing looping, tension swings, or jams. Severe snags can make the bobbin hop in the case and risk needle strikes. A firm, even wind avoids these issues and supports stable stitch formation (C. Schoenberg).
Related how-tos on Made in Steps
- Sew an envelope pillowcase: measure the pillow first
- How to choose interfacing: woven, nonwoven, fusible or sew-in

FAQ
Do I need to trim the starting tail?
Yes. After a few initial turns, stop and trim the tail close before continuing to prevent tangles later in the bobbin (Brother).
How full is full enough?
Stop when the thread is level with the bobbin flanges or when your machine slows or stops. Do not overfill beyond the rim (Brother, Meissner Sewing).
Can I use any bobbin that fits?
No. Use the exact style specified for your model; substituting can cause poor winding and stitch issues (SINGER).