
The journal
Cut a perfect square of fabric: the reliable method
Press, square one true edge, cut a strip to width, then subcut into equal squares using a ruler, mat and rotary cutter. Alternatives with scissors included.
Quick answer
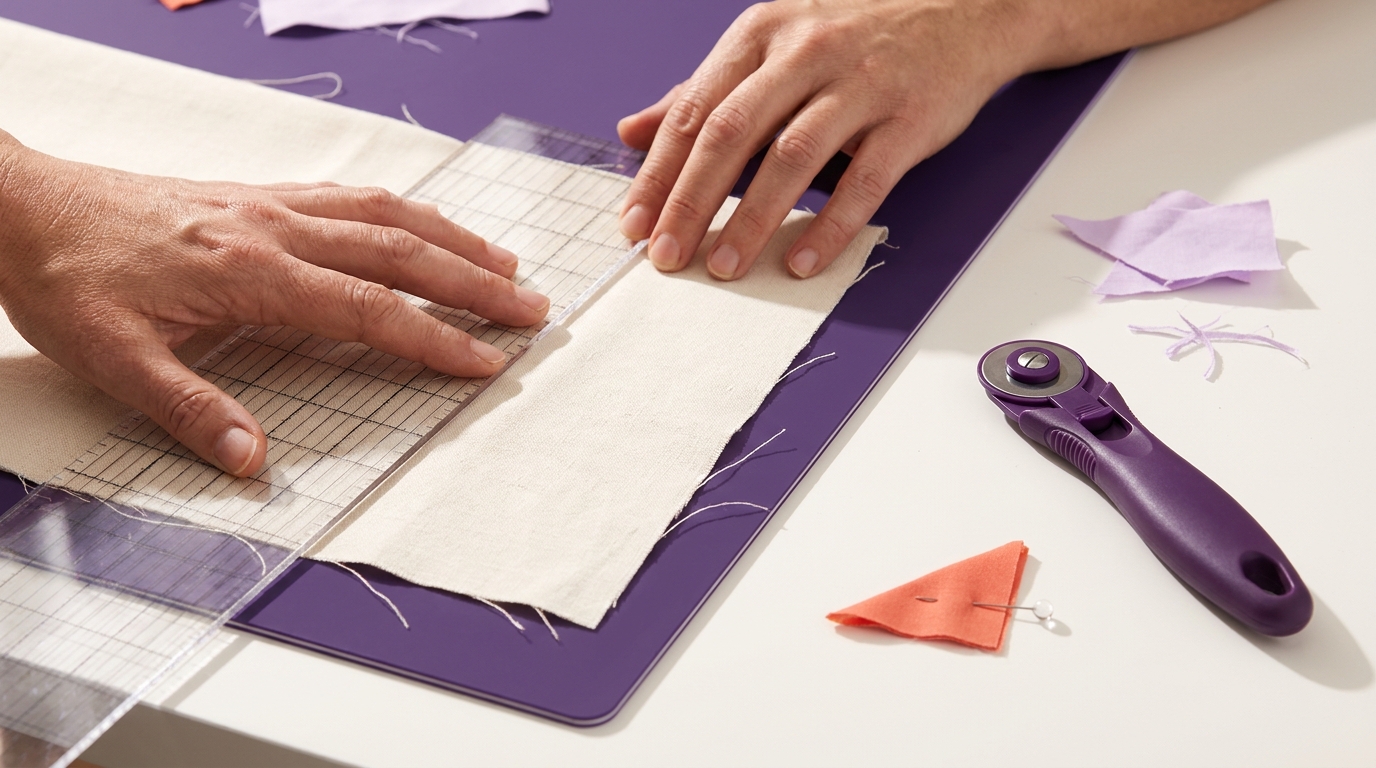
To cut a perfect square, press the fabric, fold or align selvedges so the grain is straight, trim one true baseline, cut a strip to the square’s width, then subcut that strip into equal lengths. Use a clear ruler on a self-healing mat and a sharp rotary cutter for repeatable 90-degree edges (Sew4Home) (The Willow Market).
Tools and setup that make accuracy easy
- Rotary cutter with a sharp 45 mm blade
- Self-healing cutting mat with clear gridlines
- Clear acrylic ruler (a 6 x 24 inch ruler is a workhorse for strips)
- Iron for pressing, not sliding
This trio helps you align to grain and grid while cutting cleanly; a larger mat and non-slip ruler surface also reduce drift (Linda’s Electric). If you lack a rotary setup, you can still square and cut accurately with sharp fabric scissors using a straightedge and marks (Make It & Love It).
Step-by-step: square, strip, and subcut
1) Press and align the grain
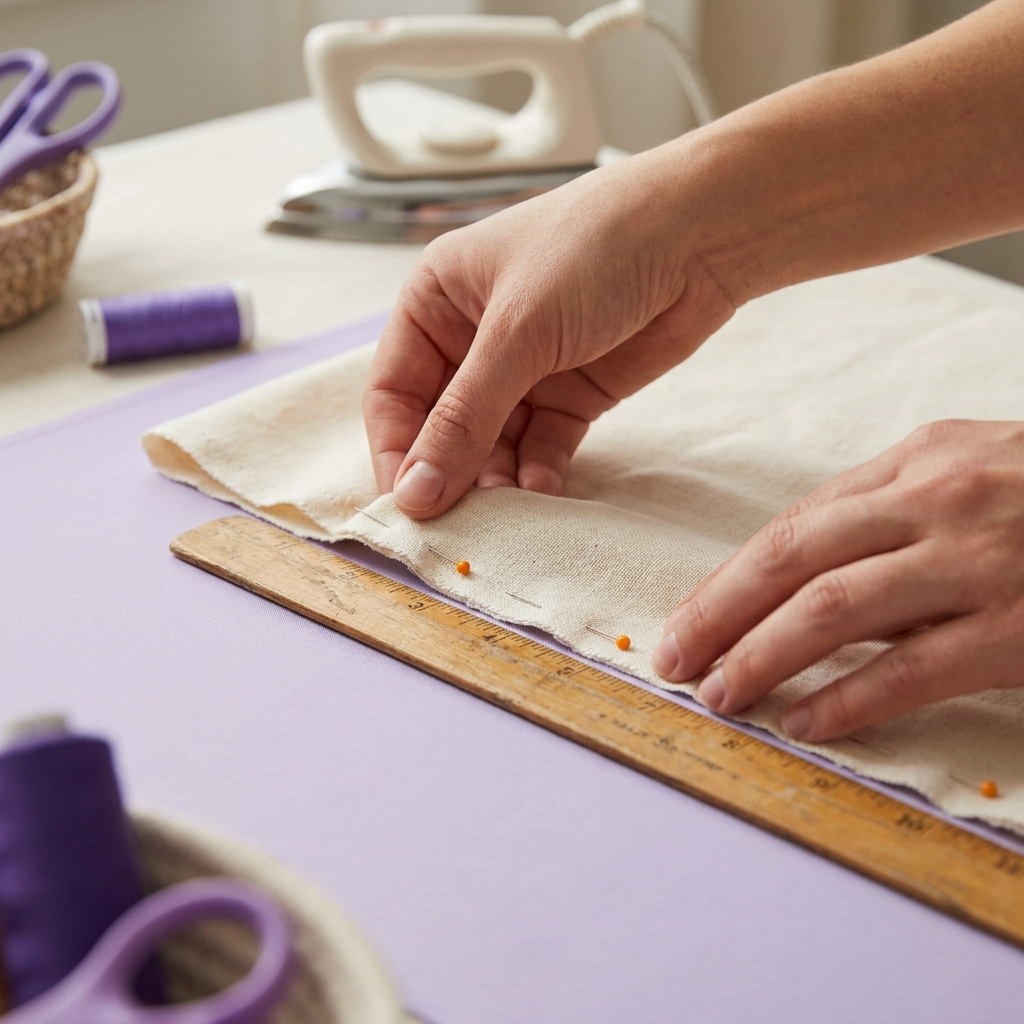
Press the fabric flat. Fold or align selvedge to selvedge so the grain runs straight and the piece lays smooth before cutting (Joz Makes Quilts). When pressing, lift and place the iron instead of sliding to avoid distortion (Linda’s Electric).
2) Square one true baseline
Place the folded fabric on the mat with the fold parallel to a horizontal gridline. Align your ruler with a nearby vertical gridline and slice off the ragged edge. This creates a straight reference edge for all further measurements (Sew4Home).
3) Cut a strip to the square’s width
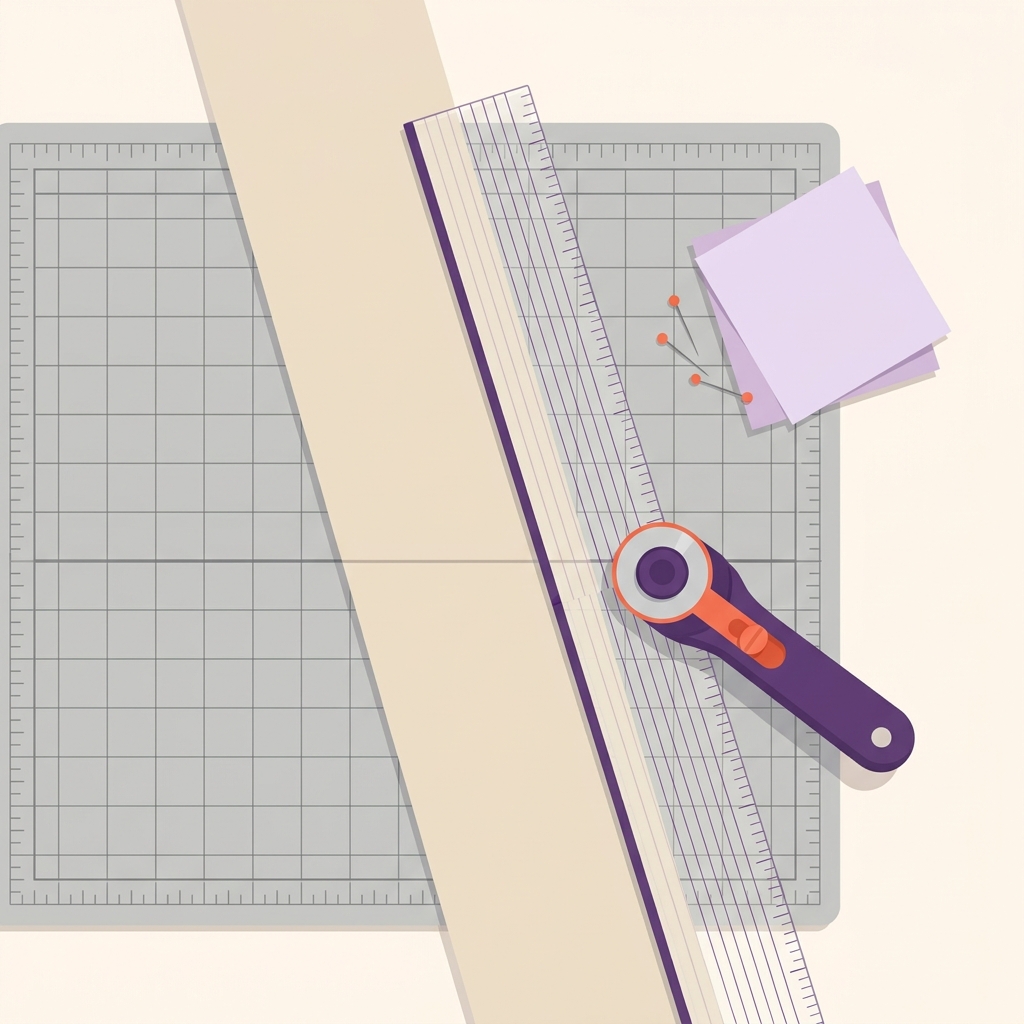
Rotate as needed so your squared edge is at the ruler’s starting point. Align ruler markings with the fold and the squared edge, then cut a strip exactly the width of your target square (for example, a 4.5 inch strip for 4.5 inch squares) (The Willow Market).
4) Subcut into squares and verify
Square one end of the strip, then measure and cut equal lengths along the strip to form squares (Sew4Home). For a quick check, fold a square diagonally; edges and corners should match cleanly (Make It & Love It).
Working from yardage without waste
From yardage, square the raw edge first, then cut width-of-fabric (WOF) strips and subcut. Quilting cotton WOF is commonly around 42-45 inches and lends itself well to the strip-then-subcut approach for many identical squares (Joz Makes Quilts) (Sew4Home).
Alternatives and troubleshooting
- No rotary cutter? Create one straight edge using the selvedge or a table’s verified 90-degree corner, mark with a ruler, and cut with sharp fabric scissors. You can also reveal the grain by carefully ripping a short snip along the edge, then trimming along a marked line parallel to that rip for a true edge (Make It & Love It).
- Stacking layers: You can stack a few aligned layers to speed up cutting, but precision is easiest one or two layers at a time; align edges carefully and keep pressure firm on the ruler (Joz Makes Quilts).
- Prevent cumulative error: Keep the ruler’s lines flush with both the mat grid and fabric edges, re-square your baseline whenever alignment drifts, and change a blade at the first sign of snagging or frayed cuts (Sew4Home) (Linda’s Electric).
Before you cut: accuracy checklist
Helpful next steps
- Transferring motifs accurately onto fabric? See our practical methods: How to transfer patterns to fabric without transfer paper.
- Keeping scissors cutting cleanly when you don’t use a rotary cutter: Does aluminum foil sharpen scissors?
FAQ
Do I need to pre-wash?
Pre-washing is optional; many quilters skip it. Either way, pressing before cutting is essential for flat, accurate pieces (Linda’s Electric).
What ruler and mat sizes are most useful?
A 6 x 24 inch clear acrylic ruler and a large self-healing mat help cut long, straight strips and keep alignment visible across the fabric (Linda’s Electric).
How can I be sure my square is really square?
Confirm with the mat grid while cutting, then fold the square diagonally to check that edges and corners align neatly (Make It & Love It).

Related guides
Related guide from Talk About Sleep
If the squares are for a quilt, plan its eventual care with Wash a Quilt Without Ruining It: Safe, Simple Steps.
Sources and further reading
- How to Square-Up Fabric to Get a Perfect Cut - Sew4Home
- How to Cut Quilt Squares with Perfect Precision - Linda's Electric
- Quilting 101, Lesson 4- Cutting Fabric — Joz Makes Quilts
- How to Measure and Cut Fabrics in Perfectly Straight Lines & Squares — Make It & Love It
- How to Square up your Fabric and Cut Perfect Patchwork Squares – The Willow Market