
The journal
How do you tie a stitch knot? Clear steps that hold
A practical, step-by-step way to tie a small stitch knot that secures hand sewing, plus precise placement, alternatives and quick fixes.
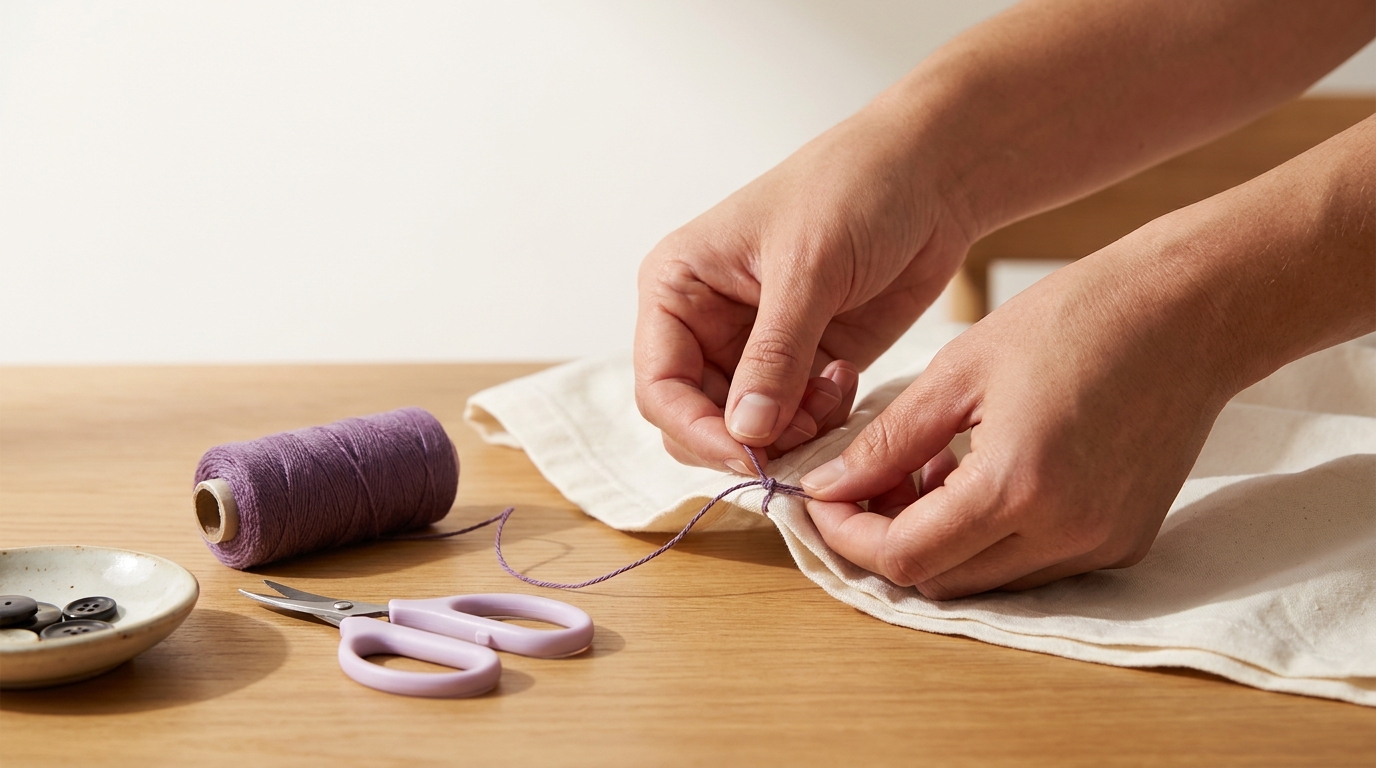
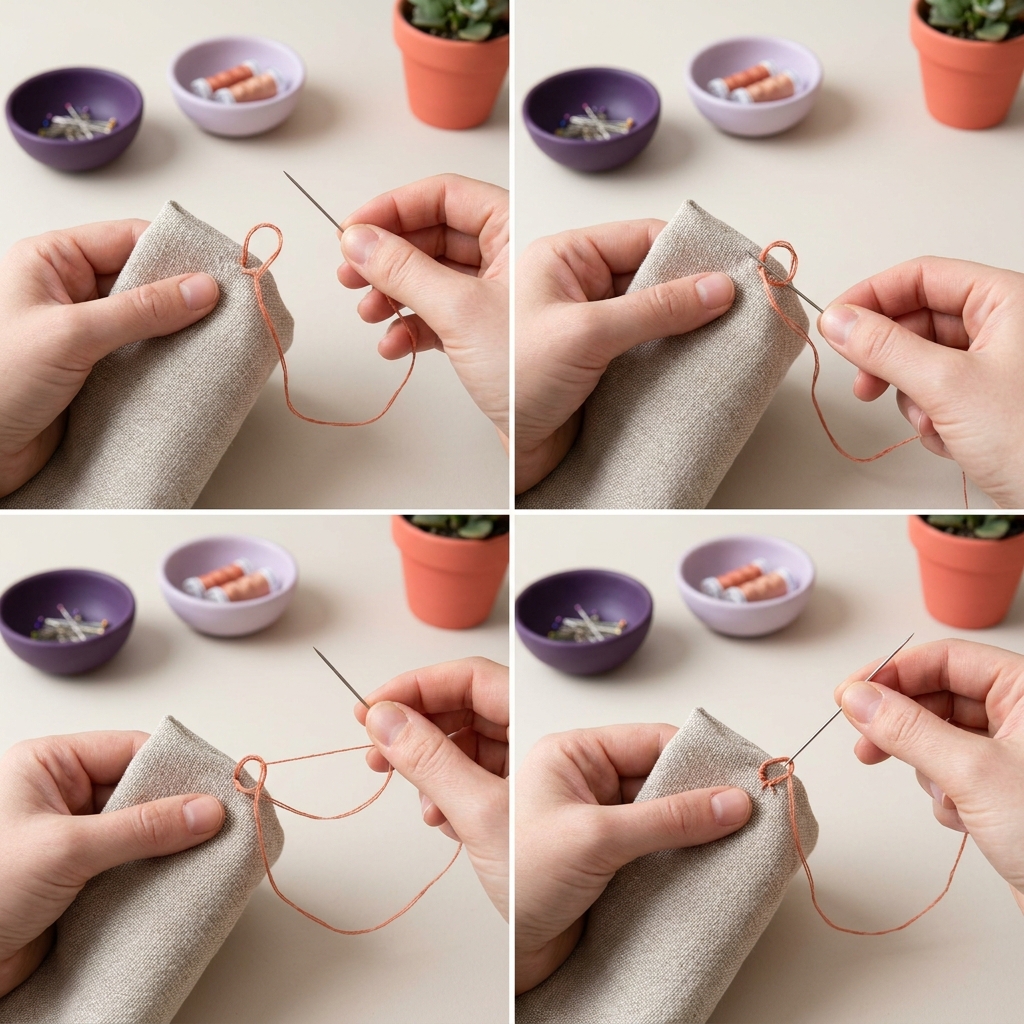
Use the loop-through method: slide your needle under the last stitch, pull to make a loop, pass the needle through the loop, and snug the knot against the fabric. Repeat once for extra security. This fast, low-bulk knot is widely taught for finishing hand stitches (The Ruffled Purse).
Step-by-step: finish a stitch knot in seconds
1) Slide the needle under the most recent stitch to catch a small bar of thread. 2) Pull the working thread until a loop forms. 3) Pass the needle through that loop. 4) Pull steadily so the knot closes and seats right against the last stitch. 5) For high-stress spots, repeat once under the same stitch. Trim the tail close without cutting the knot (The Ruffled Purse).
Quick checklist: tie a reliable stitch knot
Starting a seam: the quick tailor’s knot option
If you want a small starting knot, tie a simple overhand knot (often called a tailor’s knot) near the end of your thread, bring the needle up through the fabric at your starting point, and slide the knot down to meet the fabric. To land the knot exactly where you want it, use the pin trick: put a pin through the knot’s center and hold the pin at your target spot while you snug the knot into place (Oliver + S: Hand Sewing Knots). For a bit more security, a figure-8 knot is another small option (Oliver + S).
Placement, trimming and when to skip a knot
Place it exactly with a pin
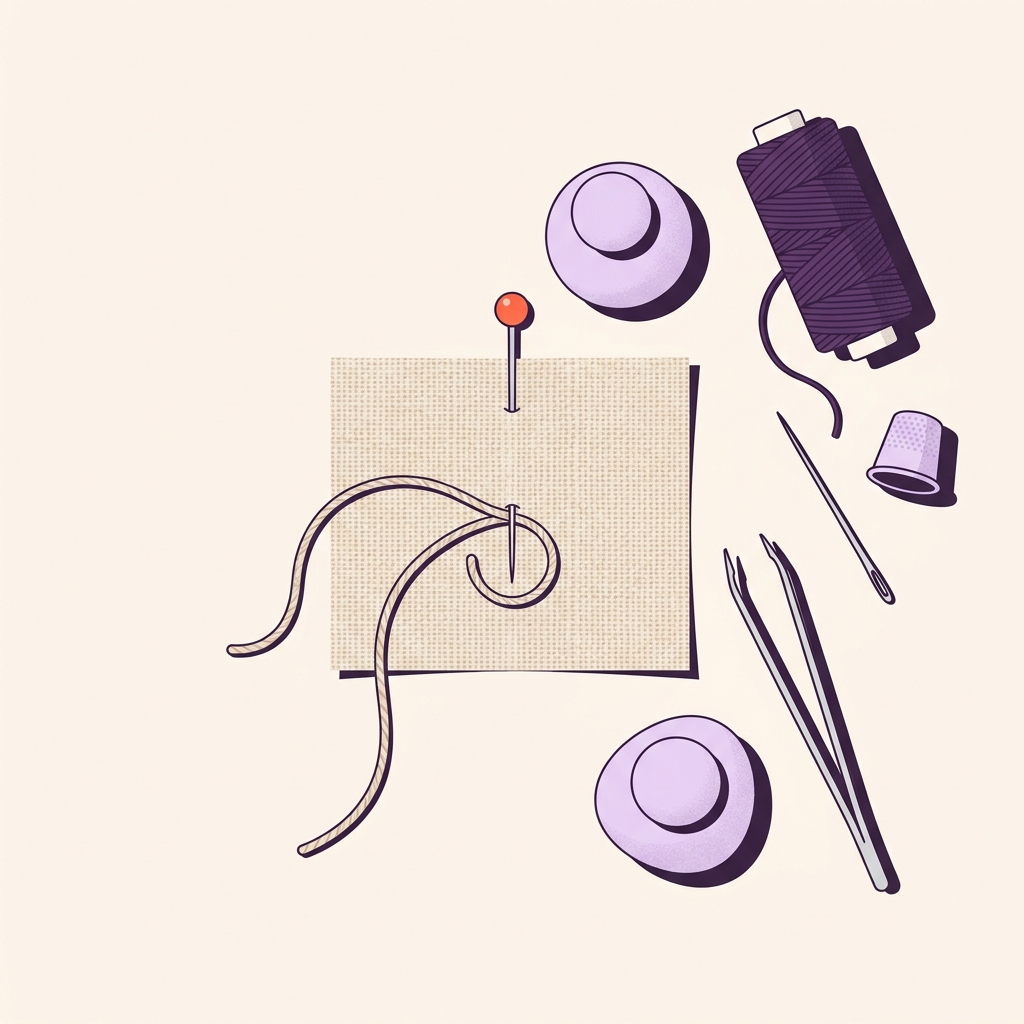
If your knot keeps sitting a little away from the fabric, guide it with a pin. Insert a pin into the knot or loop and hold the pin right where the knot should land, then tighten the loop so it seats precisely (Oliver + S).
Trim and secure tails neatly
After tying the knot, trim the tail close. For extra assurance, you can bury the thread between layers (like a quilt or pillow) or weave the tail through a few backside stitches before trimming (The Ruffled Purse). If you pop a knot into layers to hide it, tug gently so you don’t tear the fabric (The Ruffled Purse).
Prefer no visible knot? Use a backstitch ending
To avoid any bump, finish with two tiny backstitches in place to lock the thread instead of knotting. Crossing the second backstitch over the first can add security (Oliver + S). You can still weave the tail if it won’t show or add bulk (The Ruffled Purse).
Related help for hand projects: Sew a 4-hole button by hand and choose the right needle size.
Troubleshooting
Knot won’t land where you want: Re-form the loop and use the pin trick to guide it to the exact spot before tightening (Oliver + S).
Knot slips loose: Pull the loop fully closed so the knot sits snug against the last stitch, then add a second knot under the same stitch for reinforcement (The Ruffled Purse).
Knot looks bulky on delicate fabric: Switch to a backstitch ending to avoid a bump, or hide the knot inside layers and bury the tail carefully (Oliver + S) (The Ruffled Purse).

FAQ
Do I need to double-knot every time? No. One well-seated knot is usually enough; add a second only where the seam will see frequent strain (The Ruffled Purse).
Is there a small knot that holds more securely? A figure-8 knot is a bit more secure than a simple overhand and still compact (Oliver + S).