
The journal
What is a sewing gauge? Practical ways to use one
A sewing gauge is a short ruler with a sliding marker for fast, repeatable small measurements. Learn what it is and how to use it for hems, buttonholes, pleats and more.
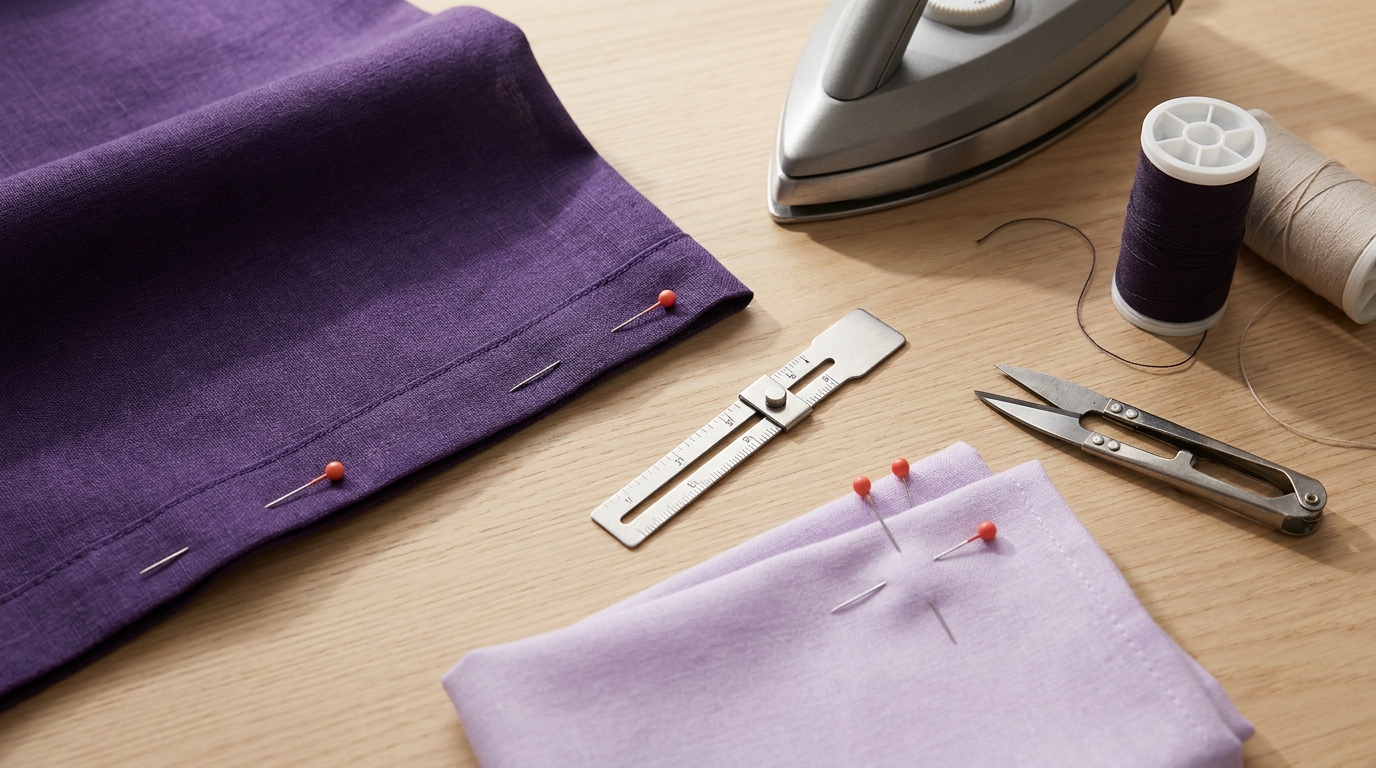
A sewing gauge is a small ruler, typically about 6 inches long, with a sliding marker that stays in place so you can repeat the same short measurement quickly and accurately. It is ideal for hems, buttonholes, seam allowances and evenly spaced pleats or tucks (Dritz sewing gauge listing; Love Sew: how to use a sewing gauge).
What it looks like and how it works
Most sewing gauges have clear inch markings, and many models include centimeters on the reverse. The sliding marker can be moved to any point along the scale and is designed to stay put for repeated marking (Love Sew: how to use a sewing gauge; Dritz sewing gauge listing). Some sliding gauges are graduated in 1/16 inch increments and are made from aluminum for durability (MadamSew sliding gauge manual).
Step-by-step: press an even hem with a sewing gauge
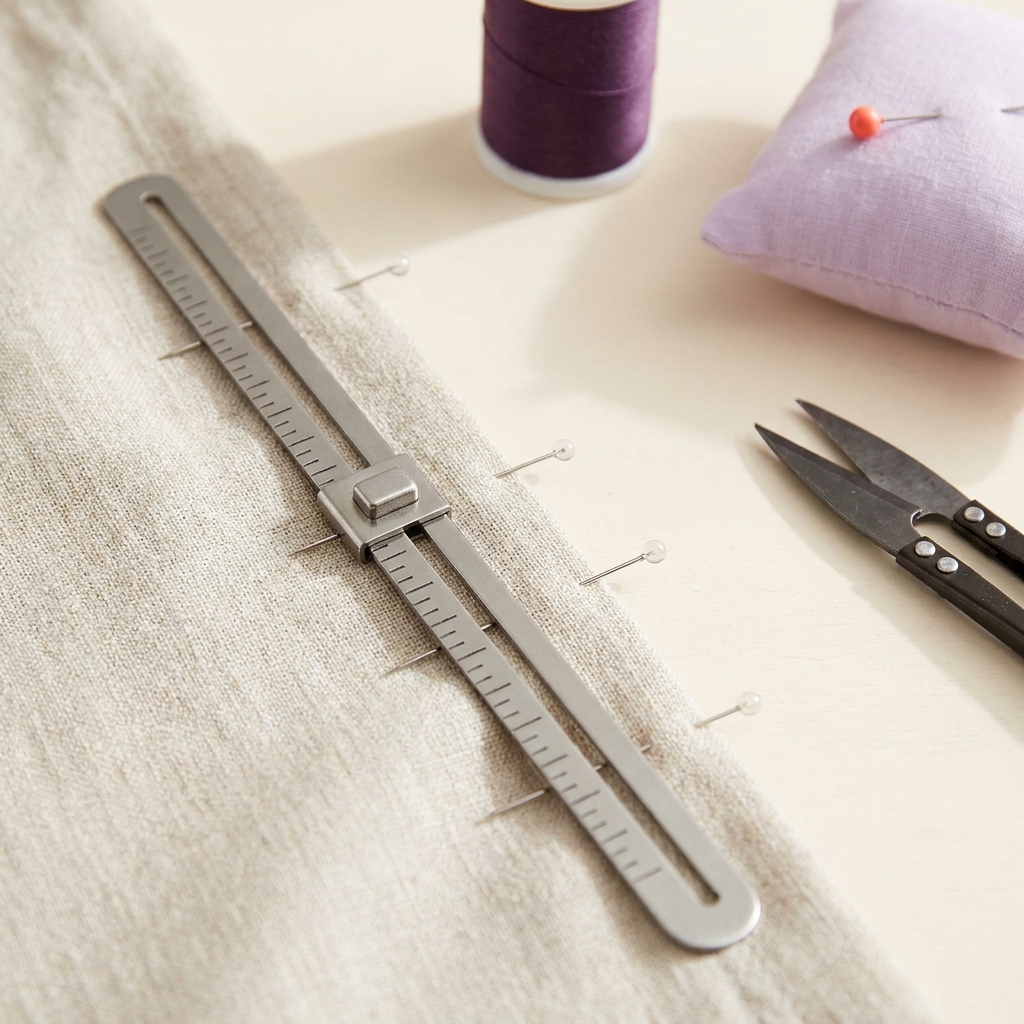
- Decide your hem depth. Move the gauge’s slider to that number (for example, 1 inch). Many sewists set and leave this measurement throughout the job (Love Sew: how to use a sewing gauge).
- Turn the garment wrong side out and press the edge so it’s flat. Place the gauge so the end of the ruler meets the fold and the slider touches the raw edge.
- Adjust the fold until it meets the gauge exactly, then remove the gauge before pressing that short section unless it is specifically rated for contact with the iron. Pin or clip to hold.
- Work around the hem in small sections, sliding the gauge along the edge to repeat the same fold each time. Recheck the measurement at seams and curves.
- For a double-fold hem, repeat the process for the second fold to the required depth, then stitch.
Tip: Mark with tailor’s chalk or a washable fabric pen; avoid permanent markers on fabric. If you’re new to hems, breaking the hemline into short, pressed sections helps keep everything even (Love Sew: how to use a sewing gauge).
Other quick uses that save time
Buttonholes and button spacing
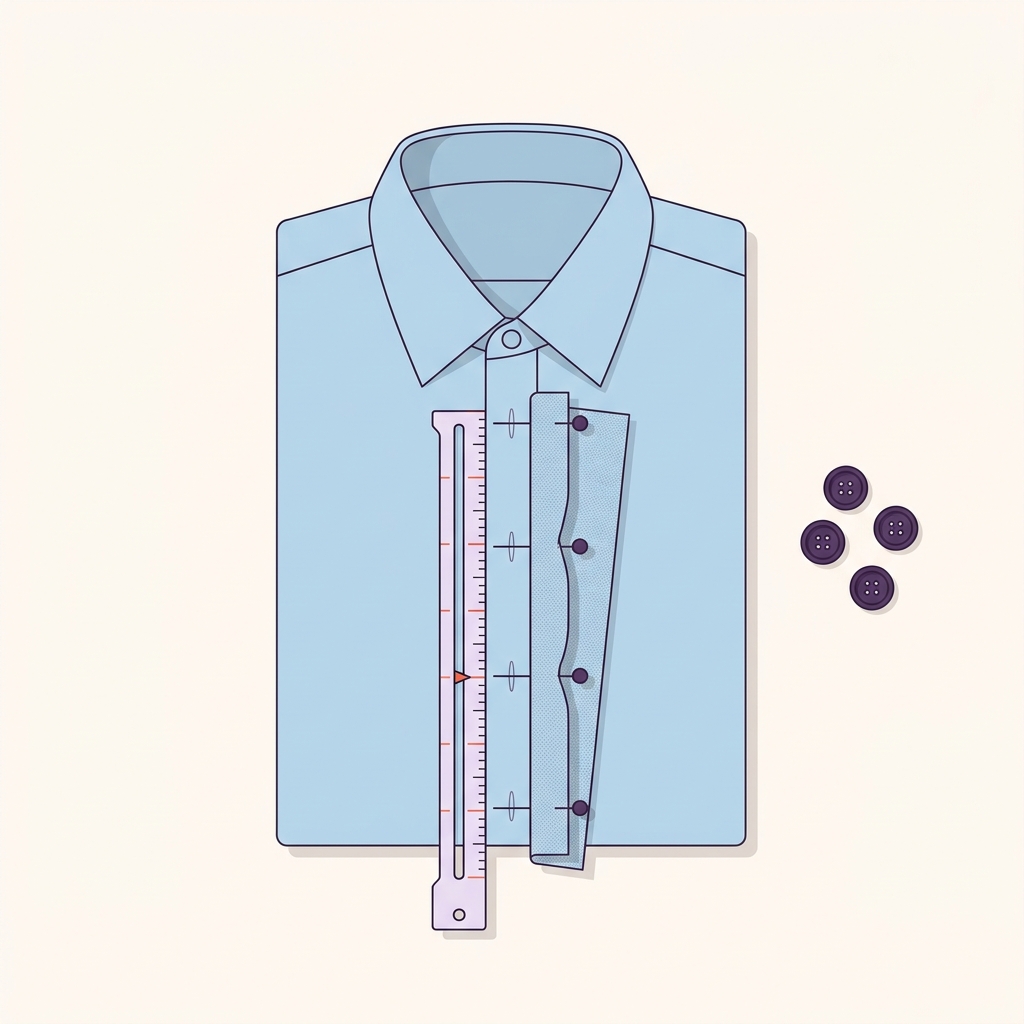
Use the gauge to size a buttonhole: measure the button’s diameter plus thickness as a starting estimate, then follow your pattern and buttonhole-foot instructions and test on matching scraps. Set a separate measurement for the spacing specified by your pattern; buttonhole length and distance between buttons are different measurements (Dritz sewing gauge listing). When you’re ready to sew, see our guide to sewing a 4-hole button by hand.
Seam allowances and start/stop points
Set the slider to your pattern’s seam allowance and use the gauge to mark along cut edges. It also helps mark exact start and stop distances for operations like in-seam pockets (SewHayleyJane: 5 uses for a sewing gauge). If you’re unsure of your project’s seam allowance, read What is the standard seam allowance for sewing?
Pleats, tucks and small layout tweaks
For evenly spaced pleats or tucks, set the repeat distance and mark the placement line as you move along the fabric. Gauges also help with small pattern adjustments where short, repeatable distances matter (Dritz sewing gauge listing; SewHayleyJane: 5 uses for a sewing gauge).
Choosing and caring for a gauge
Look for a slider that stays in place for repeated marking and a scale you can read easily. Some models offer both inch and centimeter sides, and some aluminum versions read in 1/16 inch steps for precision (Love Sew: how to use a sewing gauge; MadamSew sliding gauge manual).
Many gauges are designed for short spaces; for long hems or large layouts, pair your gauge with a longer ruler or measuring tape (MadamSew sliding gauge manual).
Common mistakes and quick fixes
- Slider creep: Before you start, nudge the slider and ensure it holds. Recheck it periodically, especially after pressing.
- Measuring long runs with a short tool: Use the gauge to set and verify the fold, but rely on a tape or long ruler to span large distances consistently (MadamSew sliding gauge manual).
- Unclear marks: Use chalk or a washable pen and mark on the wrong side to avoid visible marks later.
Use your sewing gauge effectively

FAQ
How do I size a buttonhole with a gauge?
Diameter plus thickness is a starting estimate. Follow the machine-foot and pattern instructions, sew a sample on matching layers and confirm the button passes through; mark spacing separately (Dritz sewing gauge listing).
Can I draw curves with a sewing gauge?
Some models include features to help draw scallops or circles. Check your product’s details to see if it offers this function (Dritz sewing gauge listing).