
The journal
What does facing mean in sewing? The difference from lining
A clear definition of facing in sewing, how it differs from lining, types of facings, step-by-step application, and quick fixes for rolling or bulky edges.
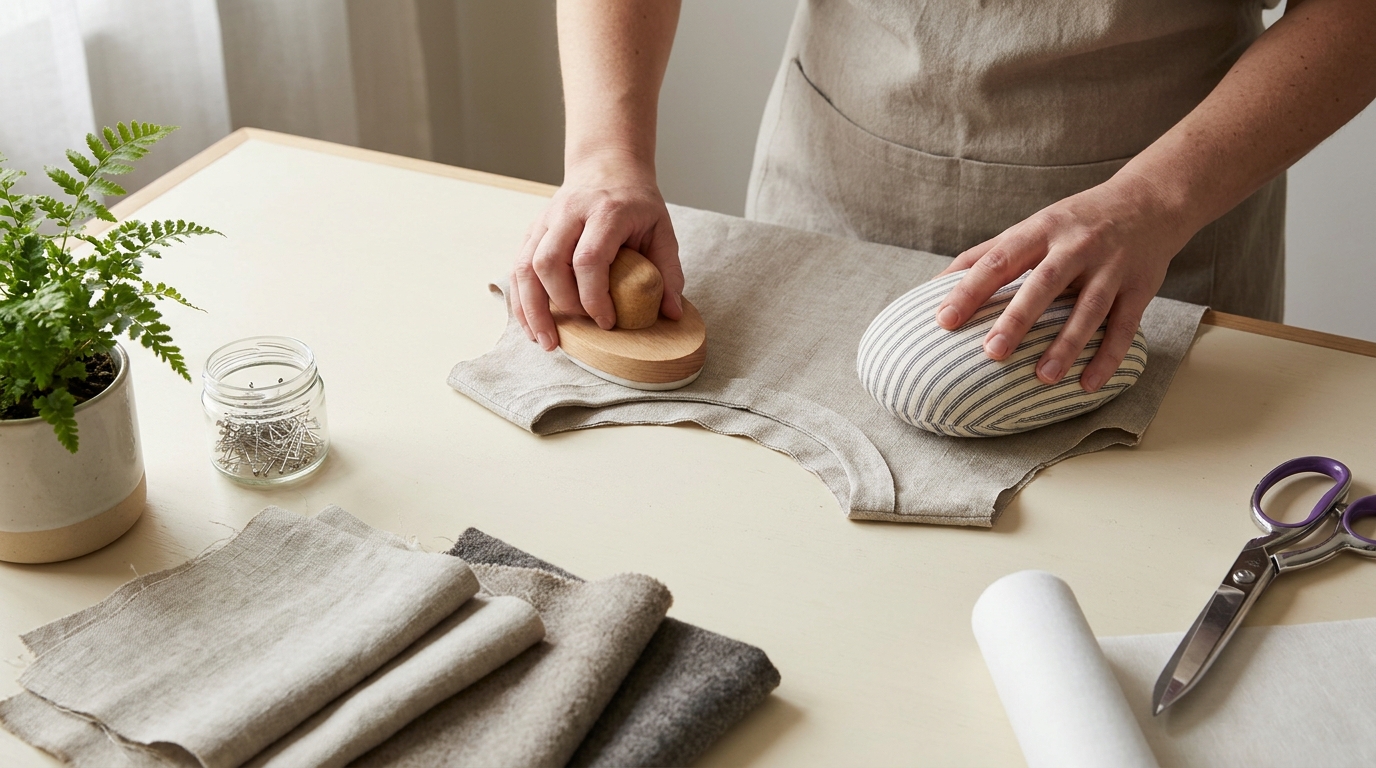
A facing is a shaped or bias-cut piece of fabric sewn to the inside edge of an opening (like a neckline, armhole, placket or hem) to turn and neatly finish the raw edge while stabilizing the area. It is usually invisible from the outside once turned and pressed NMSU: Facings Made Easy; Closet Core: What is a facing?. By contrast, a lining is a separate inner layer that covers a larger area (often most of the garment interior). Designers may attach a lining to facings for structure in jackets and coats, or in some cases replace a facing with a lining for a full inner finish Closet Core: Tips for facings.
Facing vs lining: which one should you use?
- Facing: Finishes and stabilizes specific edges without adding a full inner layer. Common on necklines, armholes, hems and openings. Often cut to mirror the garment edge and kept a few inches wide NMSU: Facings Made Easy; Closet Core.
- Lining: A separate inner layer that covers more of the inside. Useful for interior coverage, hiding construction and helping a garment slide over other clothing. In coats it is typically attached to facings, which support the opening and lapel edges Closet Core.
- Practical rule of thumb: Choose a facing for a clean, low-bulk finish at openings. Choose a lining when you want broader interior coverage or the pattern calls for it; lining is not interchangeable with the interfacing that supports a facing. Some patterns allow either approach for certain openings Closet Core.
Common types of facings and when to use them
- Shaped facing: A separate piece cut to the same shape and on the same grain as the edge it finishes. Good default for most necklines and armholes where you want an exact mirror of the garment edge NMSU: Types of facings.
- Extended facing: Built into the garment piece and folded back. Often used on straight front or back openings; the neckline portion is shaped like any neckline facing NMSU: Extended facings.
- Bias facing: A narrow bias strip shaped to the curve. Handy for very curved edges or to reduce show-through or bulk on sheer or bulky fabrics NMSU: Bias facings.
- All-in-one facing: Combines neckline and armhole into one continuous piece for sleeveless bodices; patterns that use this method specify the sequence NMSU: Combination facing.
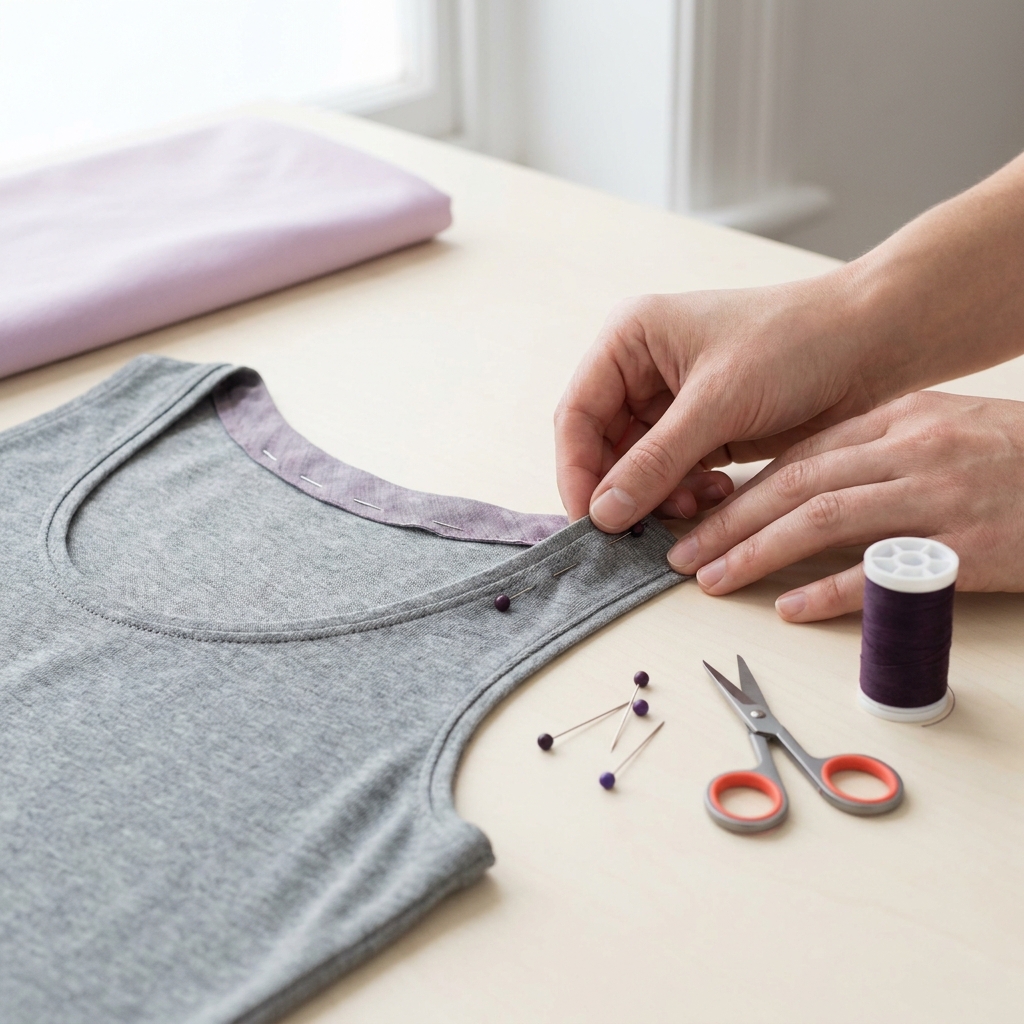
How to apply a facing step by step
- Cut accurately on grain. For a shaped facing, follow the pattern’s grainline so it hangs like the garment area it finishes. A bias facing is a different construction and its strip is cut on the bias as directed NMSU: Cutting facings.
- Apply interfacing if needed. Many patterns call for interfacing to stabilize the facing. Choose a weight that suits your fabric; a too-heavy fusible can add bulk, while a too-light one may not support the edge Closet Core: Interfacing choice. Some educators recommend interfacing facings even when the pattern doesn’t specify, to prevent stretching and add support NMSU: Interfacing recommendation. If you’re using fusible, follow the manufacturer’s method; see our guide to Attach fusible interfacing properly.
- Staystitch curves. Staystitch necklines and armholes to prevent stretching before joining the facing NMSU: Staystitch.
- Assemble facing and attach. Sew shoulder or side seams of the facing as your pattern directs. With right sides together, align notches and seams, then stitch garment to facing along the seamline Seamwork: Sew a facing; NMSU.
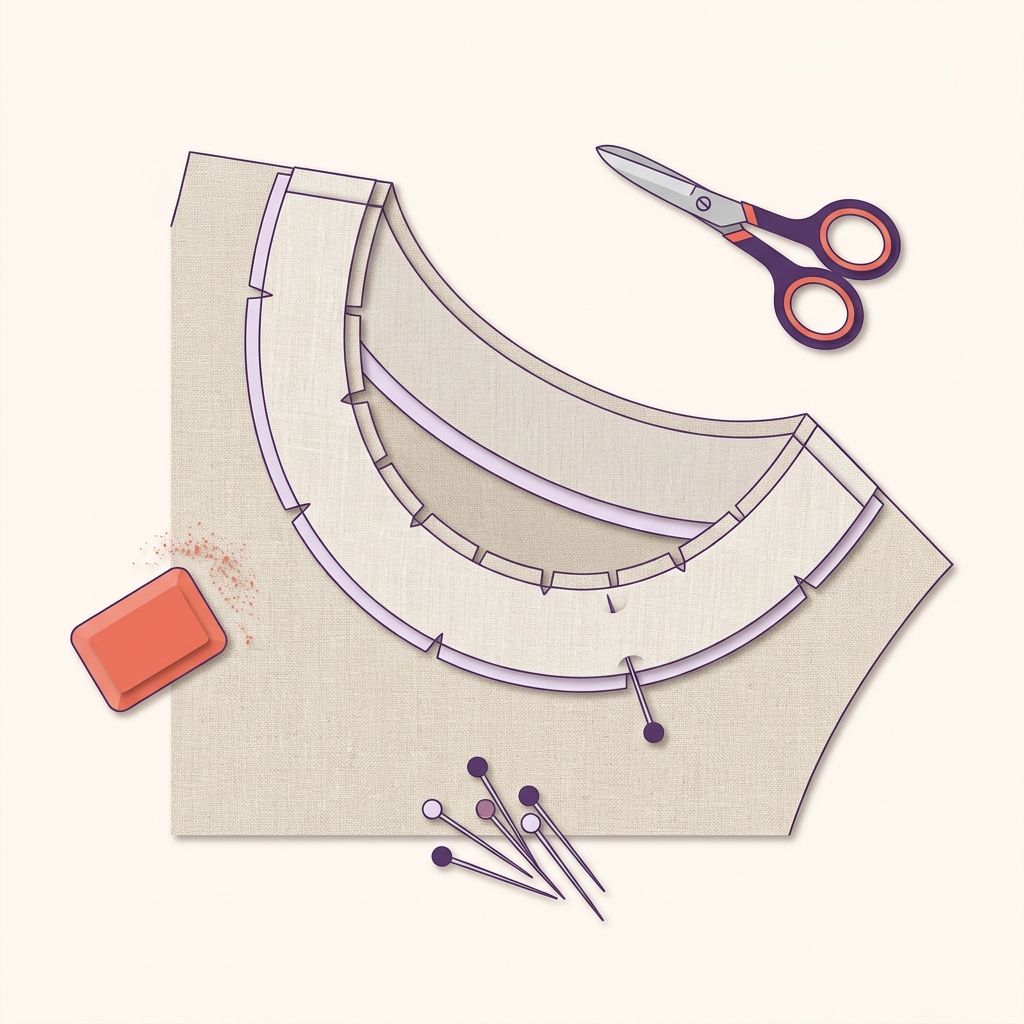
- Grade and clip/notch. Trim layers to different widths to reduce bulk, and clip inward curves or notch outward curves so the edge turns smoothly Seamwork; Closet Core: Grade and clip or notch.
- Understitch, then turn and press. Press the seam allowances toward the facing and understitch about 1/8 inch from the seam to keep the facing inside, then turn the facing in and press. Tack at shoulder or side seams or stitch-in-the-ditch where appropriate to anchor NMSU: Understitch 1/8 in and tack; Tilly and the Buttons: Understitch and secure. For safer pressing on delicate fabrics, use a suitable pressing cloth Should a pressing cloth be wet or dry?.
Always follow your specific pattern, fabric care label and machine manual. Test your interfacing choice, seam finish, and pressing heat on scraps before you sew the garment.
Troubleshooting neat finishes
- Facing rolls outward: Re-press after understitching. If you skipped understitching, add it where the pattern allows, then press and, if needed, secure at shoulder seams to prevent flipping Seamwork; NMSU.
- Bulky edge shows through: Grade seam allowances in steps and choose a lighter interfacing if your fabric is fine Closet Core.
- Puckers on curves: Add enough clips on concave curves and notches on convex curves, without cutting into the stitching Closet Core.
When to pick a lining instead
- When you want full interior coverage or to hide internal construction, a lining can replace some facings for certain patterns.
- In coats and structured garments, facings are often kept to support the shape while the lining attaches to those facings Closet Core.
Before you sew a facing on this project
Short FAQs
When should I topstitch a facing? Topstitching can intentionally show the edge and also secure the facing in place. Use it when you want a visible design line; otherwise, understitching plus discreet tacks usually suffice Closet Core.
Is an all-in-one facing the same as a lining? No. An all-in-one facing is a facing method that finishes neckline and armholes together on sleeveless styles. A lining is a broader inner layer; some patterns let you substitute a lining instead, but they serve different scopes NMSU; Closet Core.
Do knit facings need interfacing? If you use interfacing, pick a knit or stretch type to preserve elasticity in the opening NMSU.